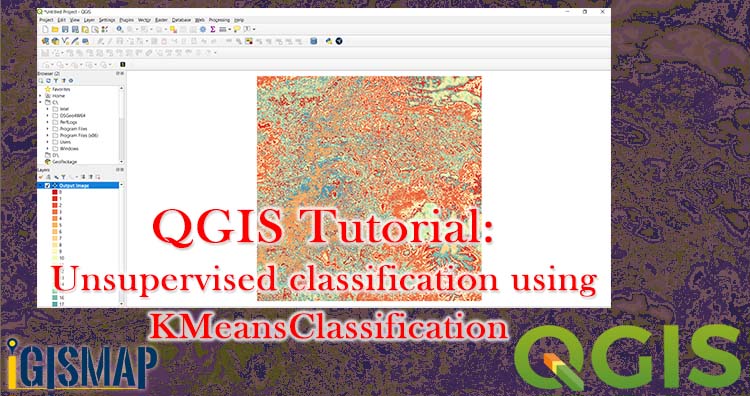
Unsupervised classification is based on software analysis. It uses computer techniques for determining the pixels which are related and sort them into classes. In this post we doing unsupervised classification using KMeansClassification in QGIS. For supervised classification check earlier articles.
For Beginners check – QGIS Tutorial
Unsupervised classification using KMeansClassification in QGIS
- Add a raster layer in a project Layer >> Add Layer >> Add Raster Layer.
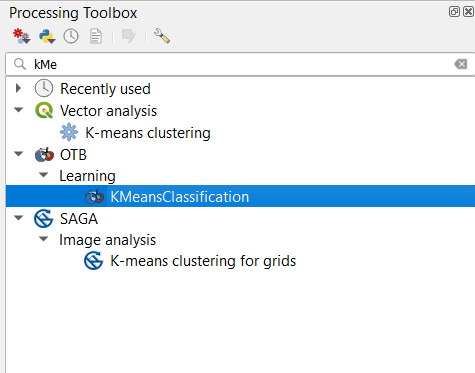
- Go to the search box of Processing Toolbox , search KMeans and select the KMeansClassification.
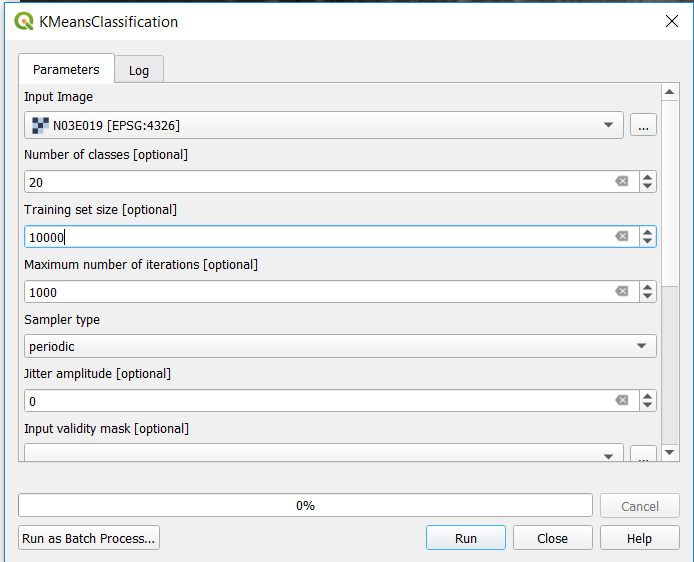
- Select the input image. Type the Number of classes to 20 (default classes are 5) . Fill training size to 10000.
- Type the name of output image save to file.

- And in the last tap on Run
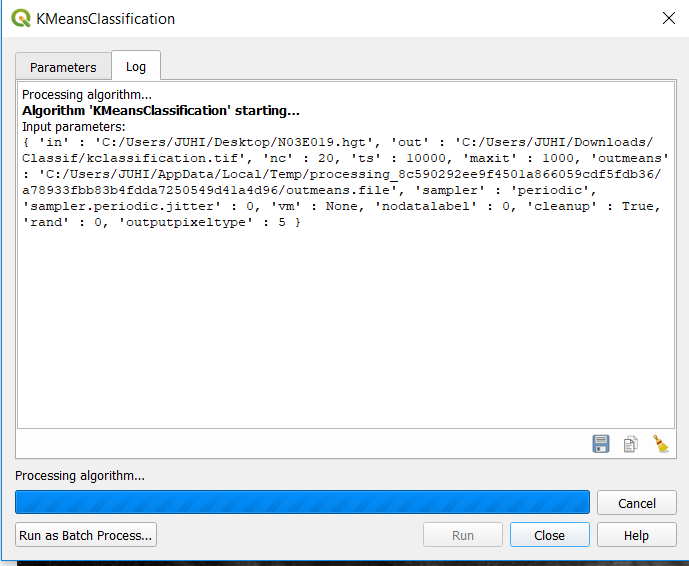
- Output image directly display on canvas. Image is shown below.
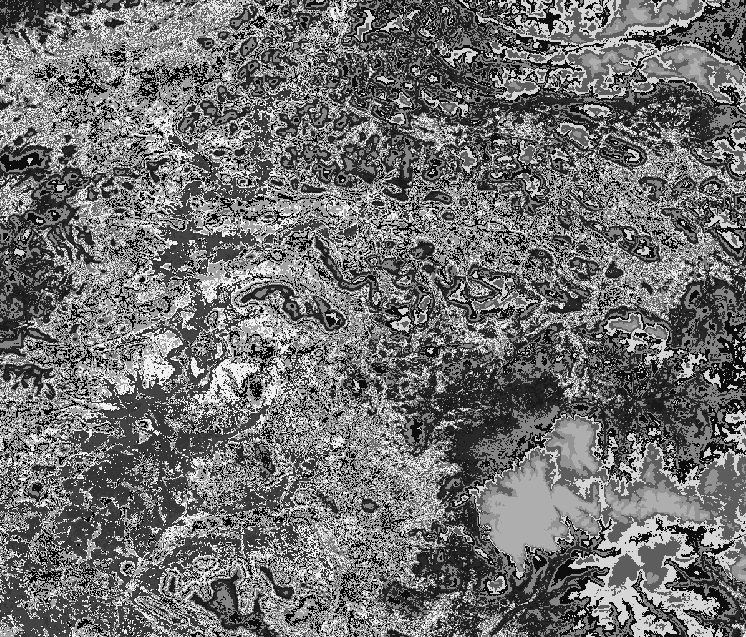
In the layer panel, right click on the output layer and select Properties >> Symbology. Change Render Type Singleband Psuedocolor.
- Select the Color Ramp ( we selected spectral)
- Choose Mode Equal Interval (default selection is continous)
- Change the number of classes from 5 to 20.
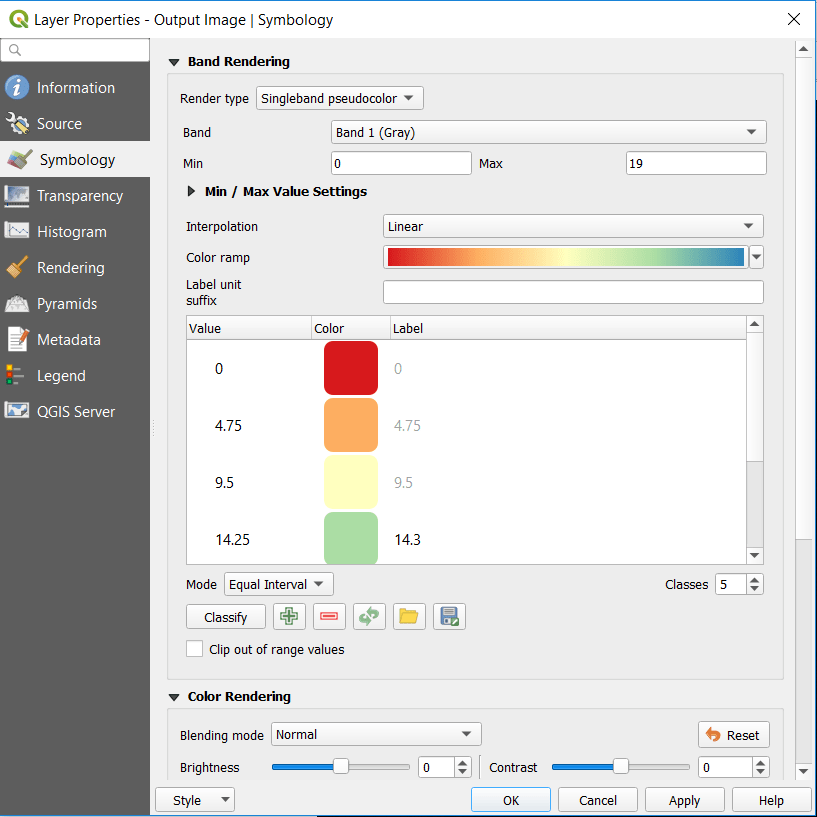
- In the last click on OK. Output image is provided below. You can also classify according to discrete interpolation if desired.
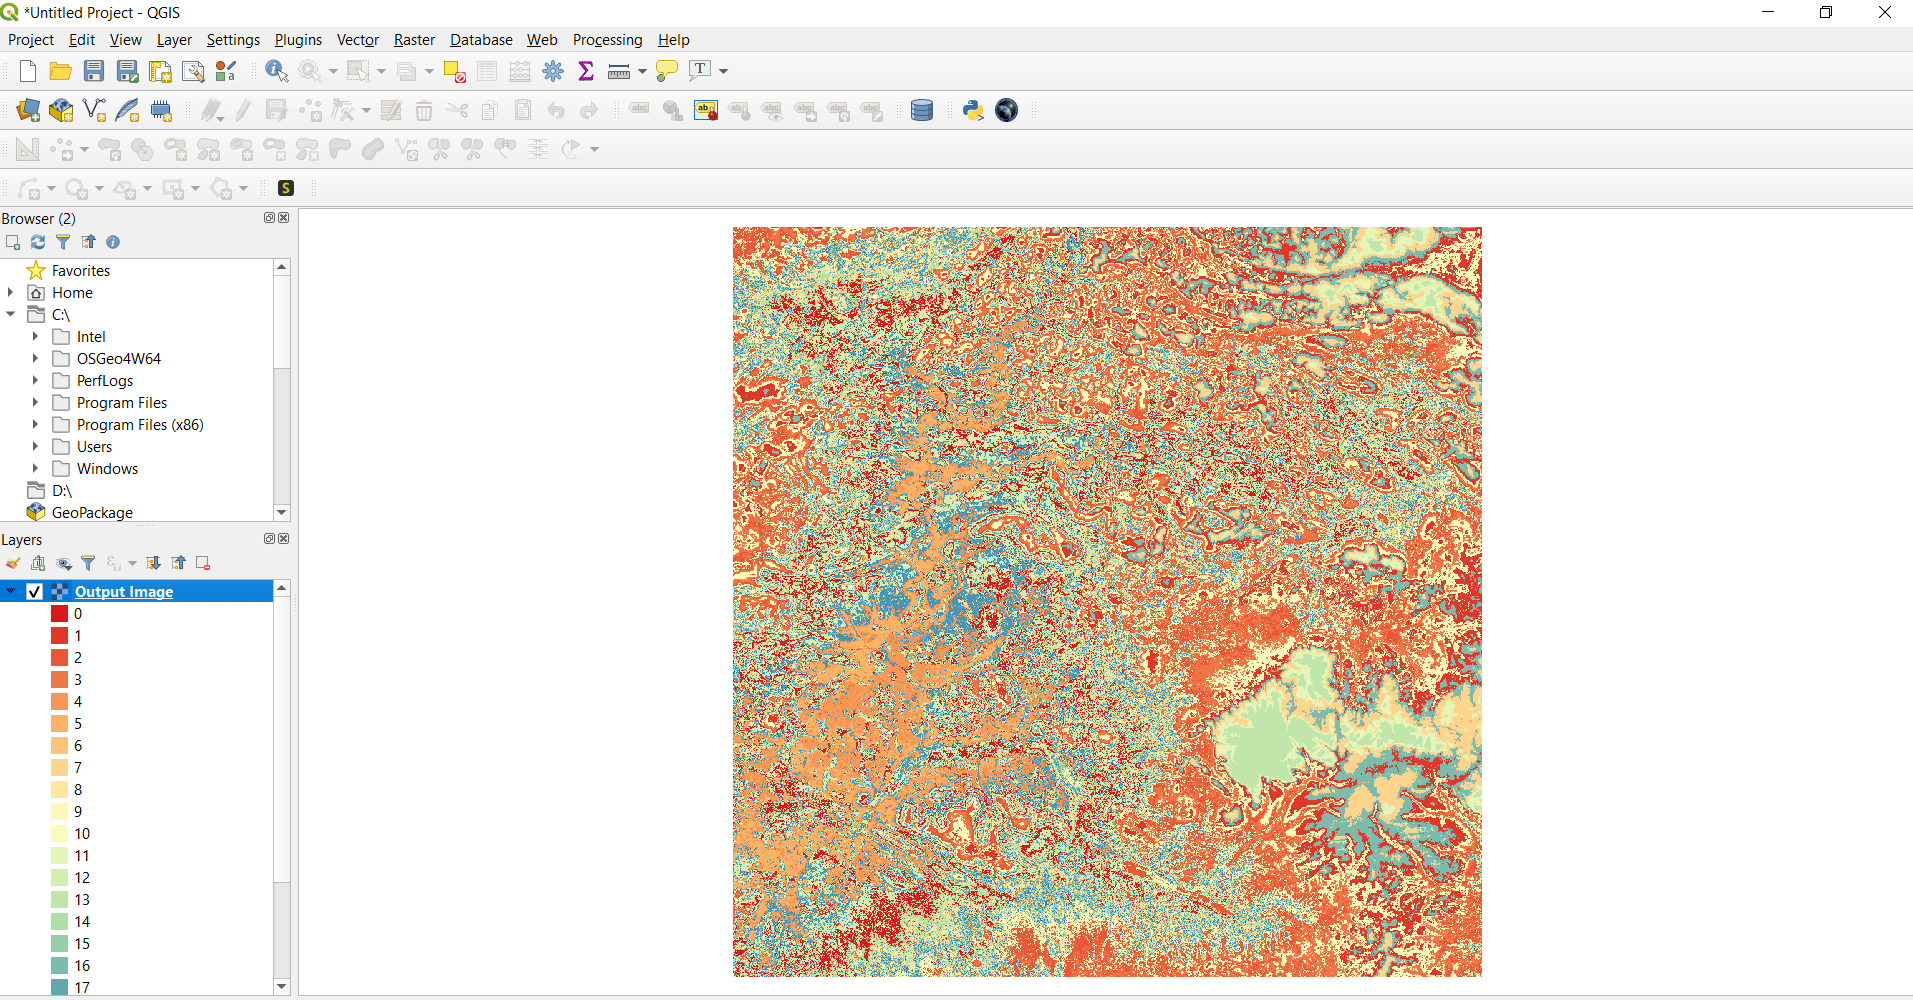
This is all about unsupervised classification using KMeansClassification. If you face any problem in implementing then please do comment.
More on QGIS –
