This guide will walk you through the process of convert DXF to TopoJSON format using the Converter Tool in MAPOG Map Analysis. Whether you’re new to MAPOG or a seasoned user, this step-by-step tutorial simplifies the conversion process, enabling you to effortlessly convert your DXF file into TopoJSON format with ease and confidence.
What is DXF Data Format:
DXF is short for Drawing Exchange Format or Drawing Interchange Format and is a type of vector file. Engineers, designers and architects often use the DXF format for 2D and 3D drawings during product design. This data format can be used in case of analyzing the maps. It can be of many types like point, line and polygon or any boundaries.
Converting DXF Data into TopoJSON Format:
The Converter Tool in MAPOG Map Analysis allows users to easily convert data from one format to another based on their specific needs. This feature streamlines the process of transforming data for various GIS applications, offering flexibility and efficiency in handling multiple formats. In this instance, DXF data is being converted to TopoJSON format using MAPOG’s Converter Tool. This conversion reduces file size while preserving key geographic details, making the data more suitable for web-based mapping and interactive applications, ultimately improving workflows and GIS data usability.
Steps For Converting DXF to TopoJSON
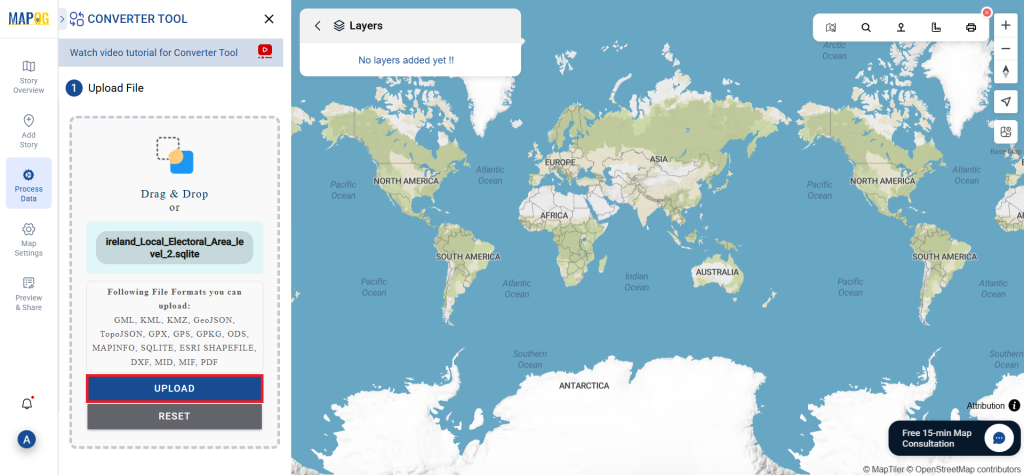
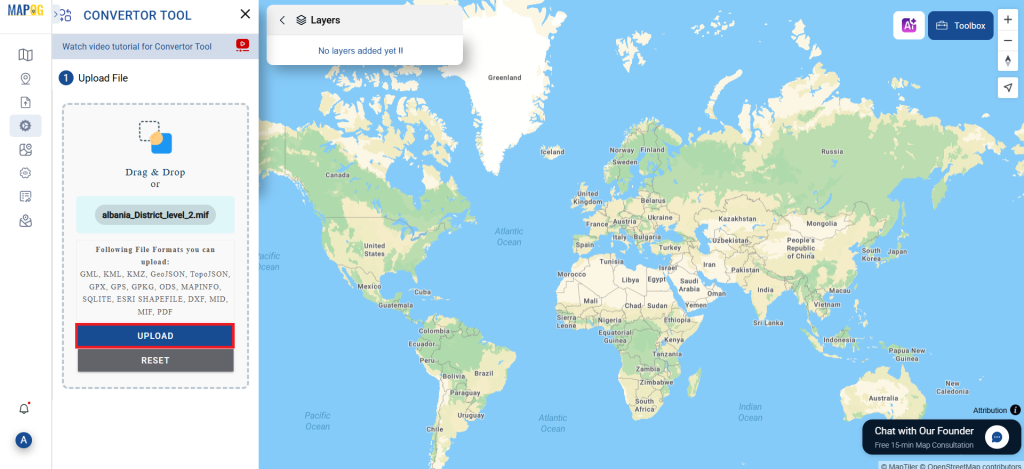
Step 1: Upload Your Data:
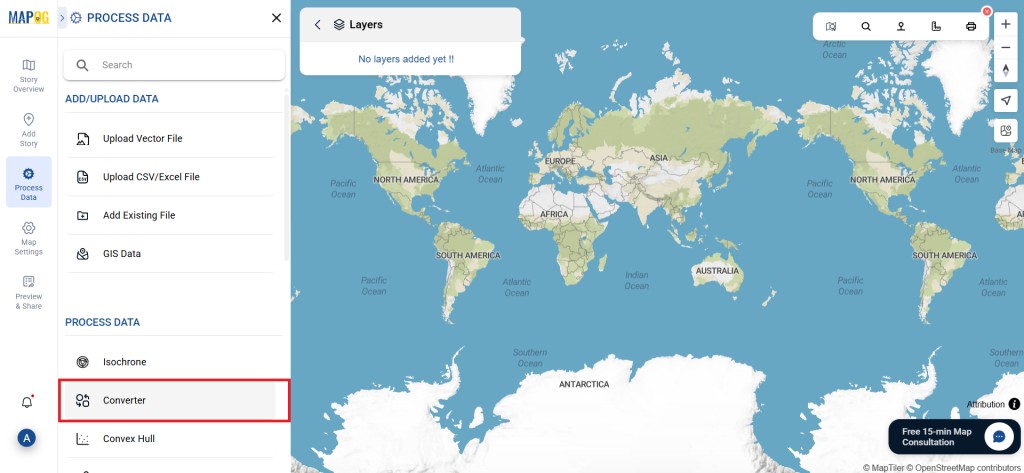
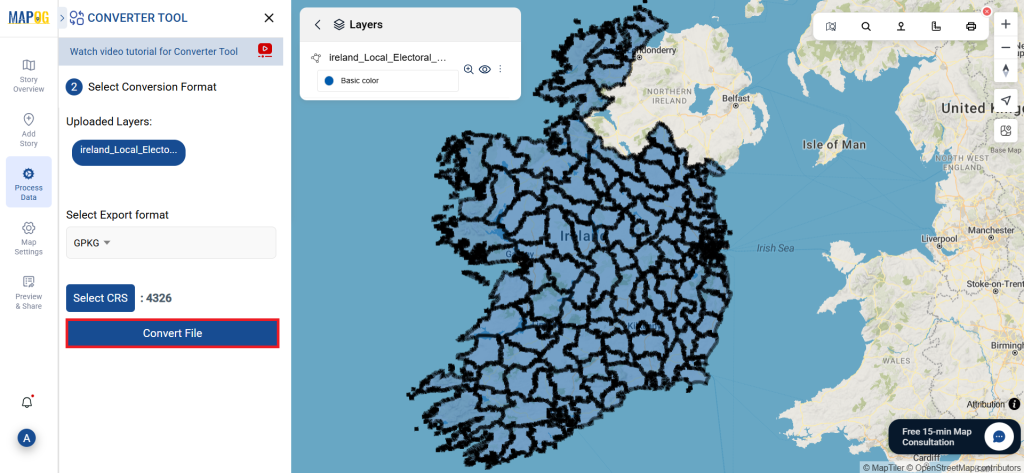
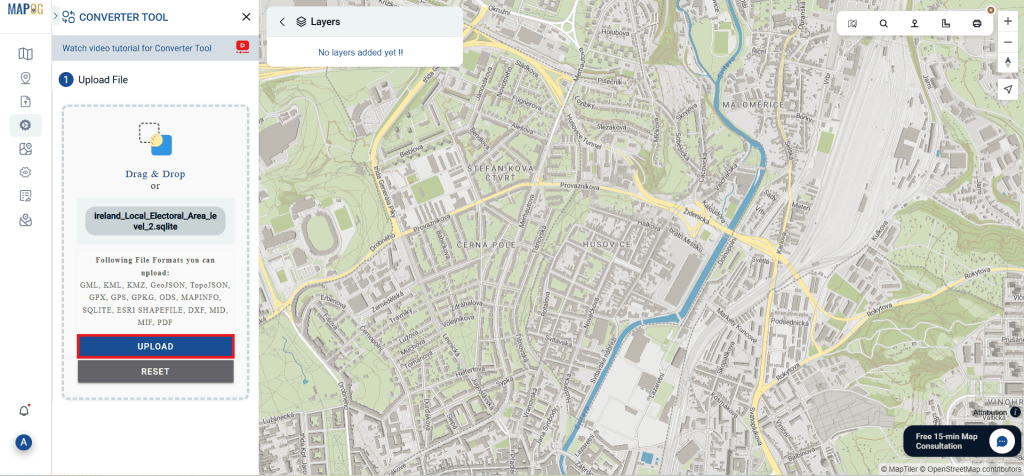
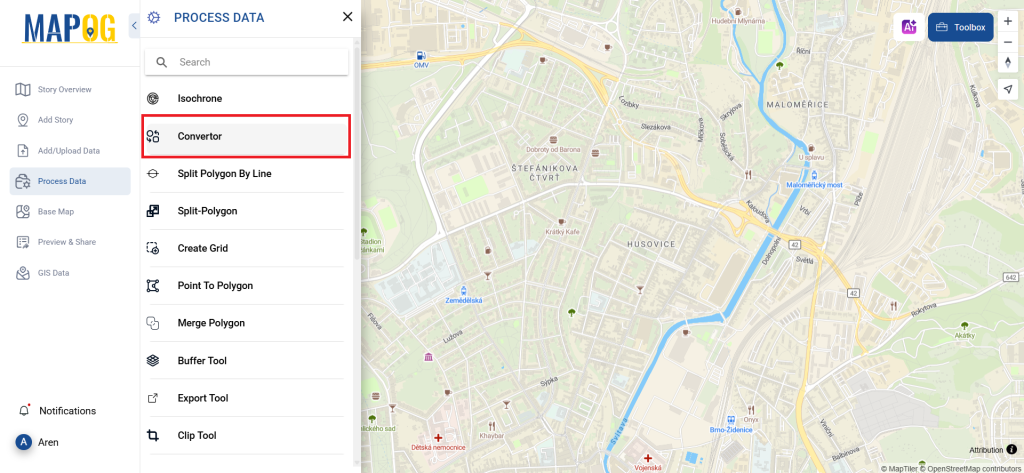
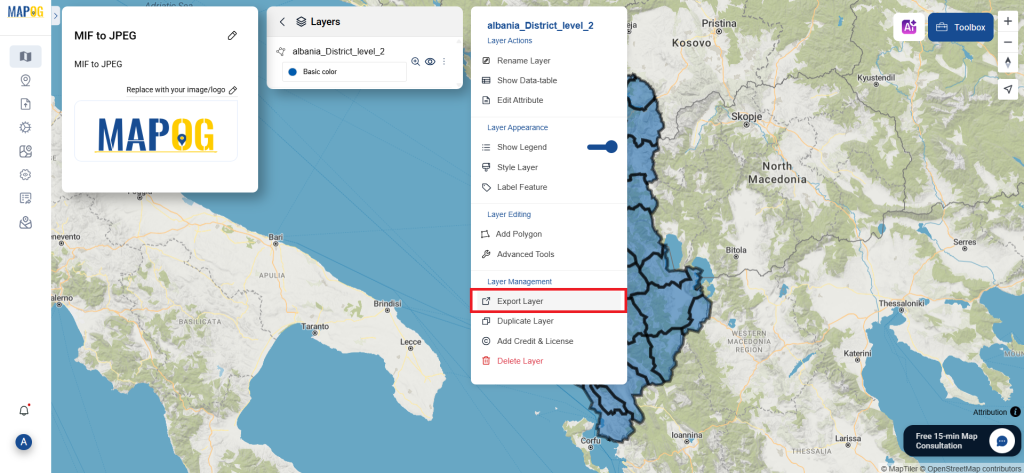
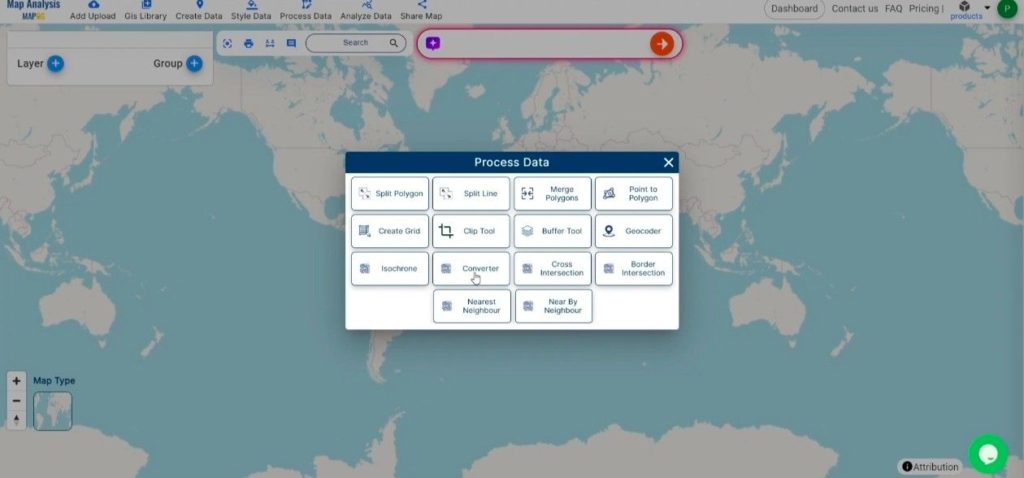
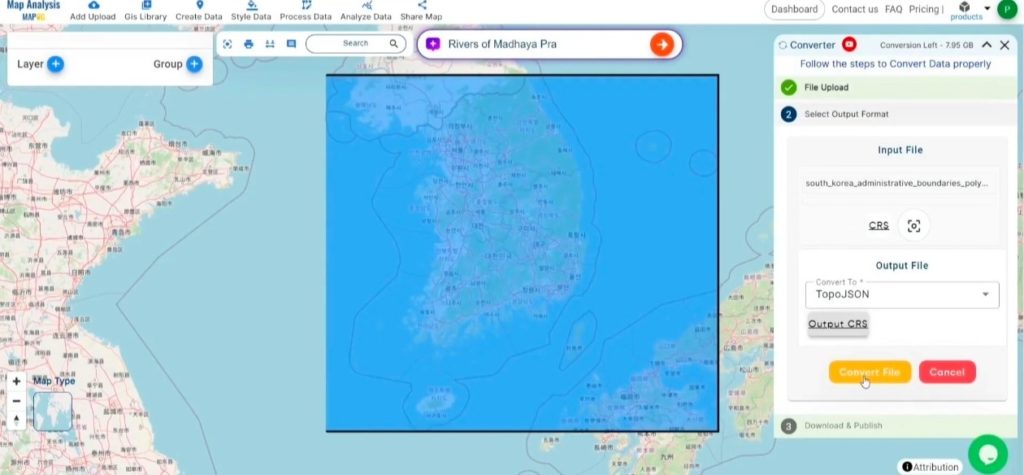
1. Navigate to “Process Data” and select the “Converter Tool” option.
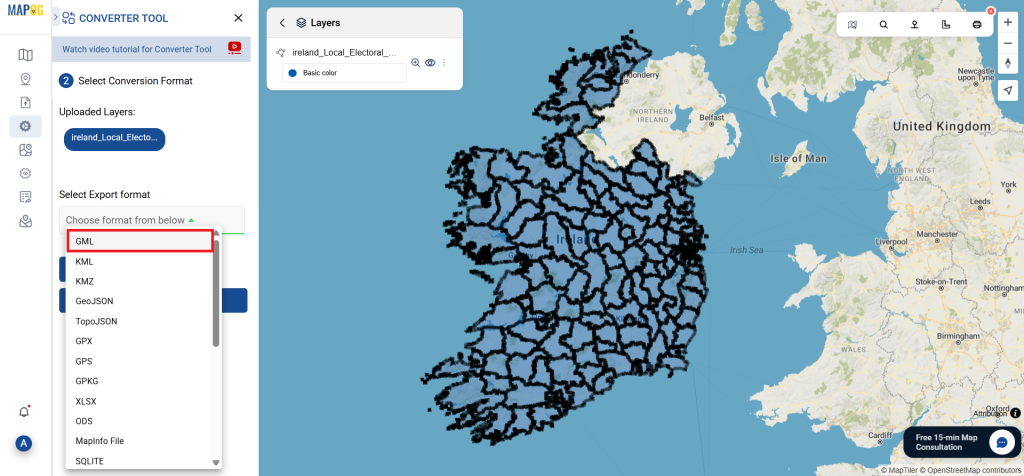
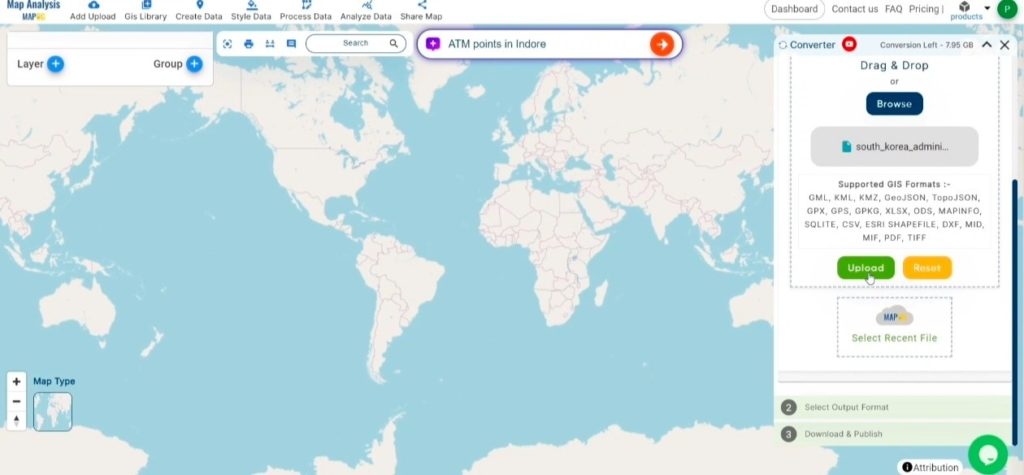
2. Upload your DXF file. This is where you begin by supplying the data that you want to convert.
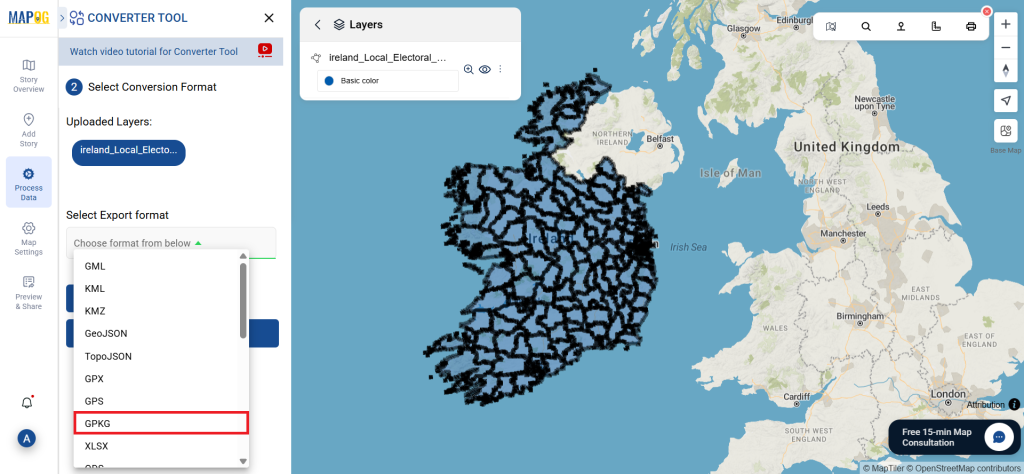
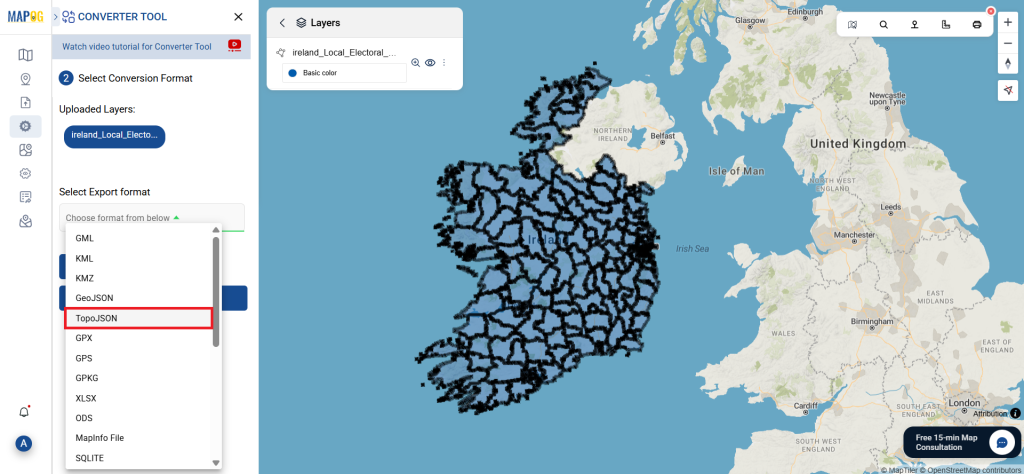
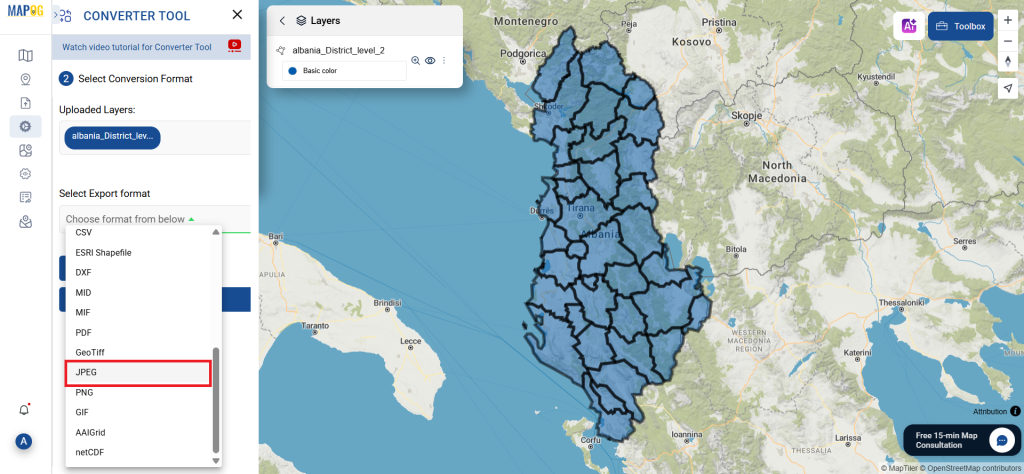
Step 2: Select the Output Format:
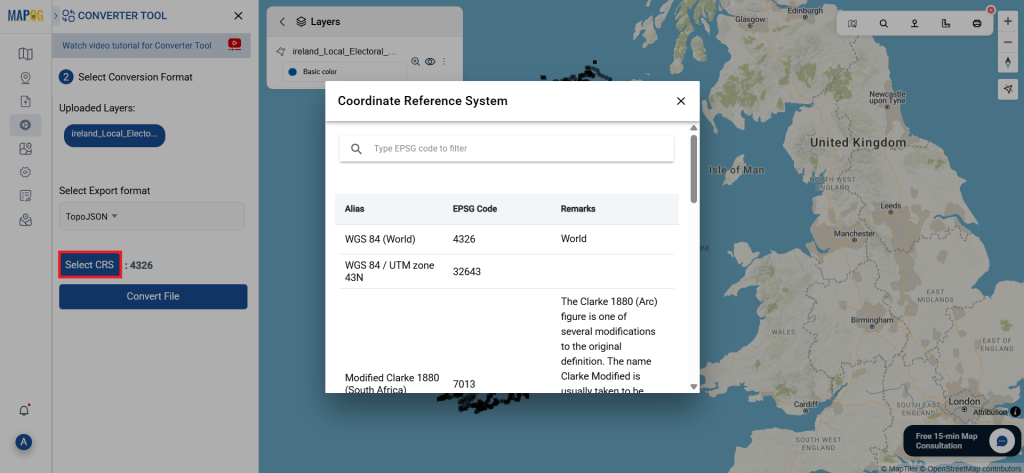
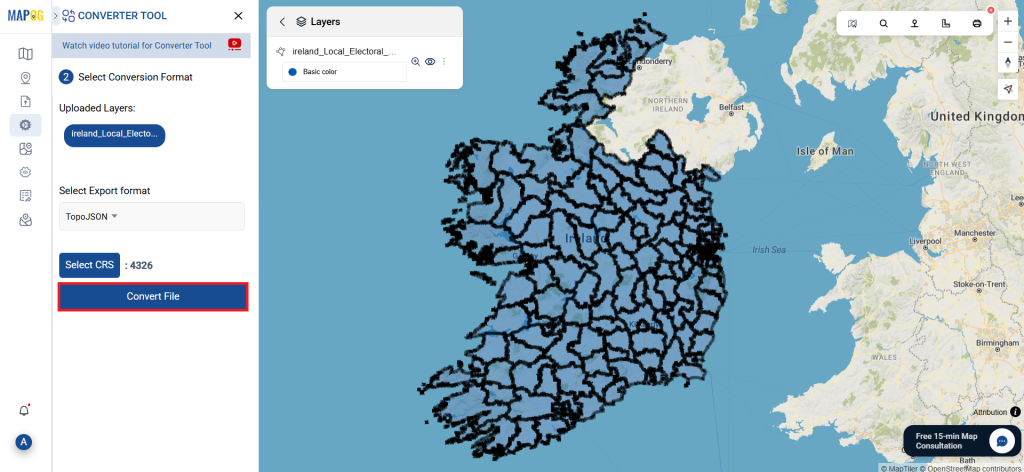
- Choose TopoJSON as your desired output format if your goal is to export only the data. While the tool offers multiple format options, this guide is specifically designed to walk you through converting your file to TopoJSON.
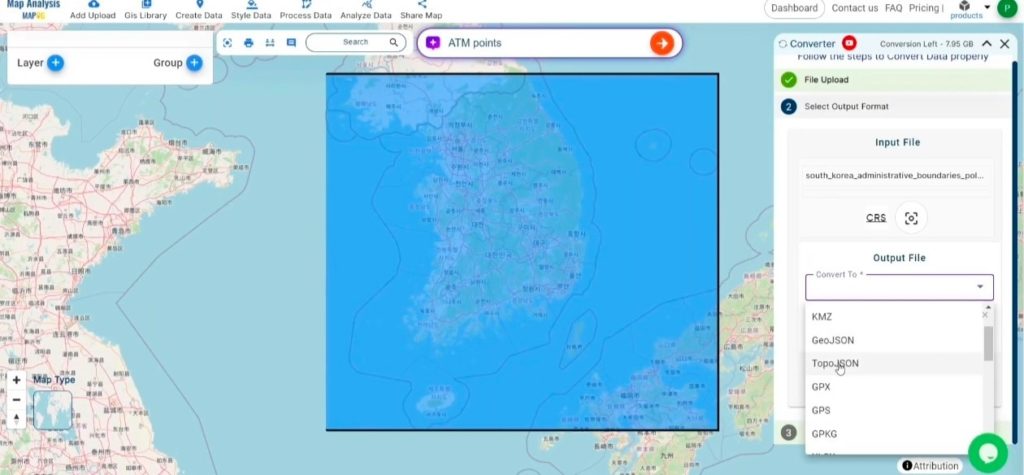
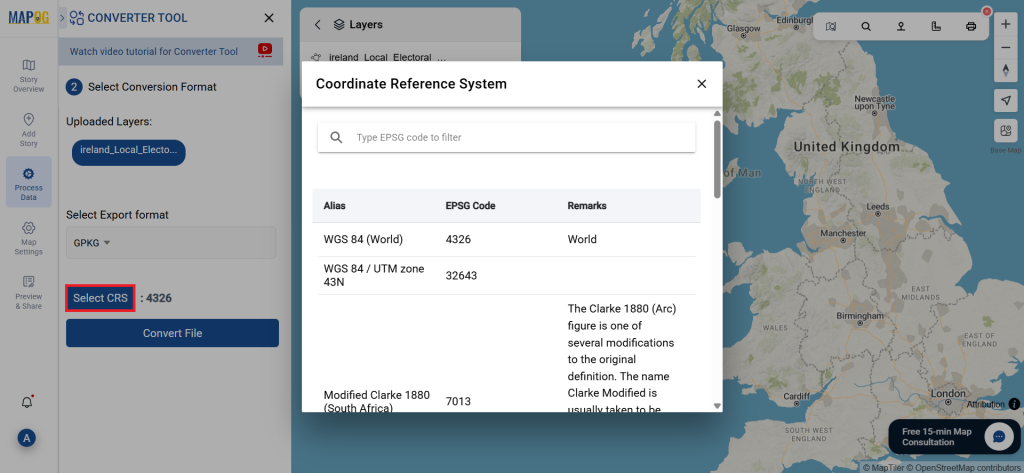
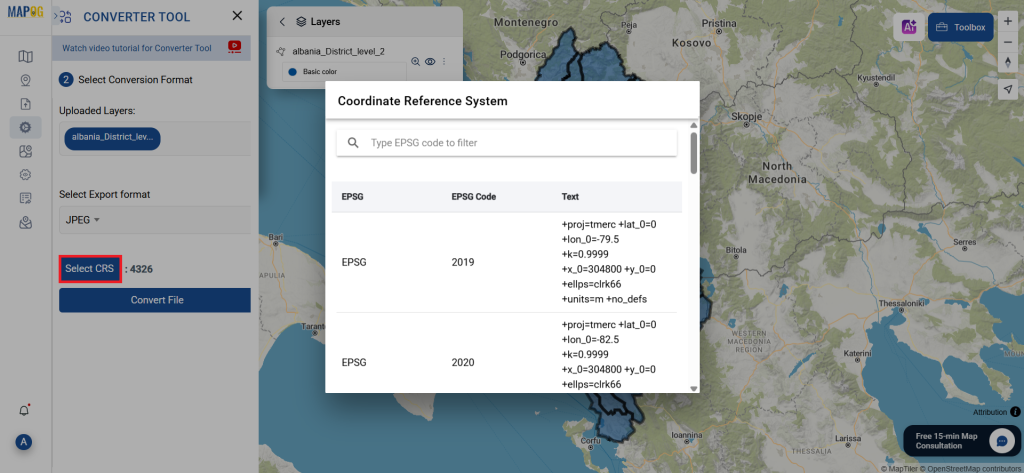
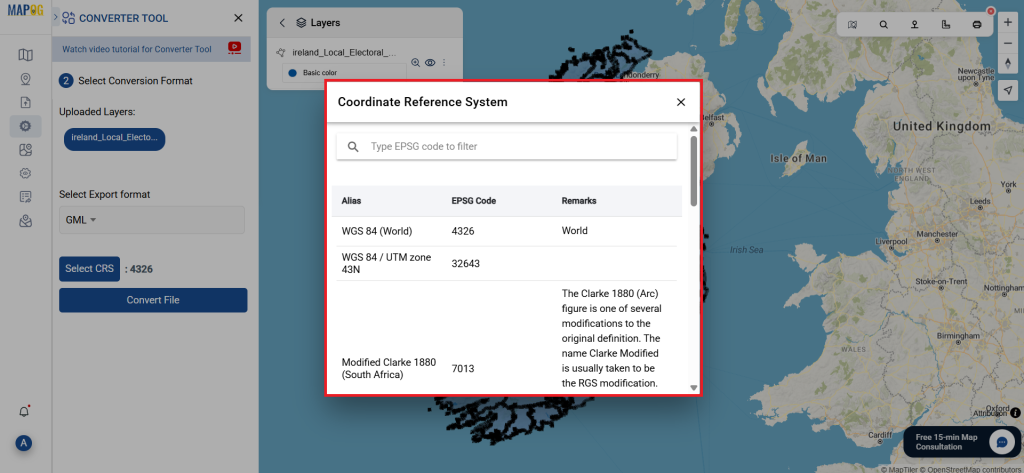
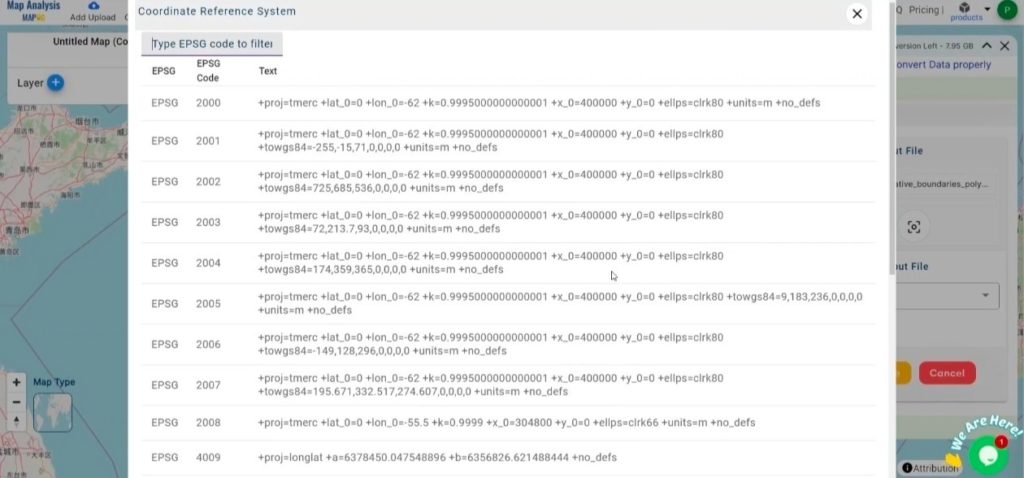
2.You can also set the Output CRS as per your spatial analysis.
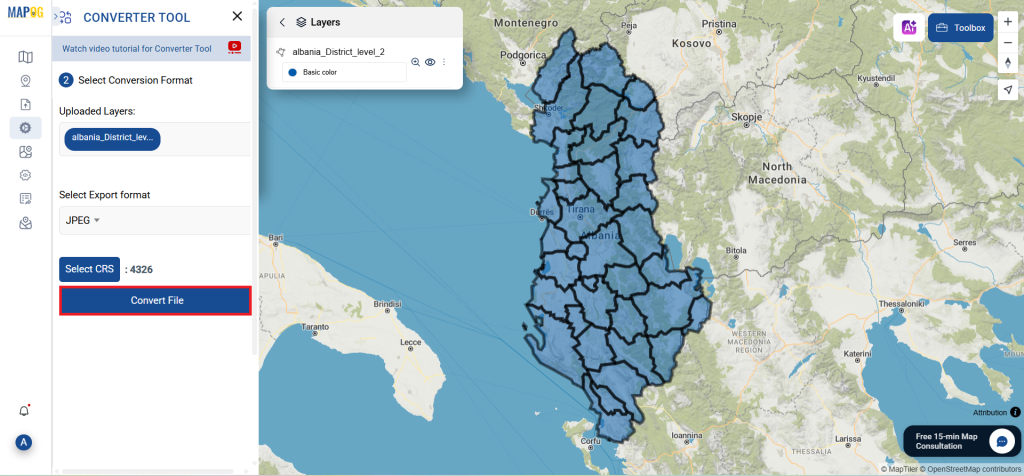
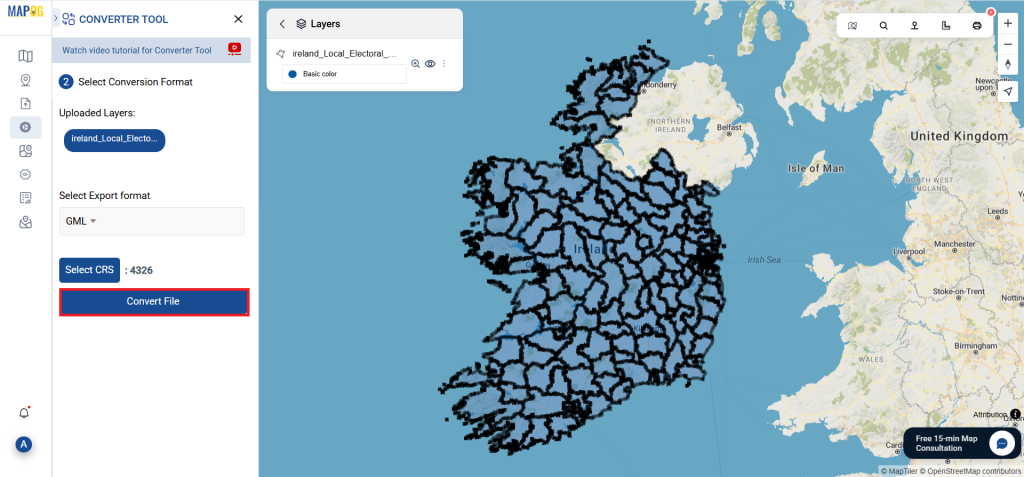
Step 3: Run the Conversion:
Navigate to ‘Convert Files’ and let the tool do the rest. By simply providing your data, the Converter Tool handles the entire process of transforming your DXF file into TopoJSON format.
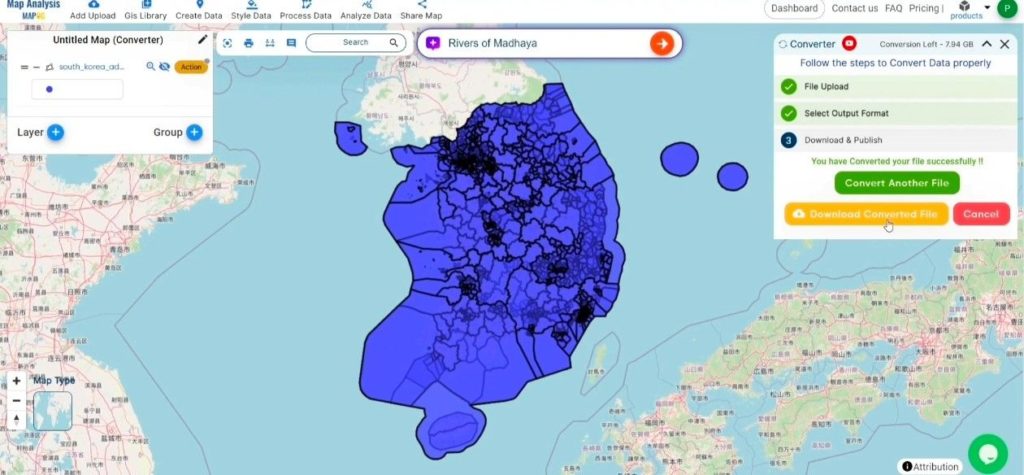
Step 4: Verify and Download:
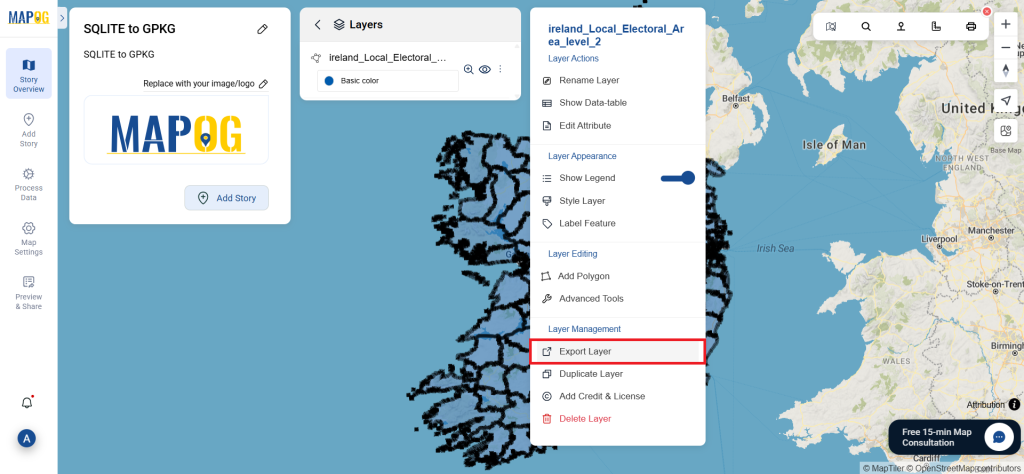
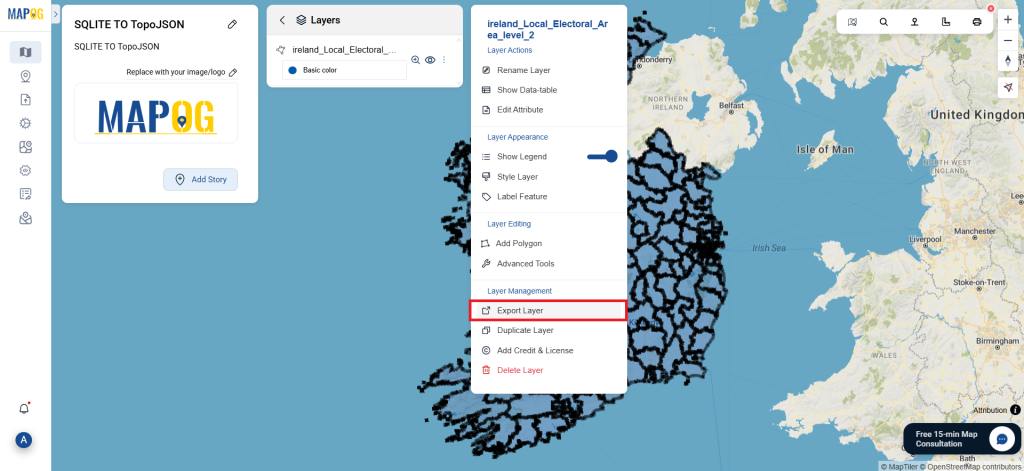
Check your converted TopoJSON data to ensure everything looks correct. Once you’re satisfied with the results, proceed to download the file. This step is crucial to confirm that the conversion was successful and that your data remains intact.
MAPOG Map Analysis also offers various tools to enhance your work. For example, the Clip Tool enables you to cut down your data, the Basic Style Tool helps you apply styles to numeric data, and the Create Point Tool allows you to add point data to your map.
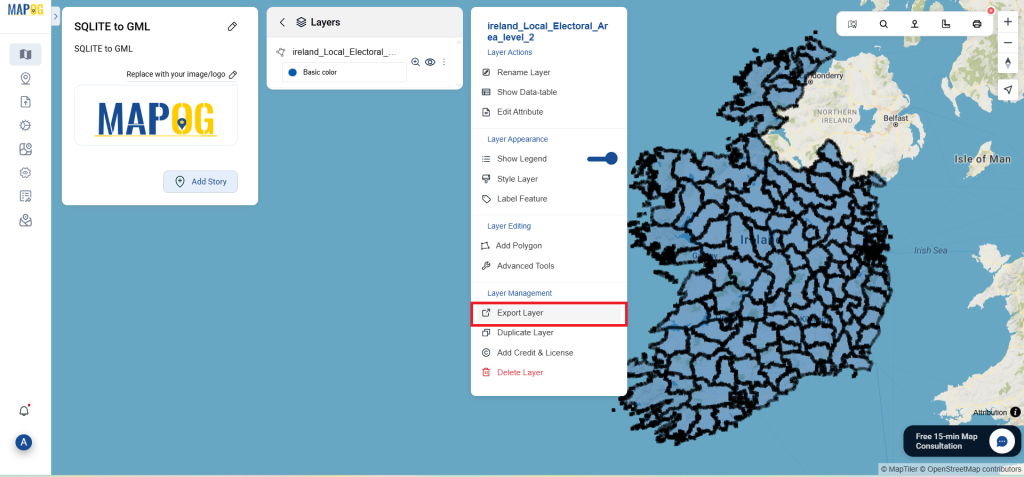
Story by MAPOG:
The Story Map feature in MAPOG allows users to create visually engaging, map-based narratives by combining geospatial data with text, images, and multimedia. It can be applied across various fields like urban planning, tourism, education, and environmental conservation. With its interactive and customizable capabilities, Story by MAPOG provides dynamic insights into specific locations or topics, making it easy to communicate complex spatial information in a clear and engaging way. This tool is ideal for professionals, educators, and students to explore and share geographical data in a user-friendly format.
Feature Tools include:
- Clip Tool
- Isochrones Tool
- Create Polygon Data
- Spatial Join
- Merge Polygon Tool
- Cross Intersection
- Nearest Neighbour
- Create Point Data