This guide will walk you through converting GPS file into MID format using the Converter Tool in MAPOG. Whether you’re new to this tool or a seasoned user, this guide will simplify the entire process, ensuring that converting GPS to MID becomes second nature.
Key Concepts in File Conversion
The Converter Tool within MAPOG is designed to effortlessly transform your data from one format to another. In fact, it works like a charm, allowing you to seamlessly input data in one form and receive it in another. Furthermore, this tool is suitable for a variety of analyses. Additionally, GIS Data can be downloaded in any format, thereby providing flexibility for various applications.
Step-by-Step GPS to MID Conversion
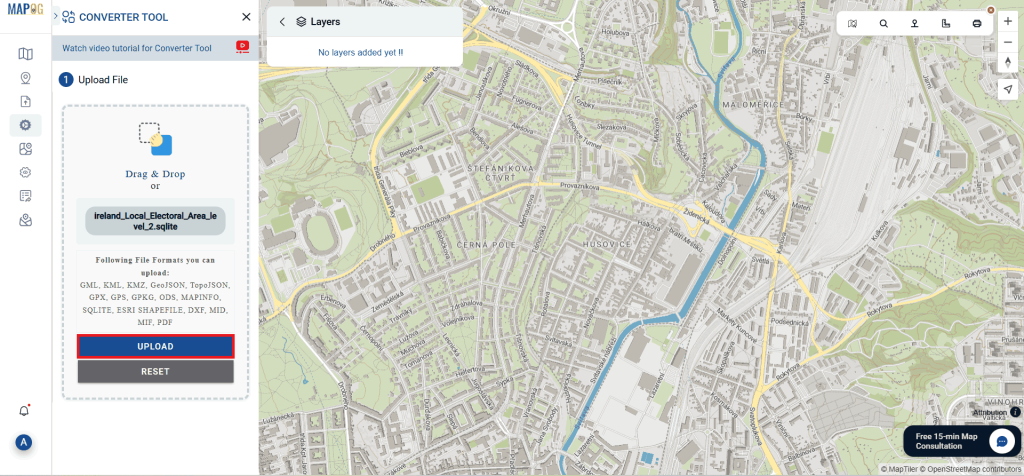
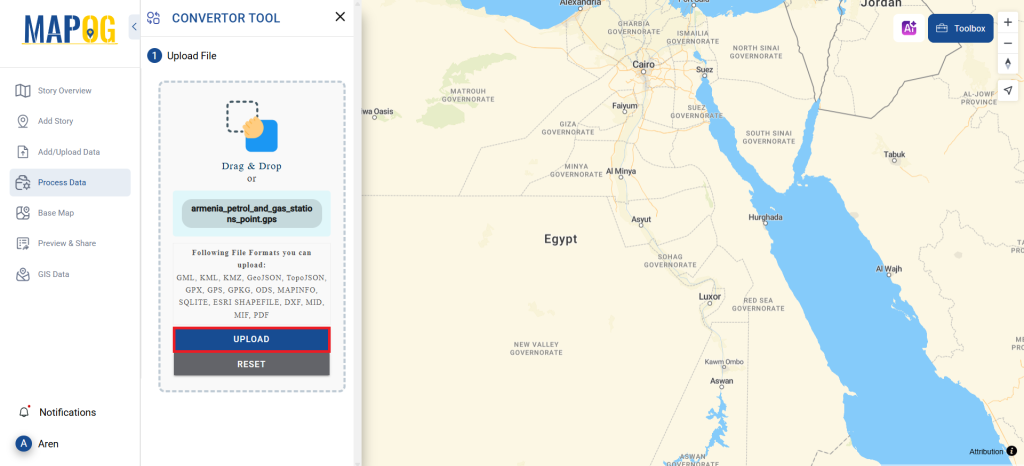
Step 1: Upload Your Data
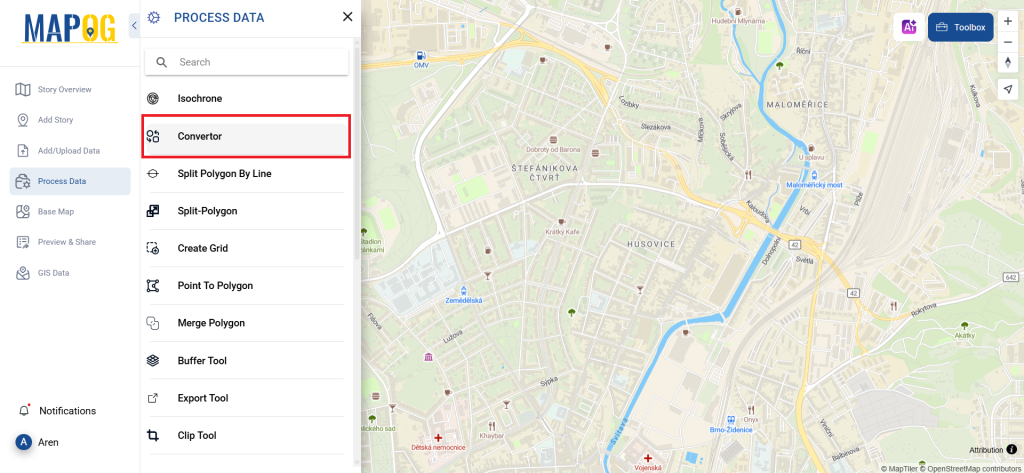
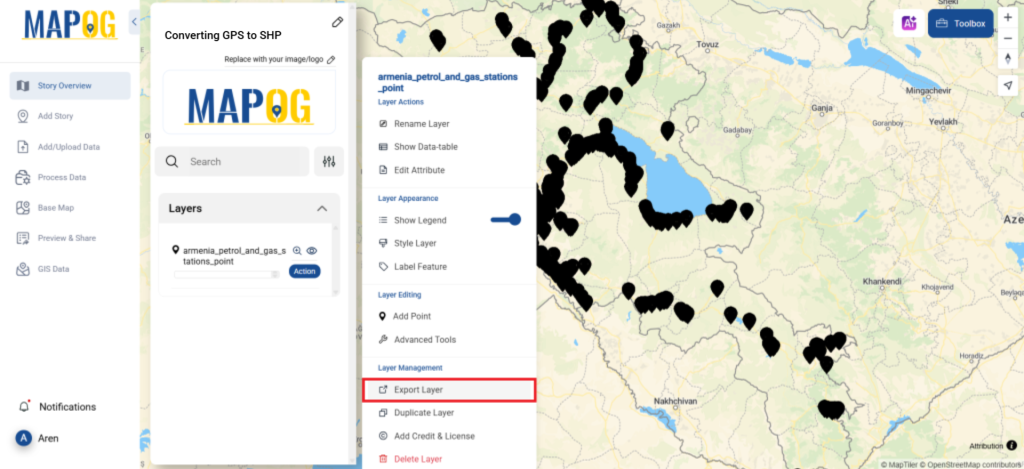
Begin by navigating to “Process Data” and selecting the “Converter Tool.”

Upload your GPS file. This is the first step where you input the data that you wish to convert.
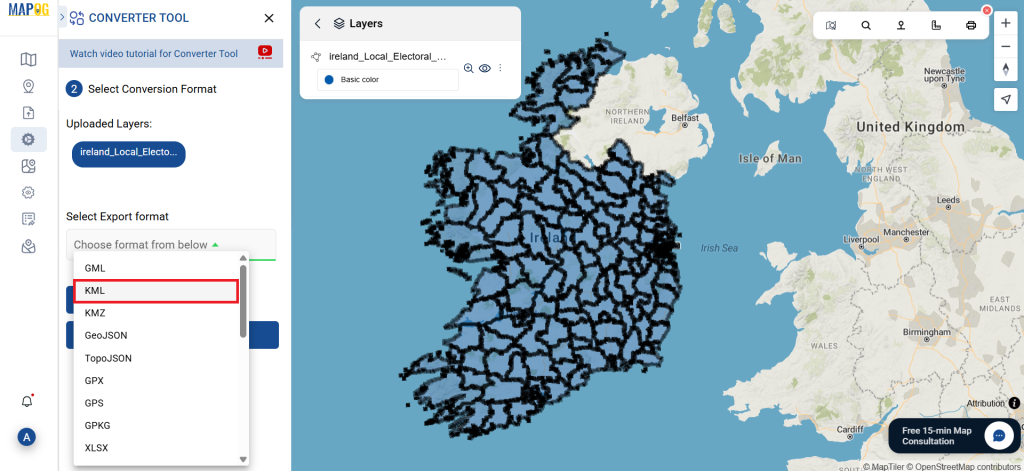
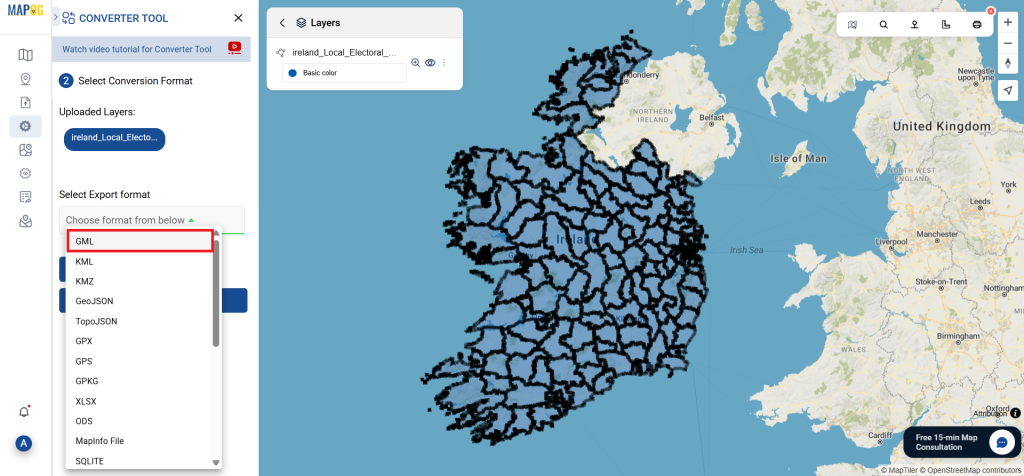
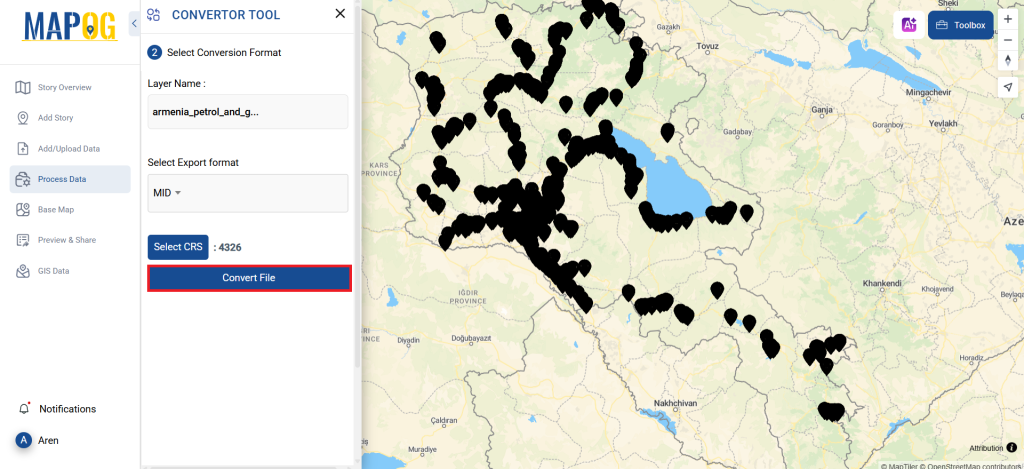
Step 2: Choose the Conversion Format
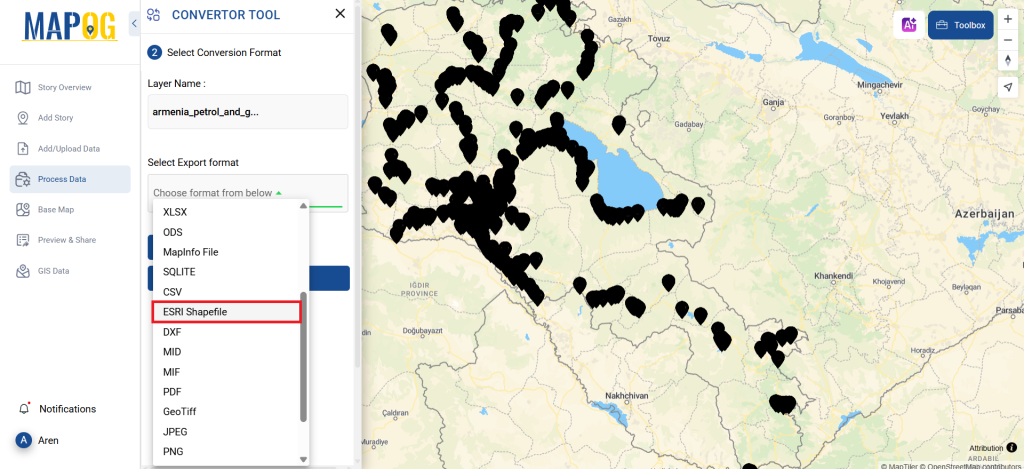
Next, select MID as your output format. Although the tool offers several conversion options, this guide focuses on converting files to MID.
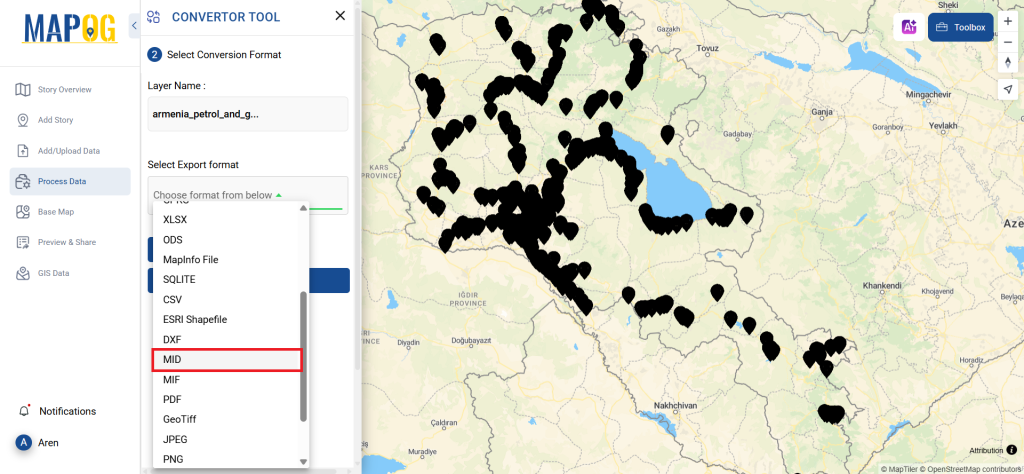
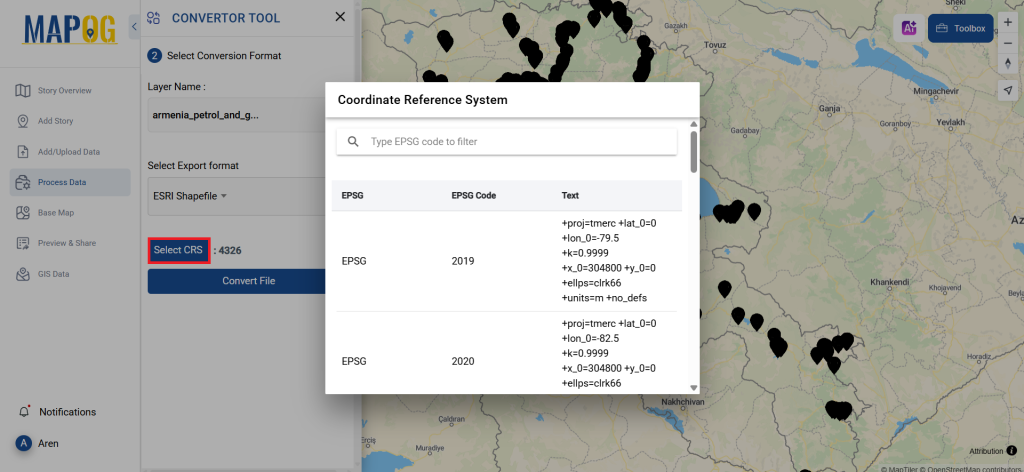
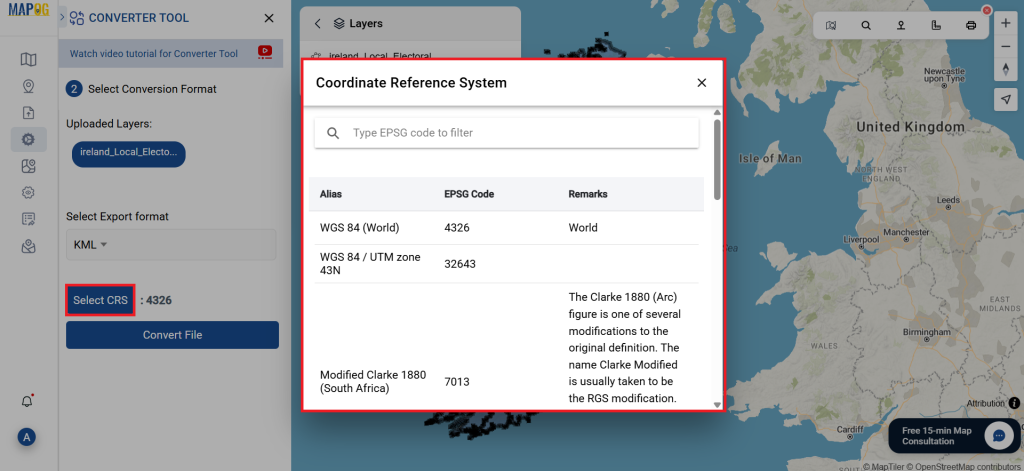
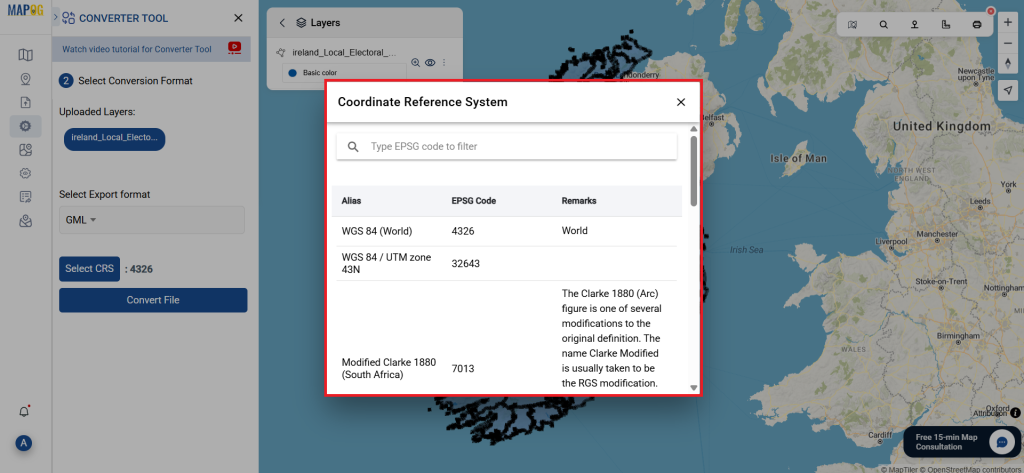
Additionally, you can adjust the CRS (Coordinate Reference System) to ensure that your data is perfectly aligned with your spatial analysis needs.

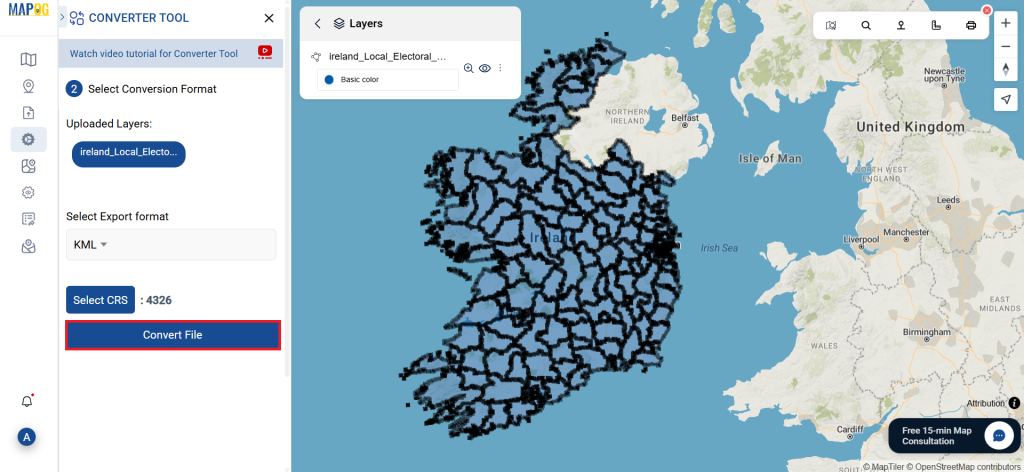
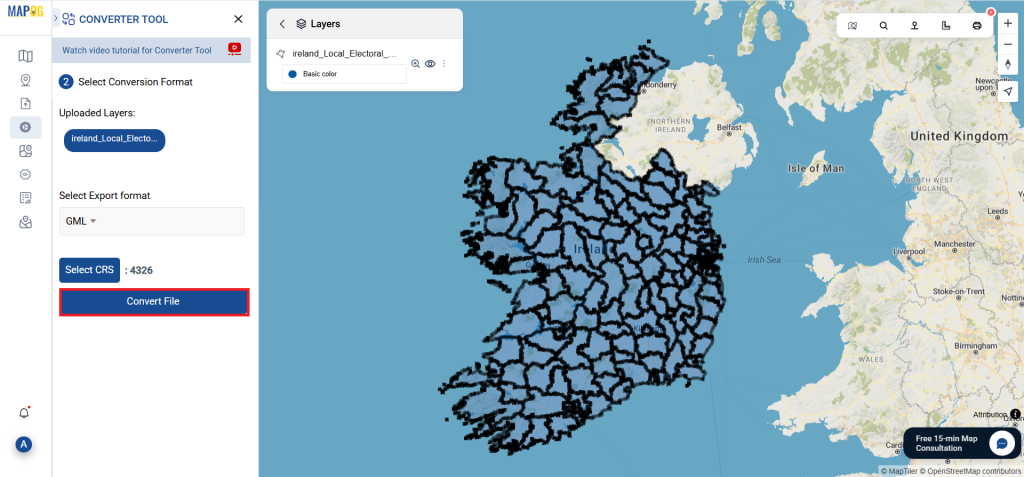
Step 3: Execute the Conversion
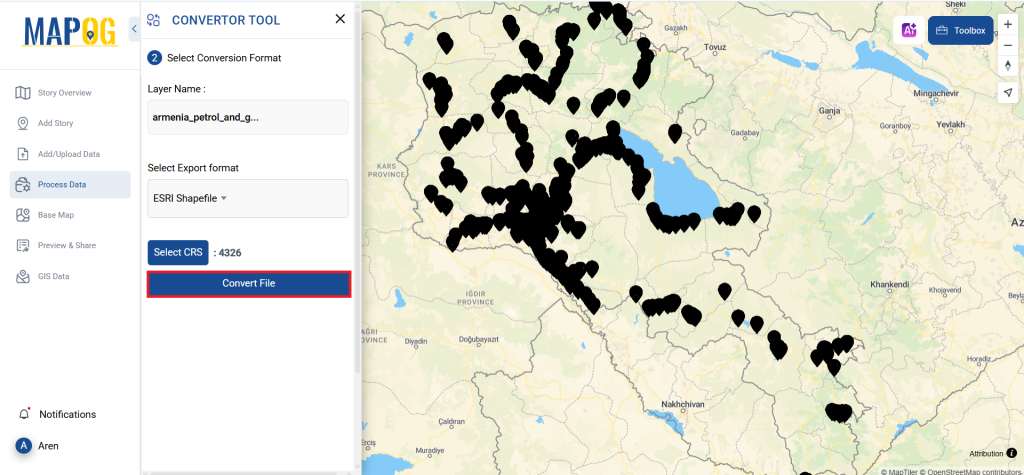
Proceed to the ‘Convert Files’ section, and let the tool work its magic. The Converter Tool will transform your data from the GPS format to MID.
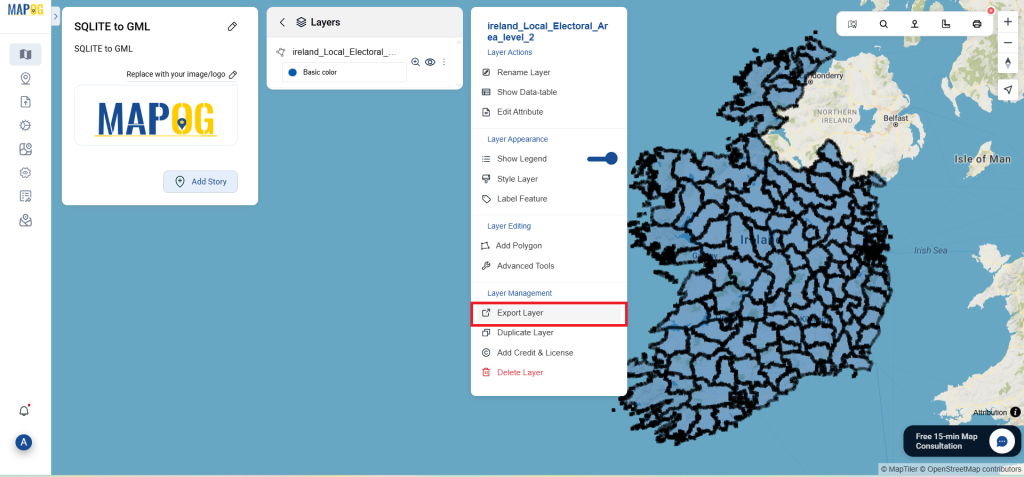
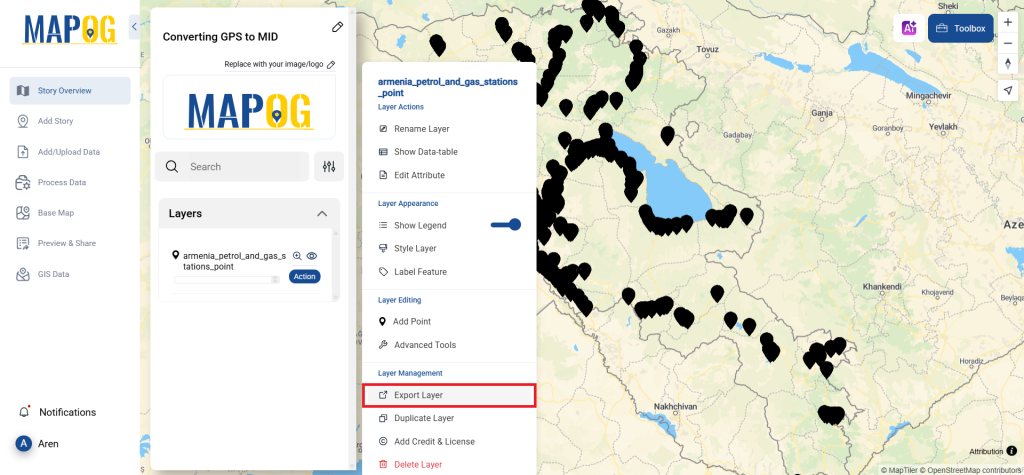
Step 4: Review and Download
Once the conversion is complete, review your MID data to ensure everything is correct. If you’re satisfied with the results, download the file. This review step is crucial to confirm that the conversion was successful and that your data remains intact.
Step 4: Measure Distance
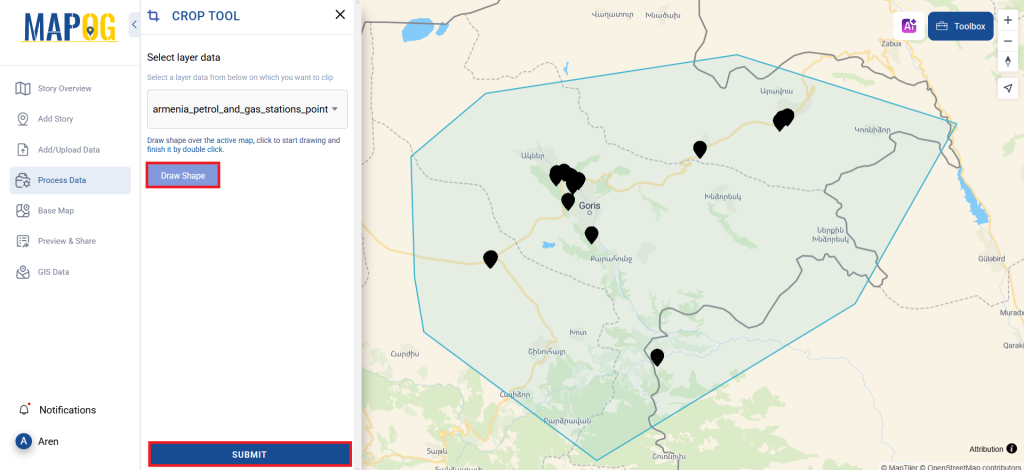
You can easily measure the distance between two gas stations by using the measurement tools available. To begin, in the upper right corner, you’ll find the toolbox. It offers two options for measuring distances and areas. Simply select the first option, and then drag a line between the two points you wish to measure. As a result, the distance in kilometers will be displayed in the map interface.

And there you have it! You’ve successfully converted your GPS files into MID format using the MAPOG Converter Tool. This feature simplifies the process of working with different data formats, making your tasks more efficient and your work more productive.
MAPOG has a lot of feature tool. These feature tools allow us to perform a variety of tasks. For example, you can clip or crop your data with the clip tool, style your numeric data with the quantity style tool, create grid on your map with the create grid tool, and more.
Here are some other blogs you might be interested in:
- Convert Online GIS data : KML to PDF file
- Converting KML to GeoTIFF , Online Gis Data Converter
- Converting KMZ to SHP : Online GIS Data Conversion
- Converting TopoJSON to SHP Online : GIS Data Converter
- Converting GeoJSON to TopoJSON with MAPOG
- Converting GeoJSON to CSV with MAPOG
- Converting KMZ to KML with MAPOG
- Converting GML to KML with MAPOG
- Convert KMZ to TopoJSON Online
- Converting KMZ to GeoJSON Online
- Convert KML to MID Online
- Online Conversion KML to MIF