This guide will walk you through a straightforward process to convert SQLITE to MapInfo file using the Converter Tool in MAPOG. Whether you’re just getting started or already familiar with the platform, these step-by-step instructions are designed to be clear, practical, and easy to follow. As you move through each step, you’ll see how simple it is to transform your SQLITE data into MapInfo format efficiently.
Key Concept to Converting Files:
To begin with, the Converter Tool in MAPOG acts as a powerful utility that allows you to seamlessly switch between data formats. Instead of manually handling complex file types, you just upload your file and let the tool take over. It quickly processes your input, delivering the converted output tailored for your geospatial analysis. Moreover, GIS Data can be downloaded in various formats, offering flexibility for a wide range of applications.
Online GIS Data Conversion
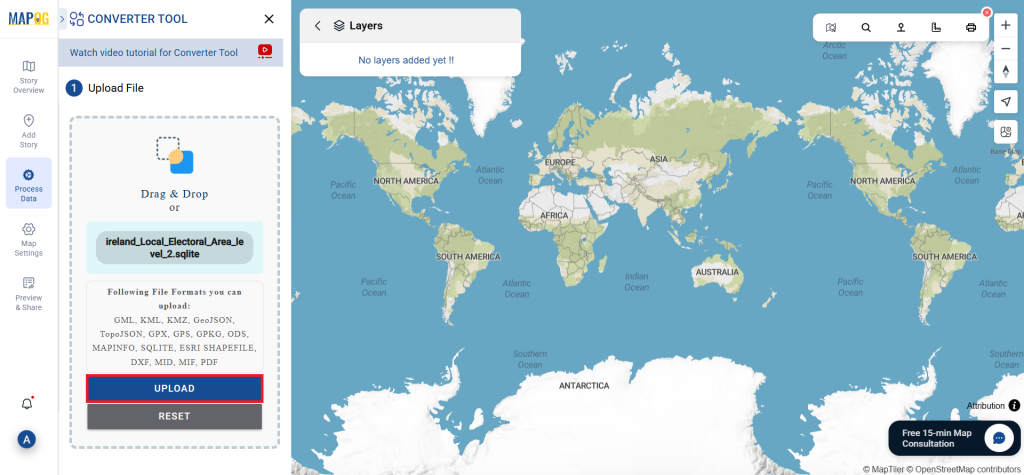
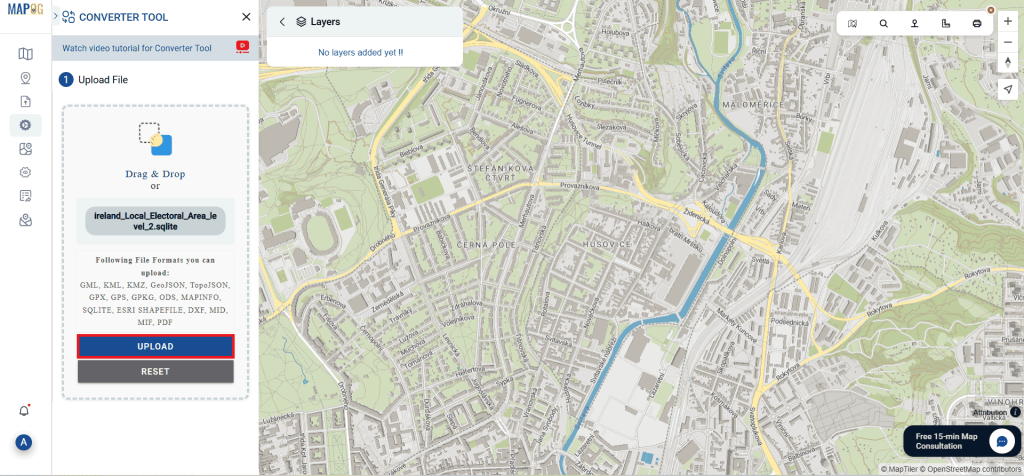
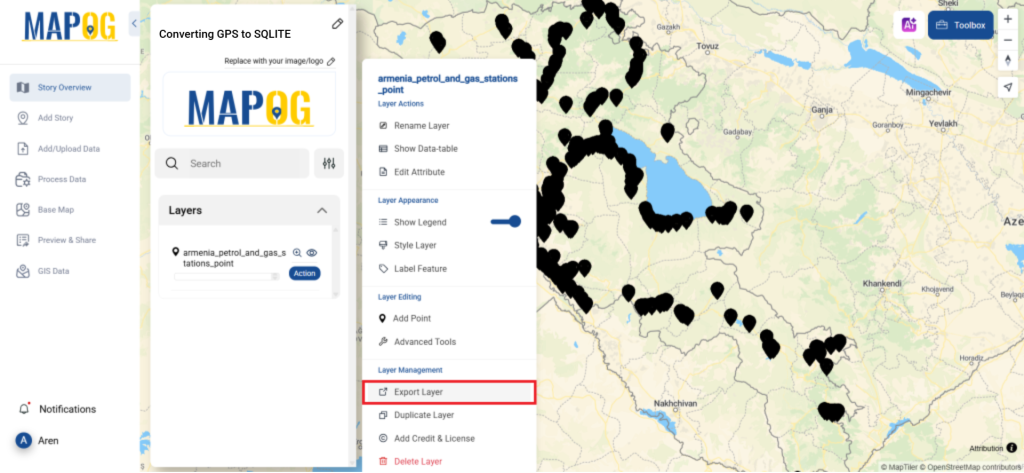
Step 1: Upload Your Data:
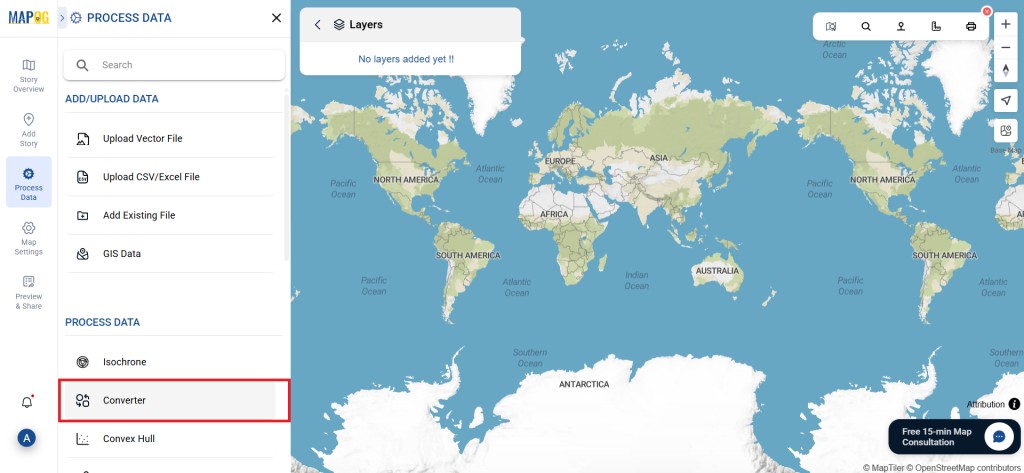
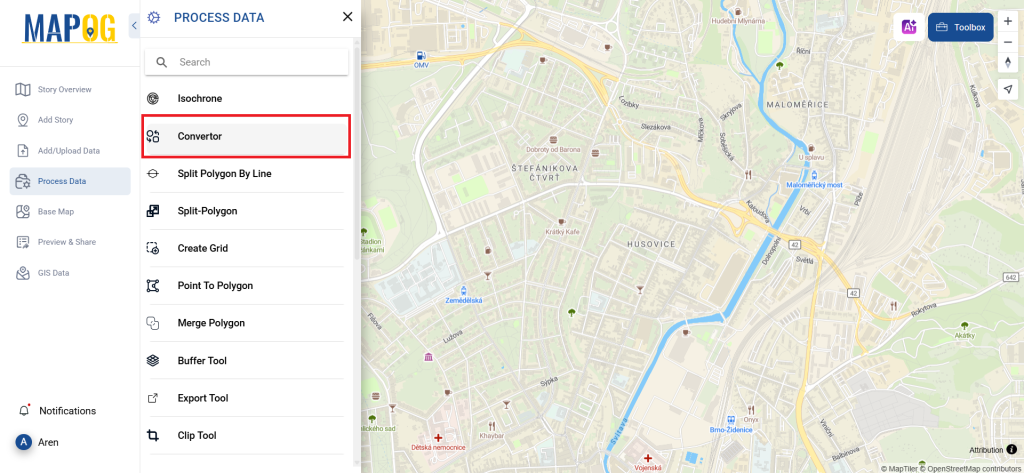
- Navigate to “Process Data” and select the “Converter Tool” option.

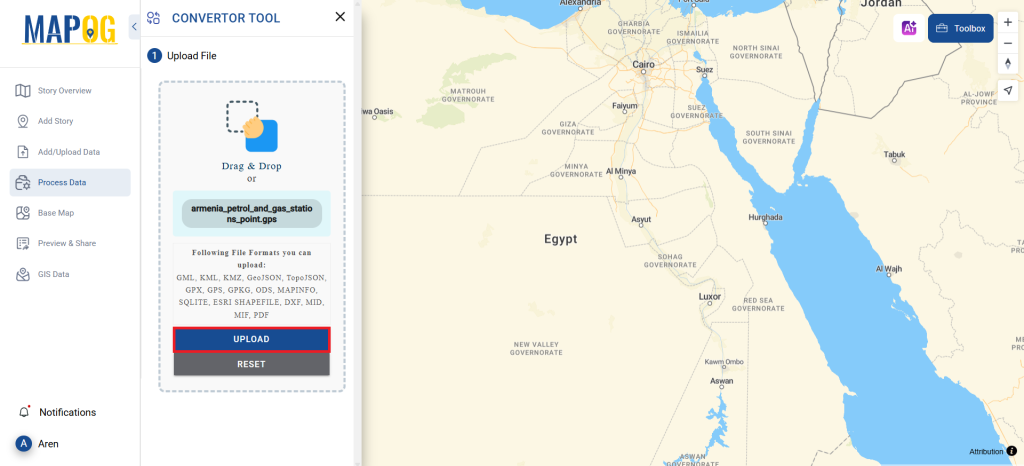
2. Upload your SQLITE file, that needs conversion.

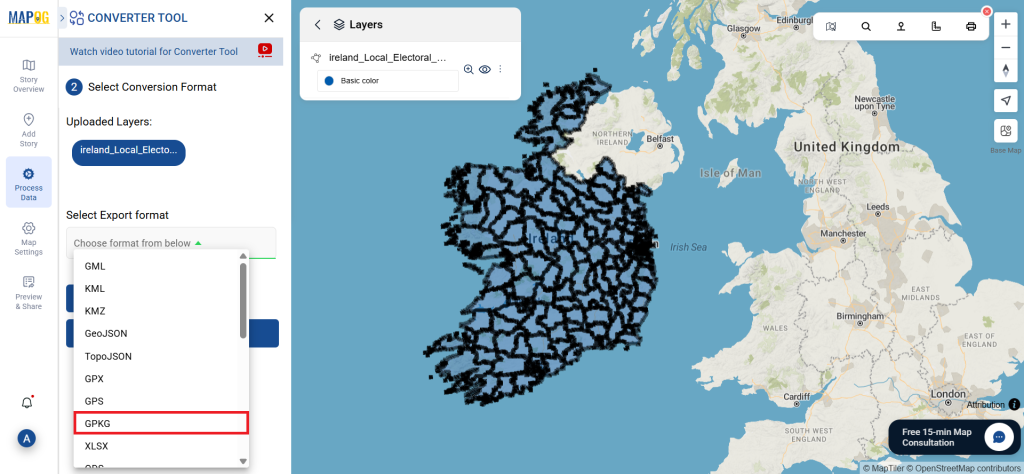
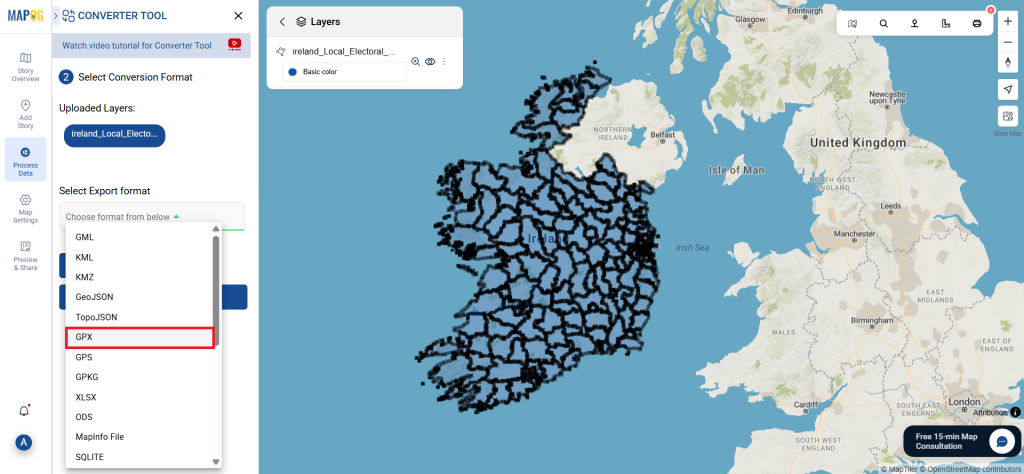
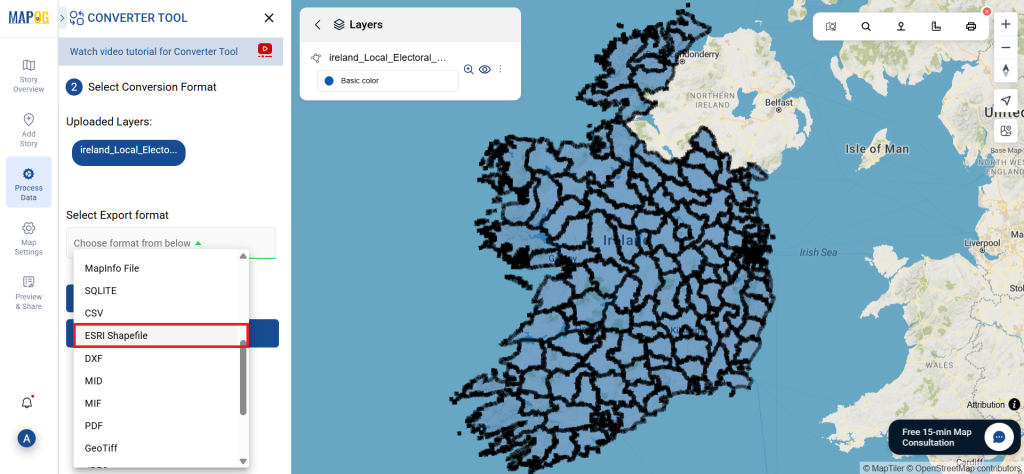
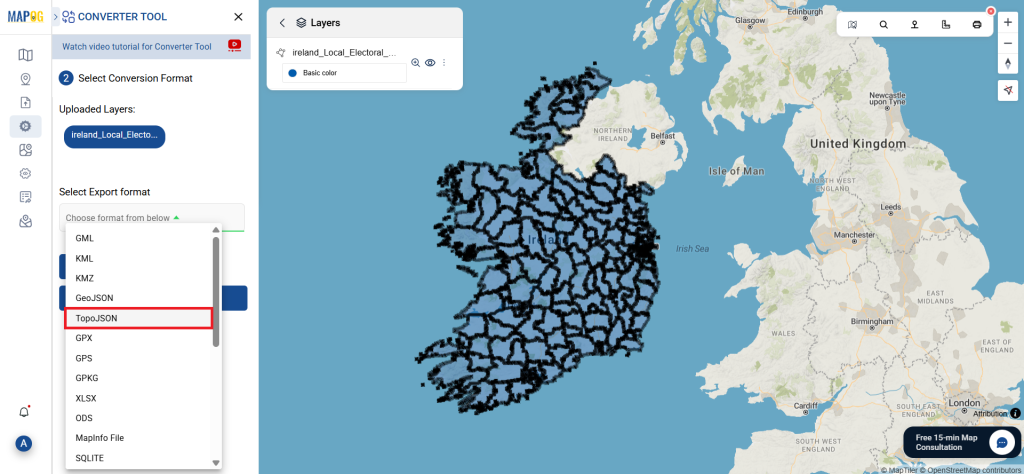
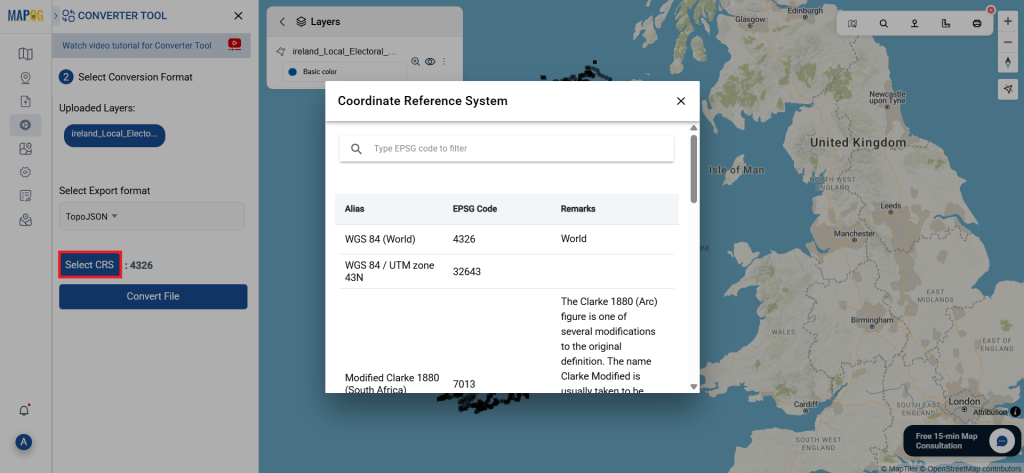
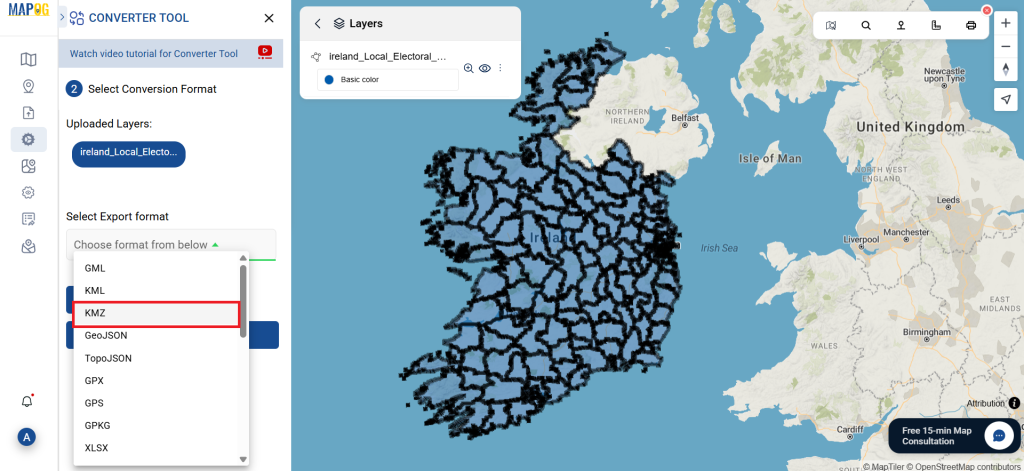
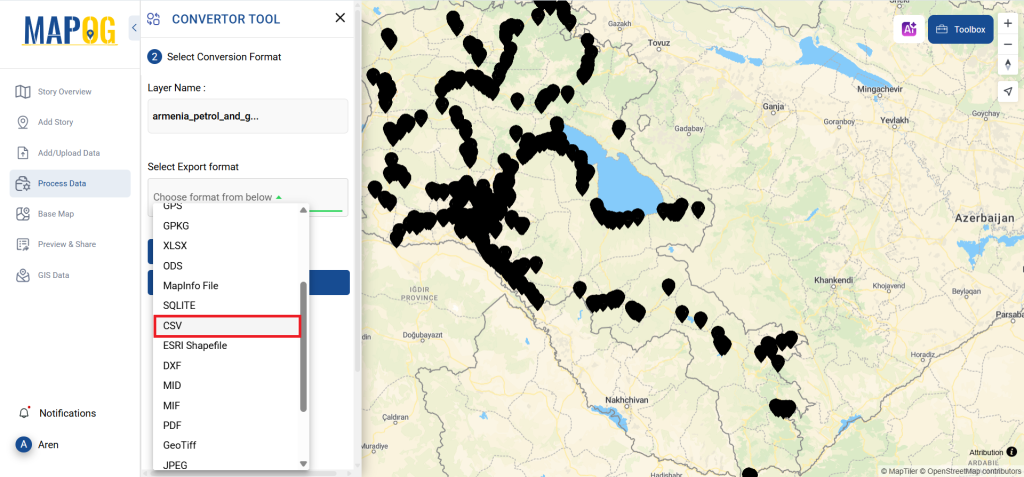
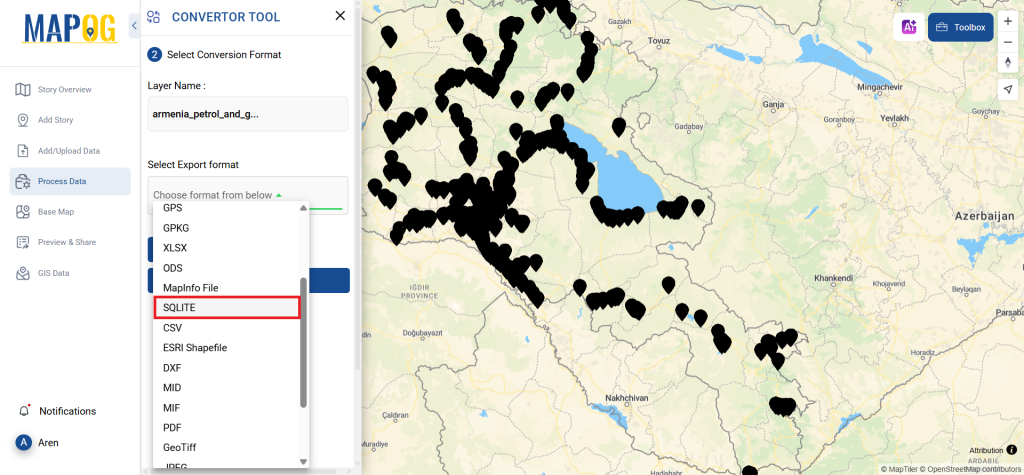
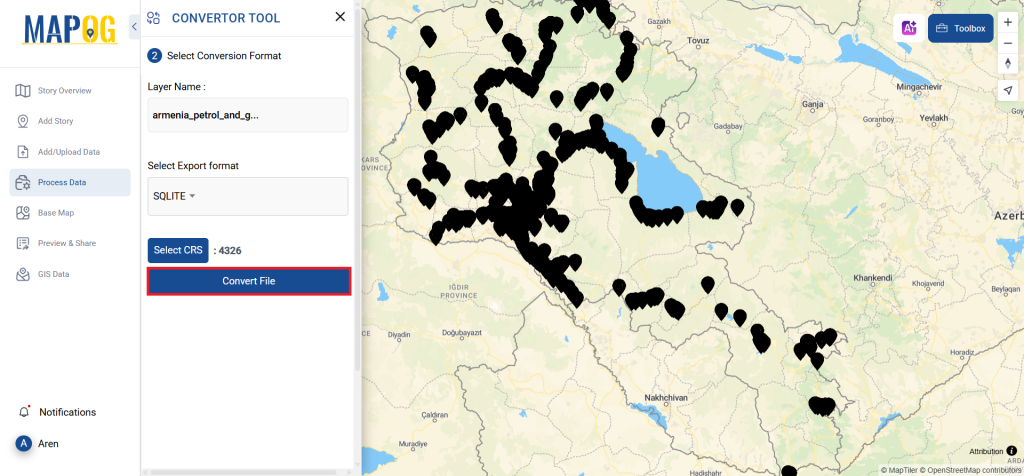
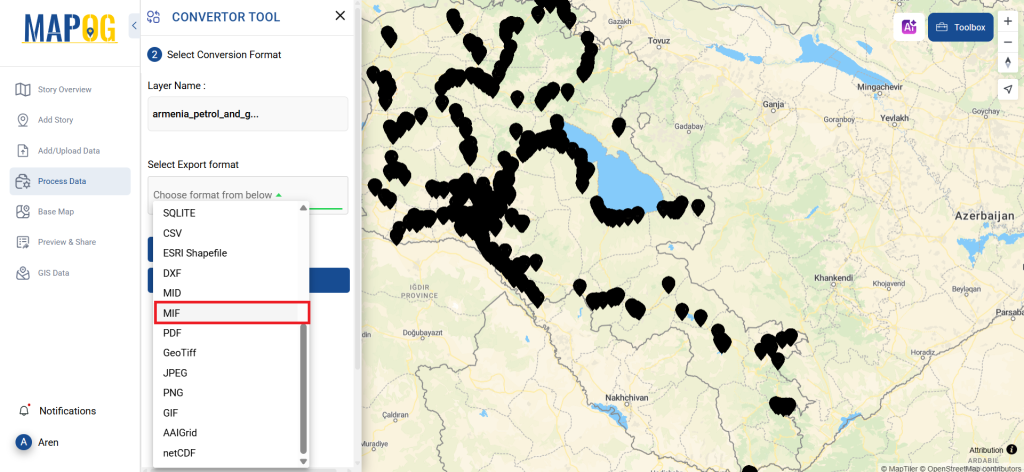
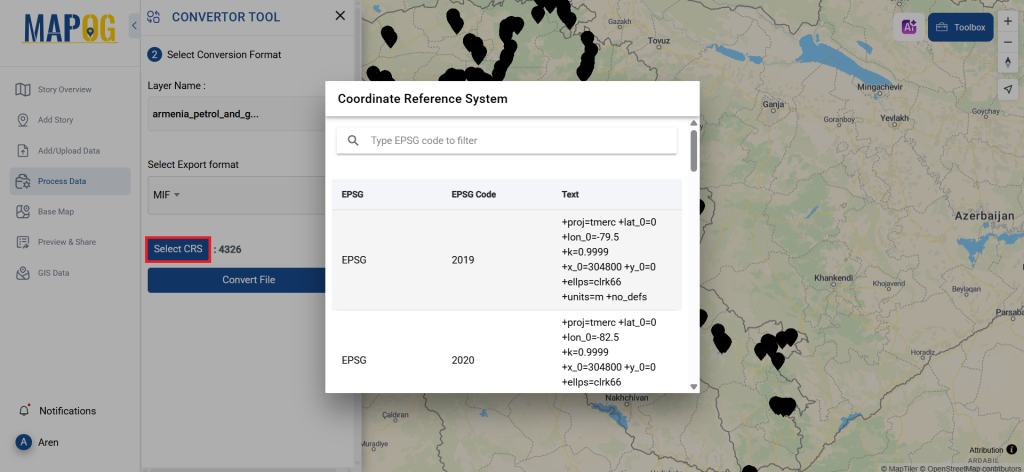
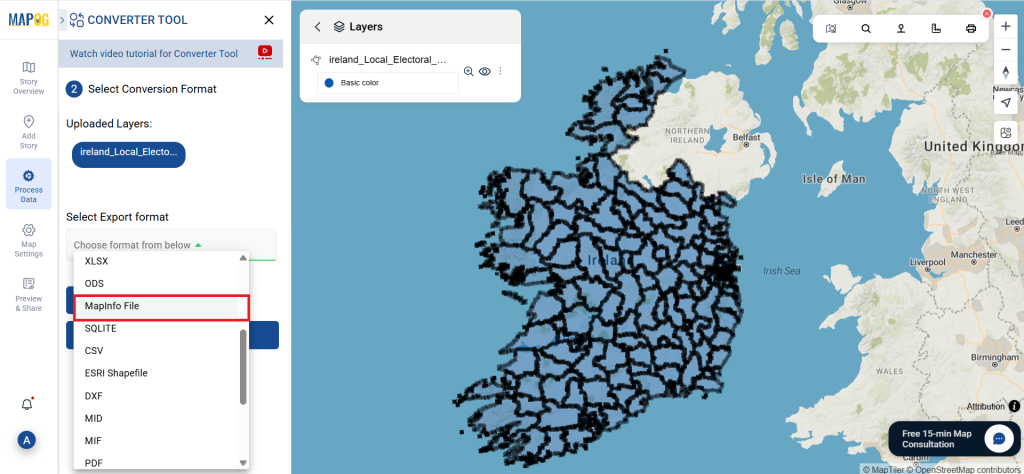
Step 2: Choose the Conversion Format:
Furthermore, MAPOG offers flexibility by allowing GIS data downloads in multiple formats. So, depending on your project requirements, you can choose the one that fits best. In this case, pick MapInfo File as your output format if your goal is to export only the core data.
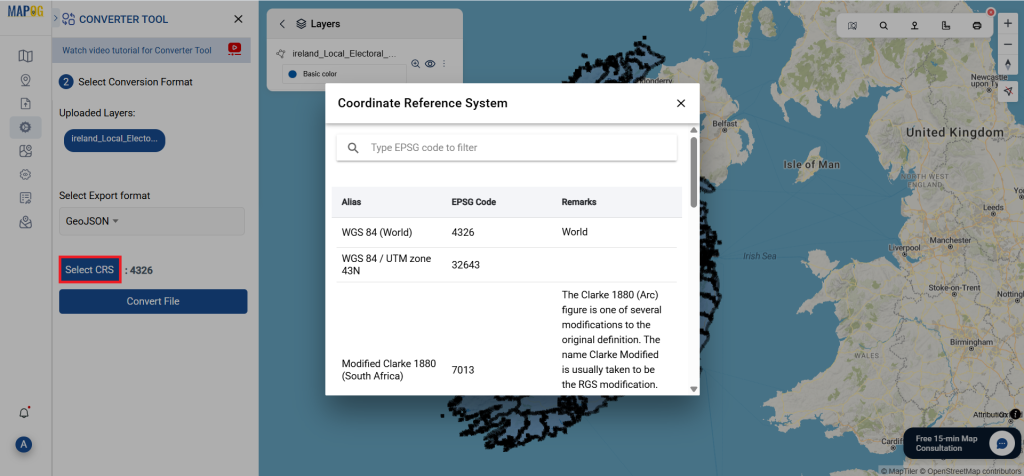
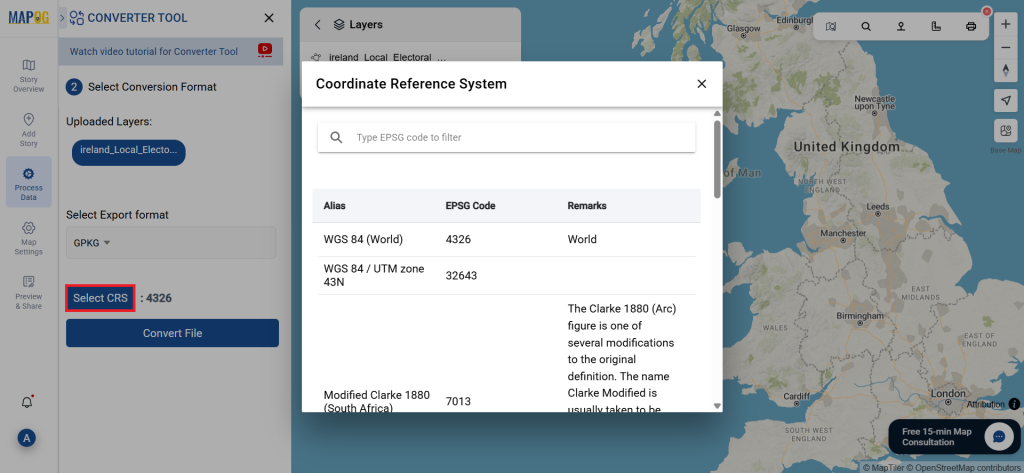
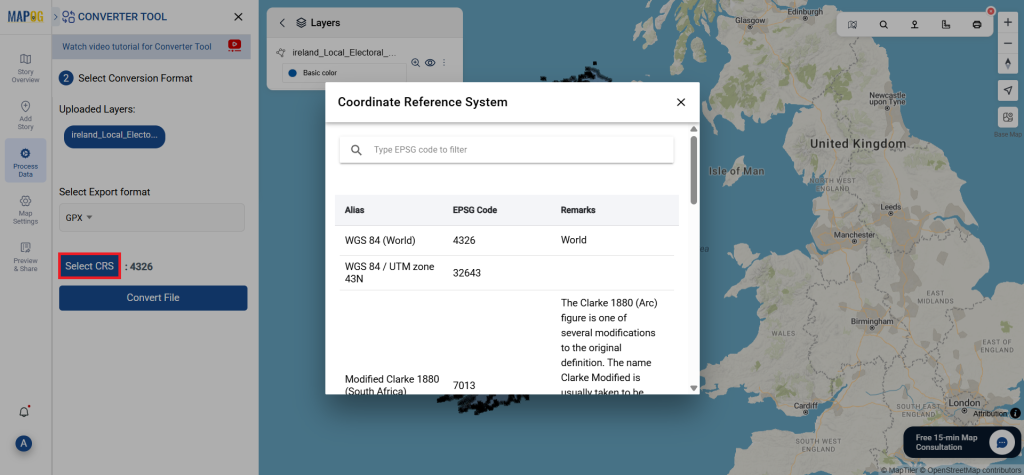
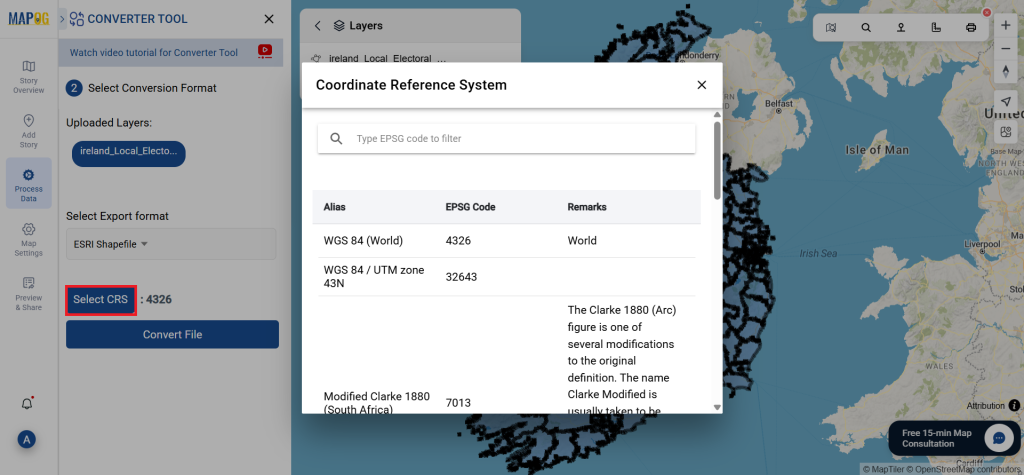
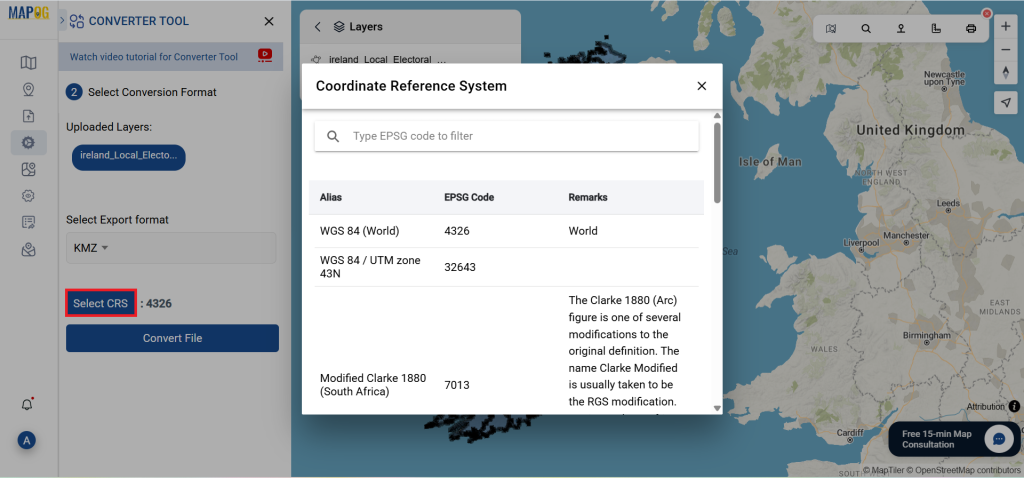
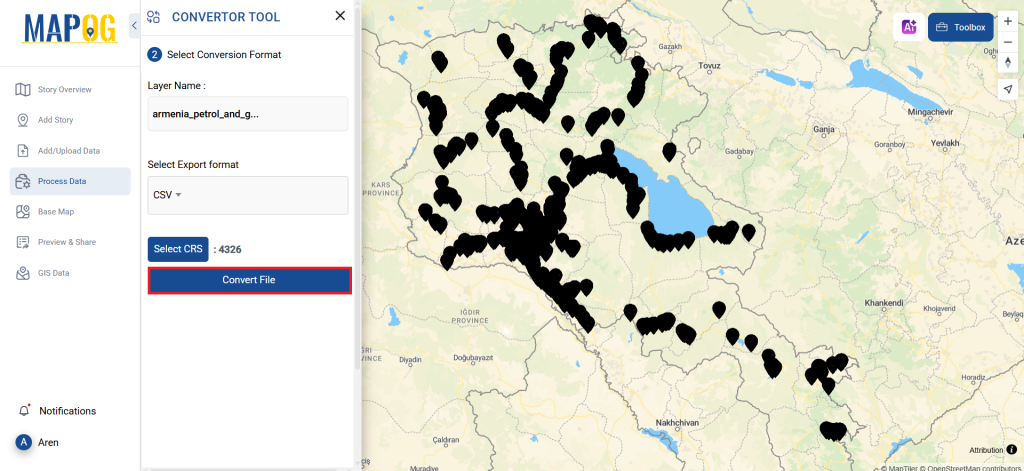
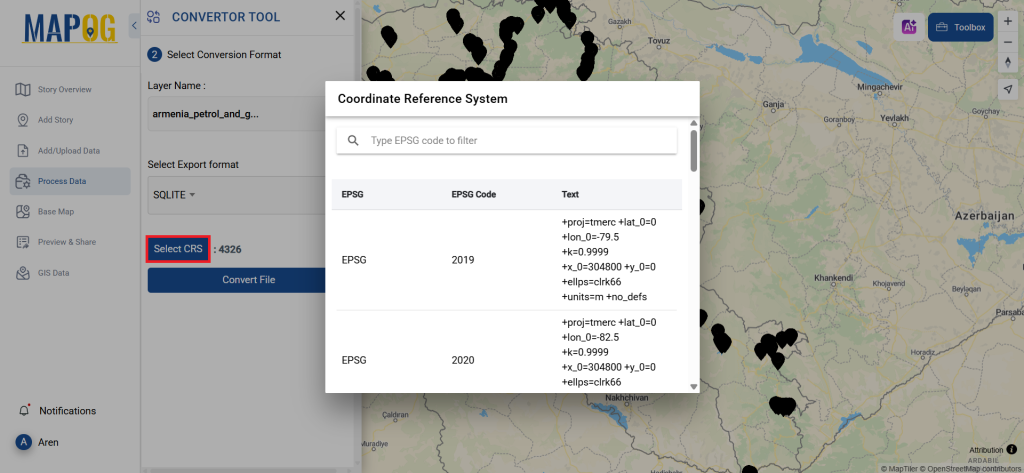
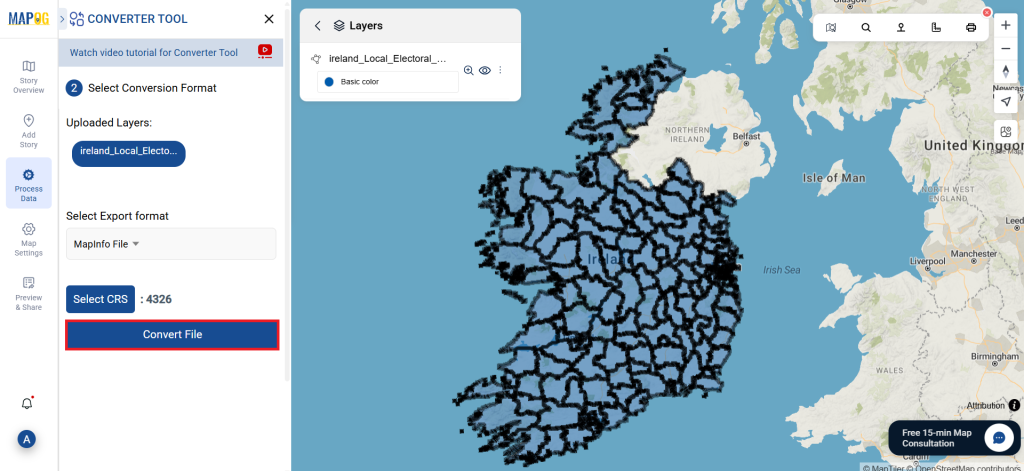
- You can also set the Output CRS as per your spatial analysis.

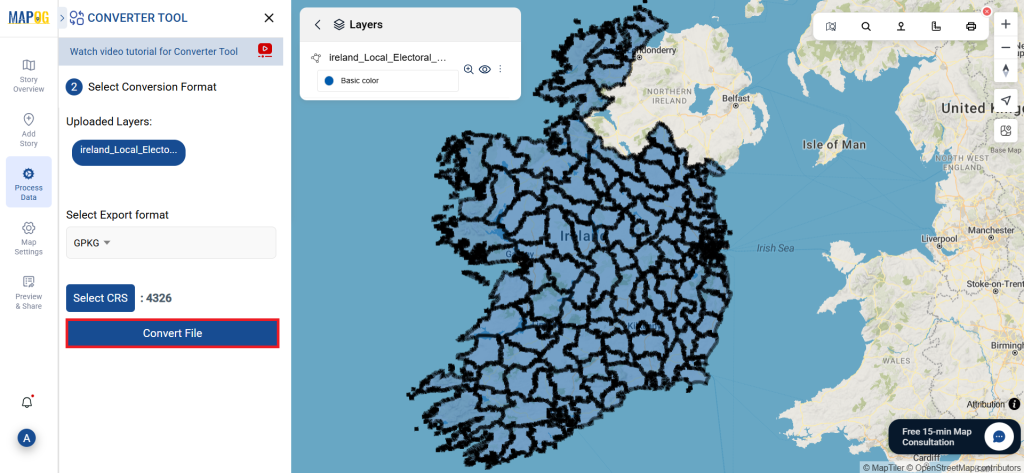
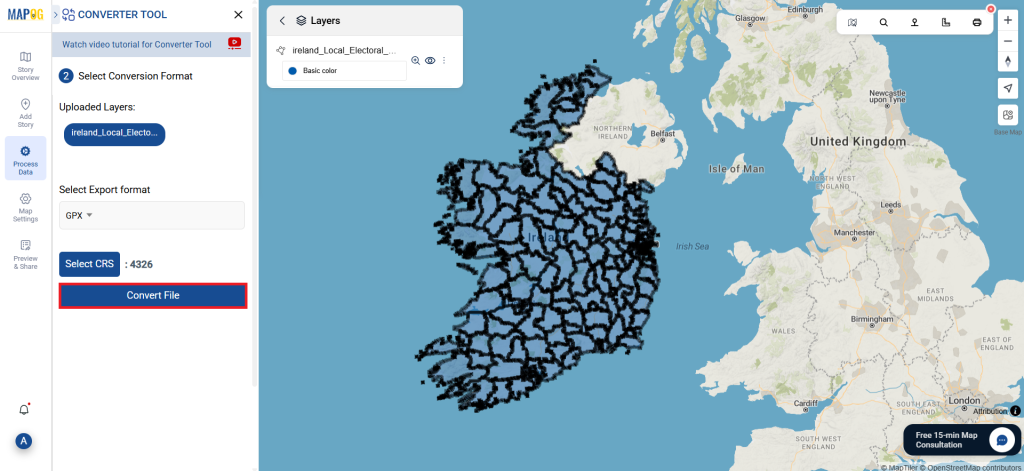
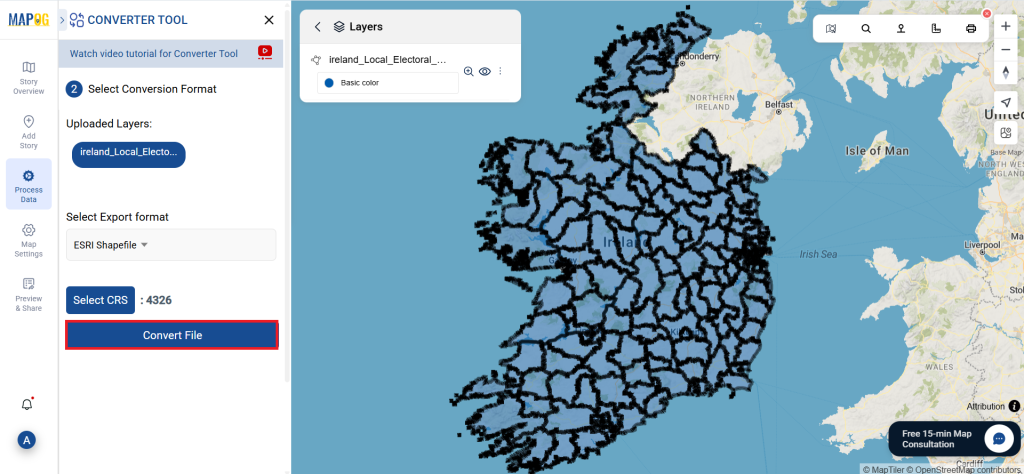
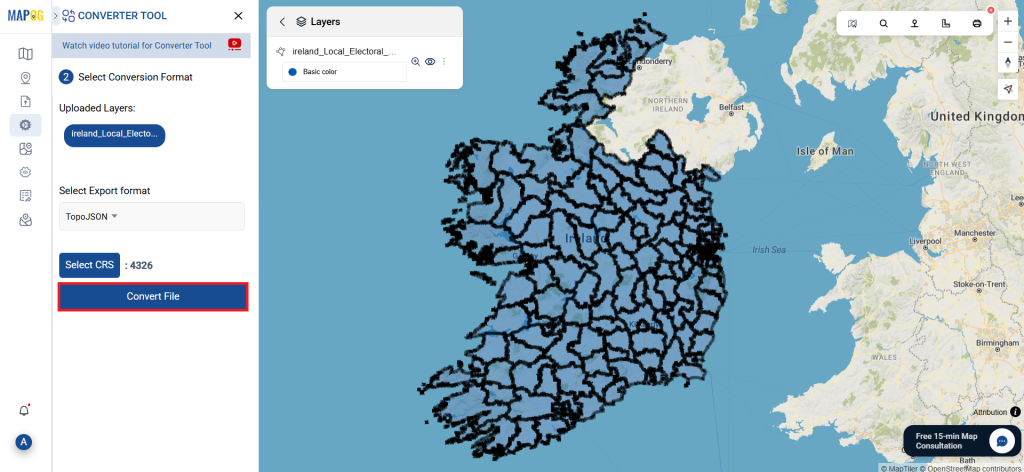
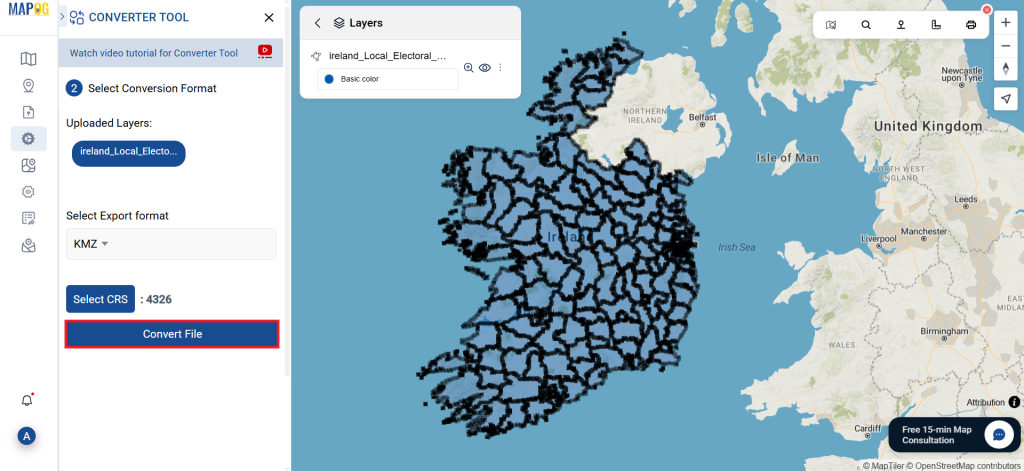
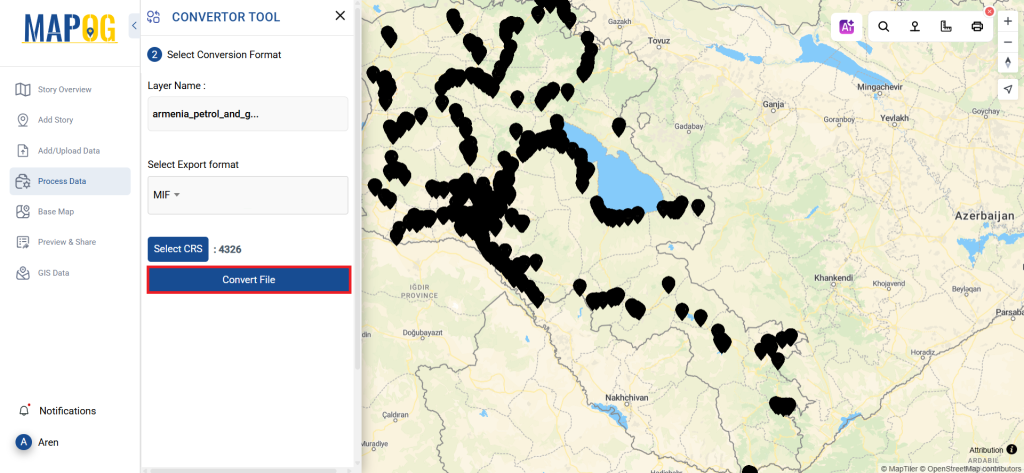
Step 3: Execute the Conversion:
Head over to ‘Convert Files’ and let the tool do its magic. Simply input your data, and the Converter Tool will transform it from SQLITE format toMapinfo File format.
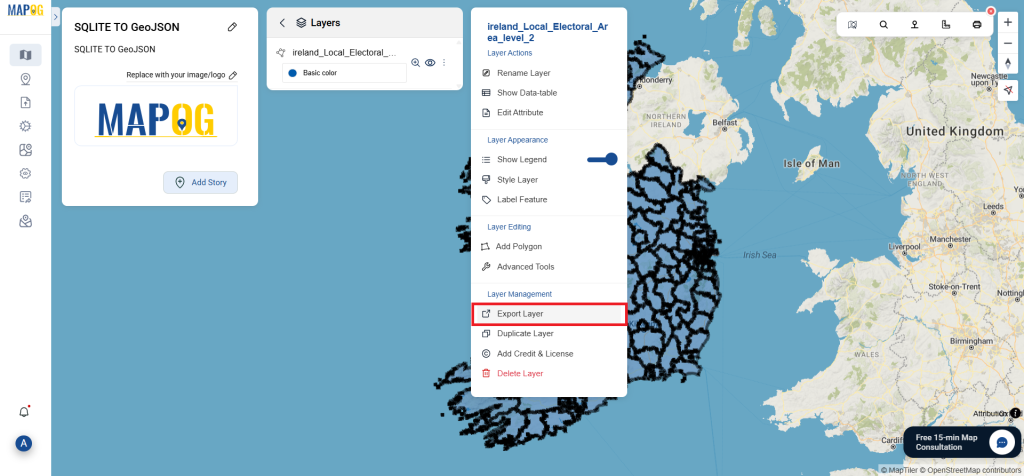
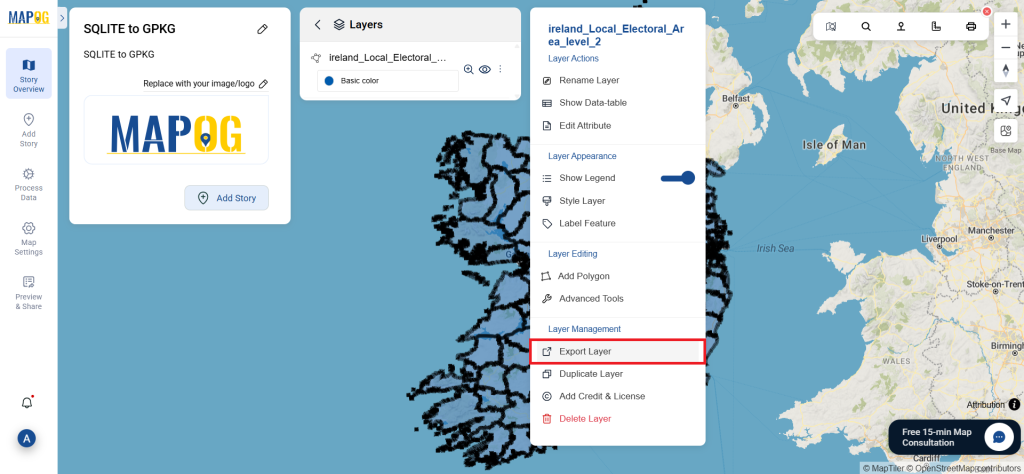
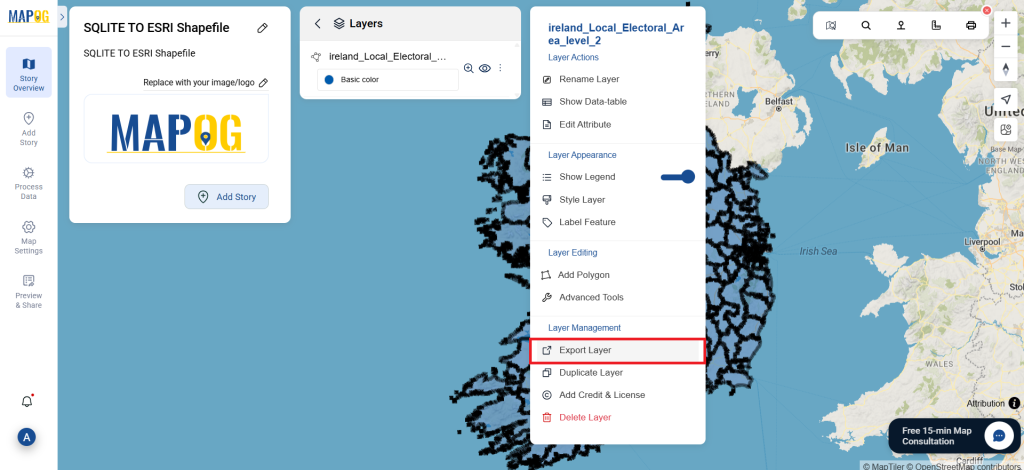
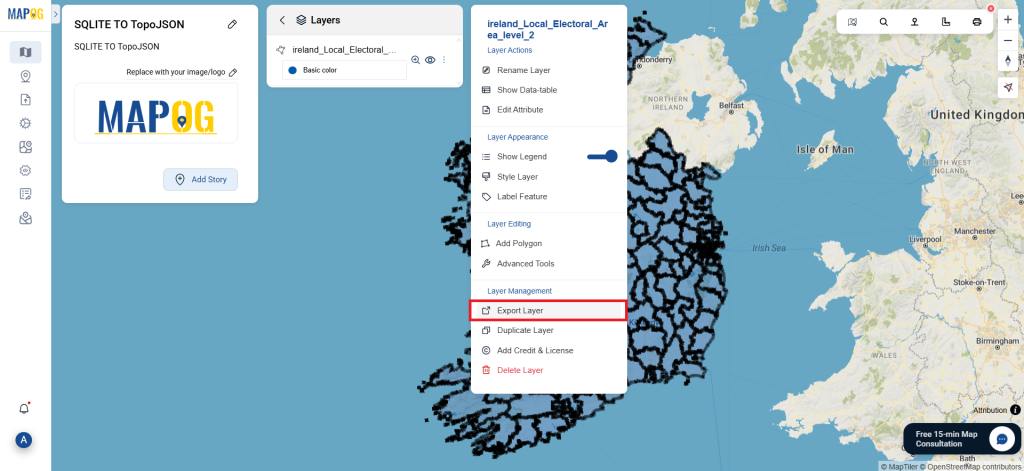
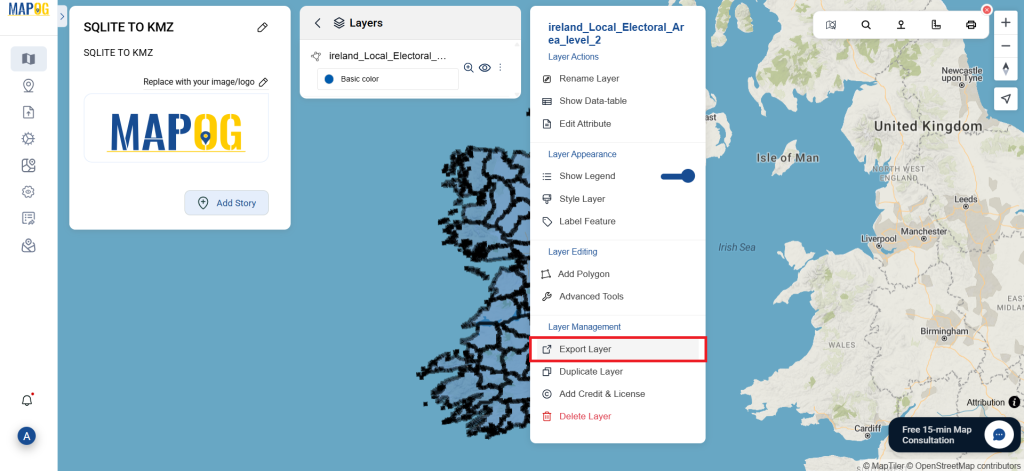
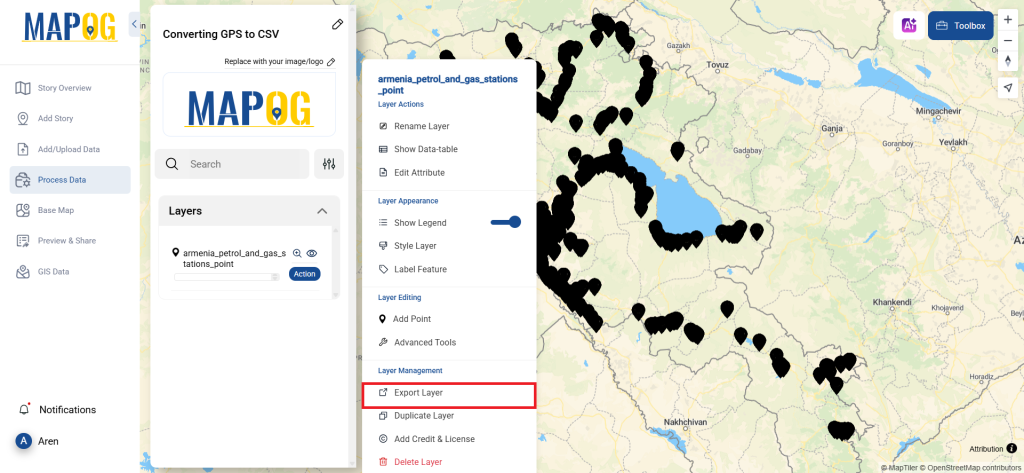
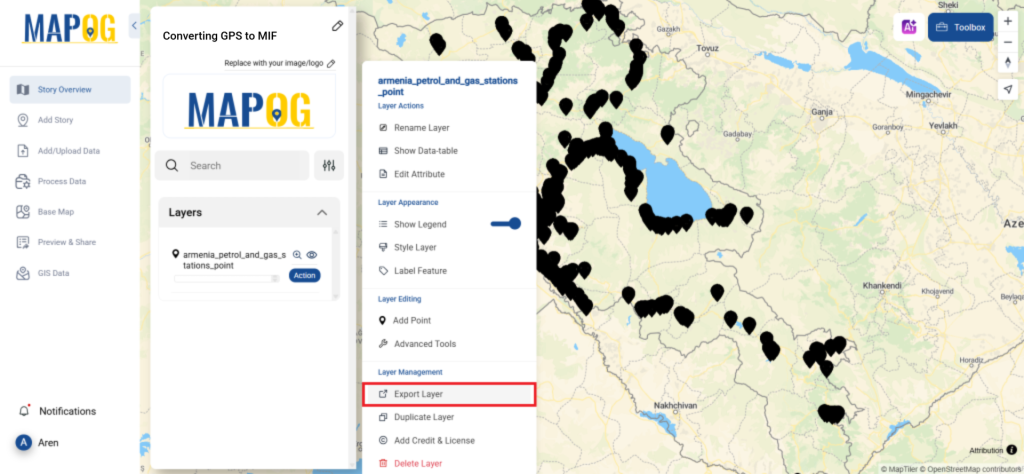
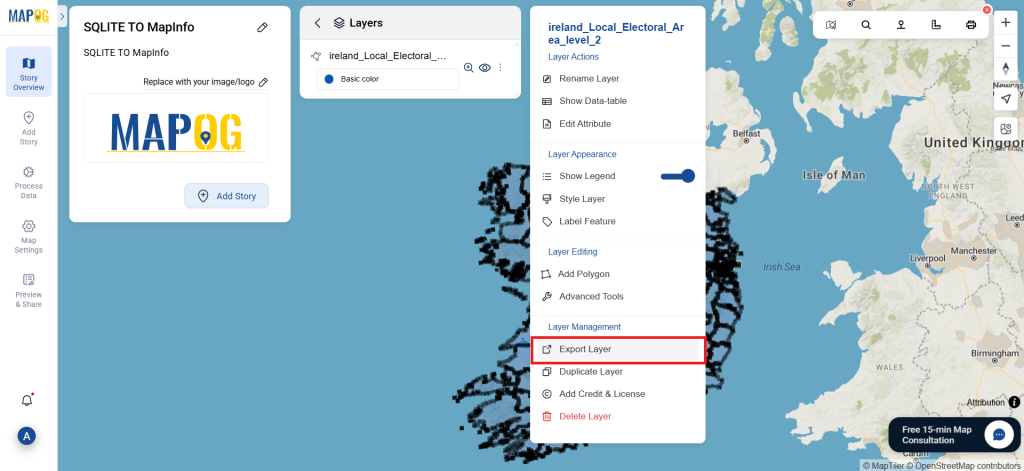
Step 4: Review and Download:
Carefully check your converted Mapinfo data to ensure accuracy. Once you’re satisfied with the results, proceed to download the file. This step is crucial to confirm that the conversion was successful and that all your data has been preserved.
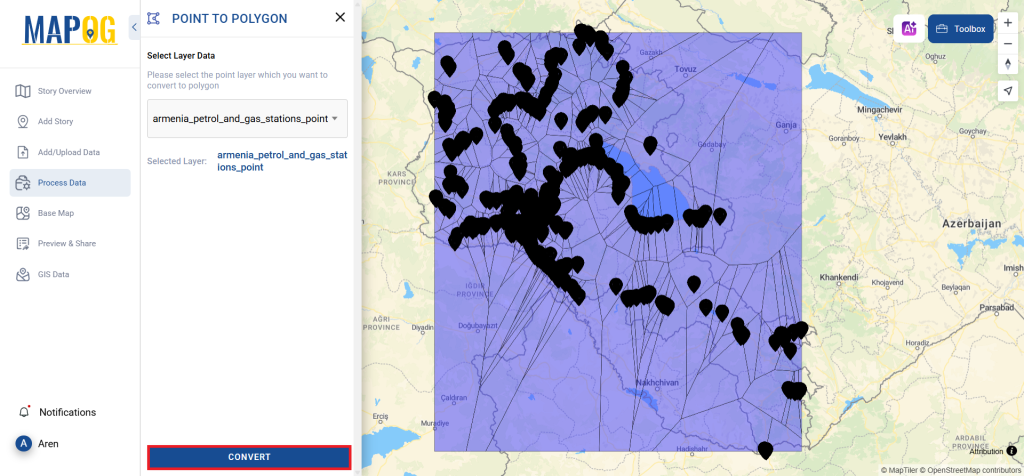
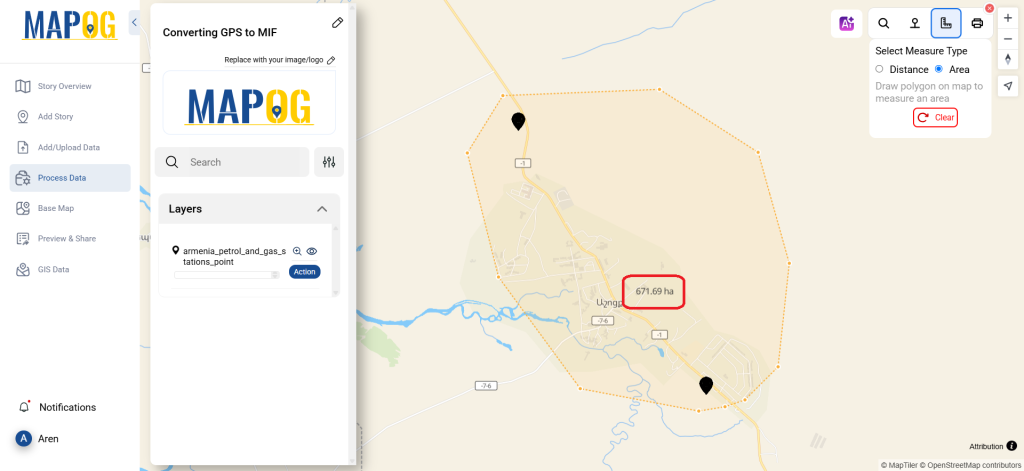
With MAPOG’s versatile toolkit, you can effortlessly upload vectors and upload Excel or CSV data, incorporate existing layers, perform polygon splitting, use the converter for various formats, calculate isochrones, and utilize the Export Tool.
Here are some other blogs you might be interested in:
- Convert Online GIS data : KML to PDF file
- Converting KML to GeoTIFF , Online Gis Data Converter
- Converting KMZ to SHP : Online GIS Data Conversion
- Converting TopoJSON to SHP Online : GIS Data Converter
- Converting GeoJSON to TopoJSON with MAPOG
- Converting GeoJSON to CSV with MAPOG
- Converting KMZ to KML with MAPOG
- Converting GML to KML with MAPOG
- Convert KMZ to TopoJSON Online
- Converting KMZ to GeoJSON Online
- Convert KML to MID Online