This guide will take you through the simple steps of Convert SQLITE to PNG format using the Converter Tool in MAPOG. Whether you’re new to the tool or already familiar with it, this tutorial will, first of all, show you just how easy and fast it is to Convert SQLITE to PNG with MAPOG. To begin with, we’ll walk you through each step, in detail, so that the process is completely clear and easy to follow. In fact, even if you’ve never used the tool before, you’ll find it intuitive.
Key Concept of File Conversion:
The Converter Tool in MAPOG is designed to effortlessly transform data from one format to another. You input your data in one format, and the tool outputs it in a different format tailored to your analysis needs. Additionally, GIS Data can be downloaded in multiple formats, providing versatility for various uses.
Online GIS Data Conversion
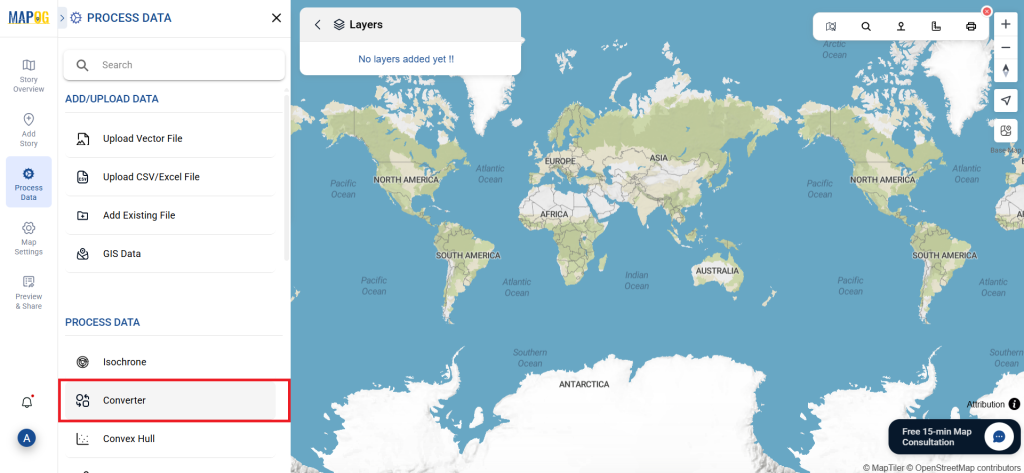
Step 1: Upload the Data:
Go to “Process Data” and select the “Converter Tool” option.
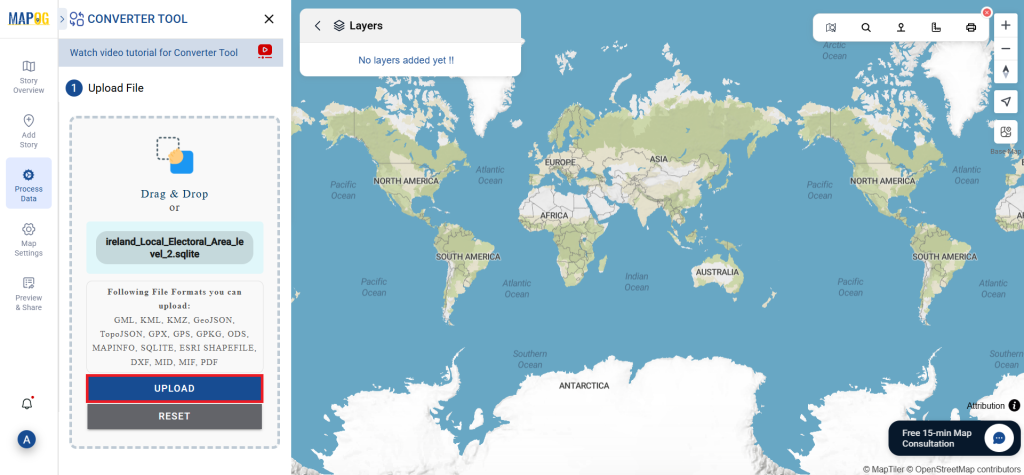
Upload your SQLITE file. This is where you input the data that you want to convert.
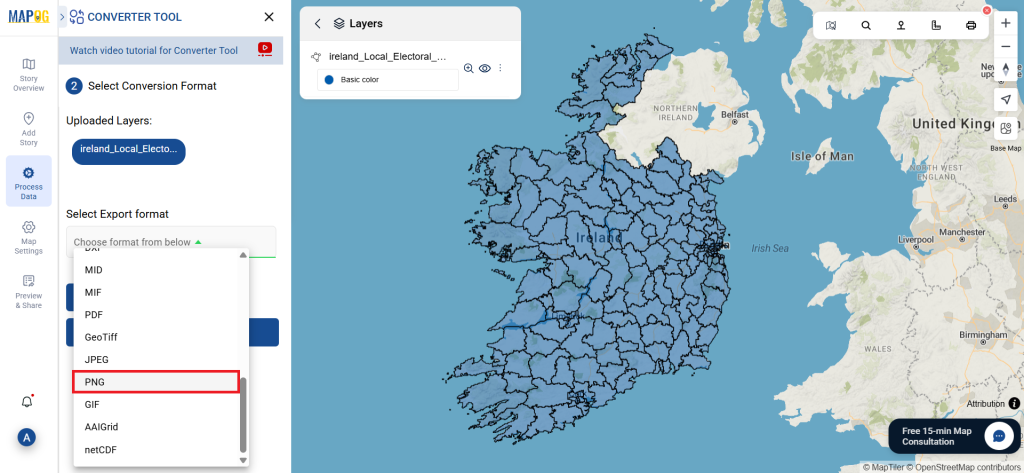
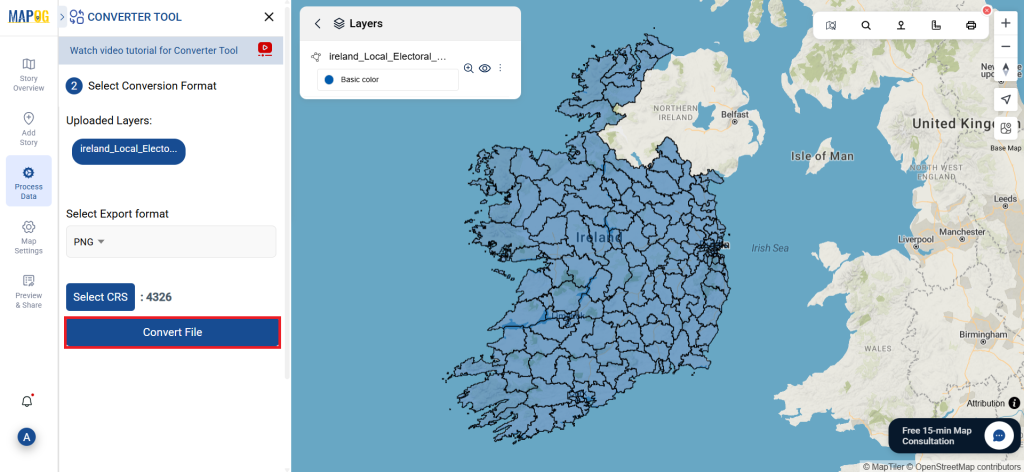
Step 2: Select the Conversion Format:
- Choose PNG as the output format if you’re looking to export the data. While the tool provides various conversion options, this guide will focus on converting the file to PNG.
- You can also customize the Output CRS based on your specific needs.
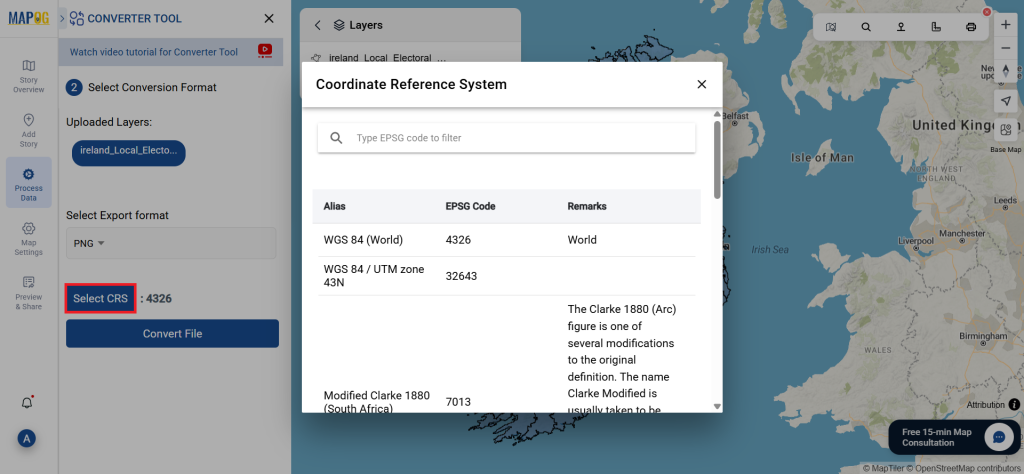
Step 3: Run the Conversion:
Click on Convert Files and allow the tool to work its magic. Once your data is uploaded, the Converter Tool will convert it from SQLITE format to PNG format.
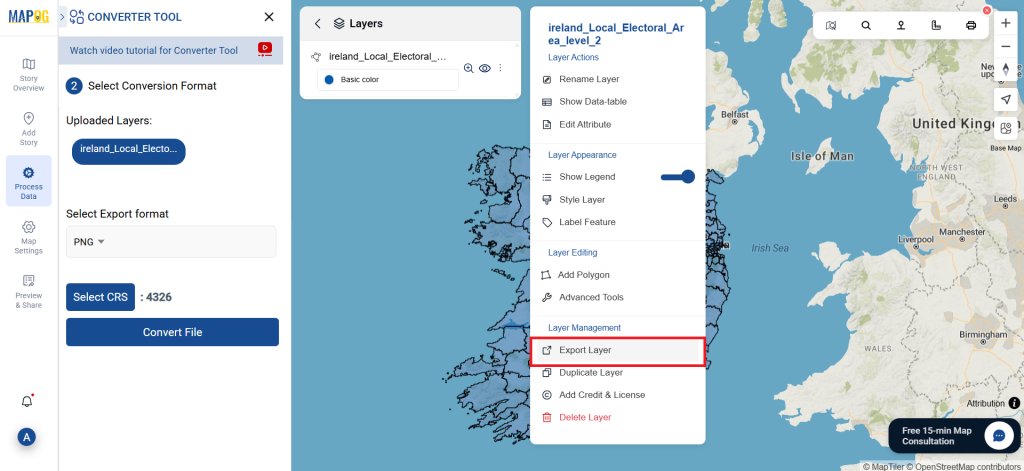
Step 4: Review and Download:
Take a moment to verify your converted PNG data to ensure everything looks correct. Once you’re happy with the results, go ahead and download the file. This step is essential to confirm that the conversion was successful and that all your data is intact.
Additional Tools for Further Analysis:
With MAPOG’s versatile toolkit, you can effortlessly upload vectors and upload Excel or CSV data, incorporate existing layers, perform polygon splitting, use the converter for various formats, calculate isochrones, and utilize the Export Tool.
Here are some other blogs you might be interested in:
- Convert Online GIS data : KML to PDF file
- Converting KML to GeoTIFF , Online Gis Data Converter
- Converting KMZ to SHP : Online GIS Data Conversion
- Converting TopoJSON to SHP Online : GIS Data Converter
- Converting GeoJSON to TopoJSON with MAPOG
- Converting GeoJSON to CSV with MAPOG
- Converting KMZ to KML with MAPOG
- Converting GML to KML with MAPOG
- Convert KMZ to TopoJSON Online
- Converting KMZ to GeoJSON Online
- Convert KML to MID Online