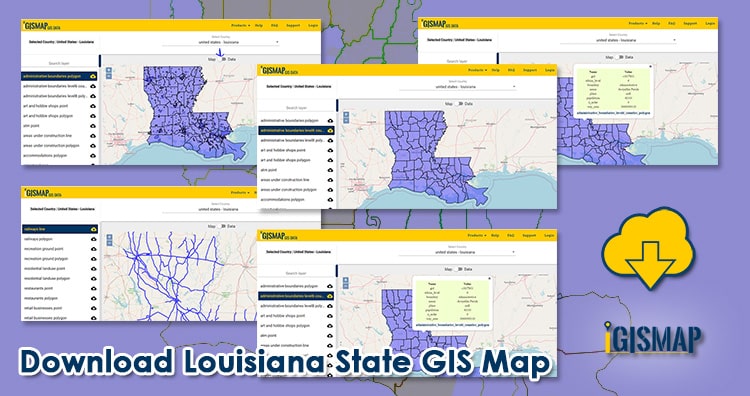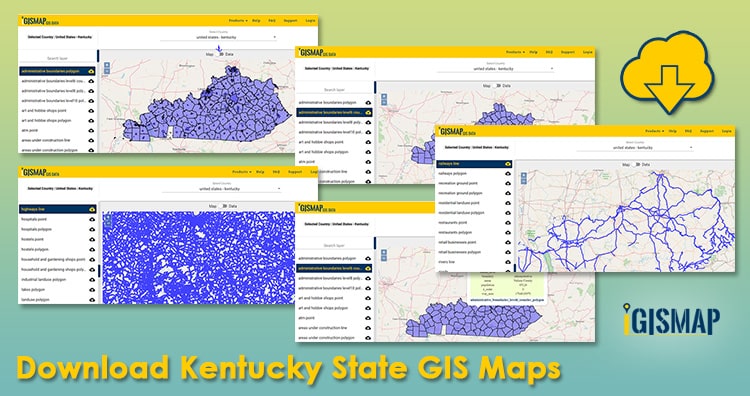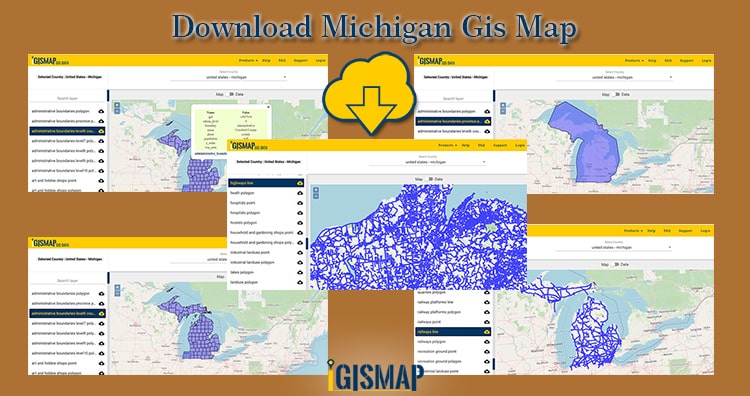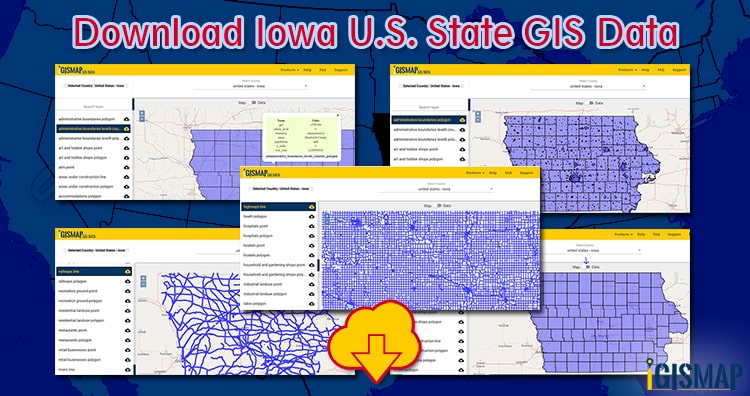
GIS Data and Maps of Minnesota State is used by planners and surveyors for visualizing and identifying the patterns that are difficult to examine when data is in table form. Here you can download the GIS data of the state boundary, county division, rail and highway maps in just a few clicks. You can use these data for analysis in MAPOG itself or download them in any suitable GIS format. You can download these data in KML, GeoJSON, CSV or Shapefile formats.
Note:
- All data available are in GCS datum EPSG:4326 WGS84 CRS (Coordinate Reference System).
- You need to login for downloading the shapefile.
Download Shapefile Data of Minnesota State
Minnesota State is the midwestern state of the United States of America. Saint Paul is the capital city of the state.

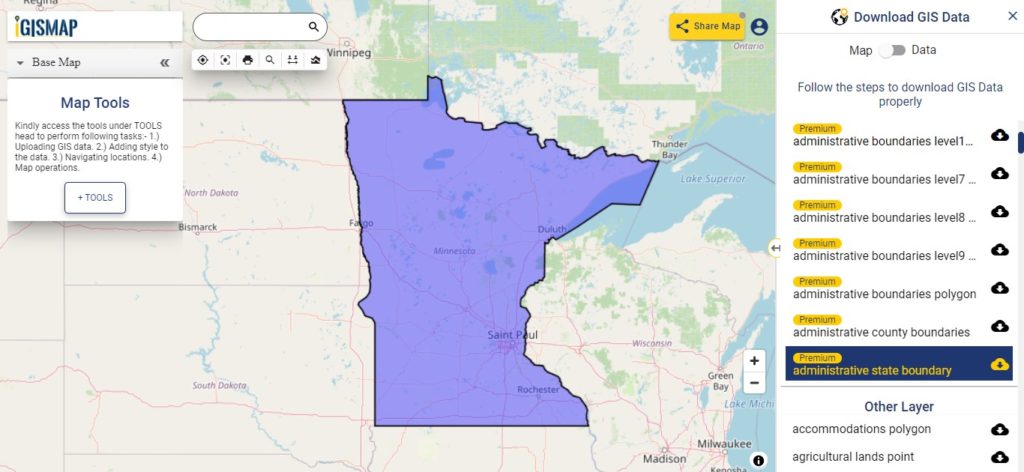
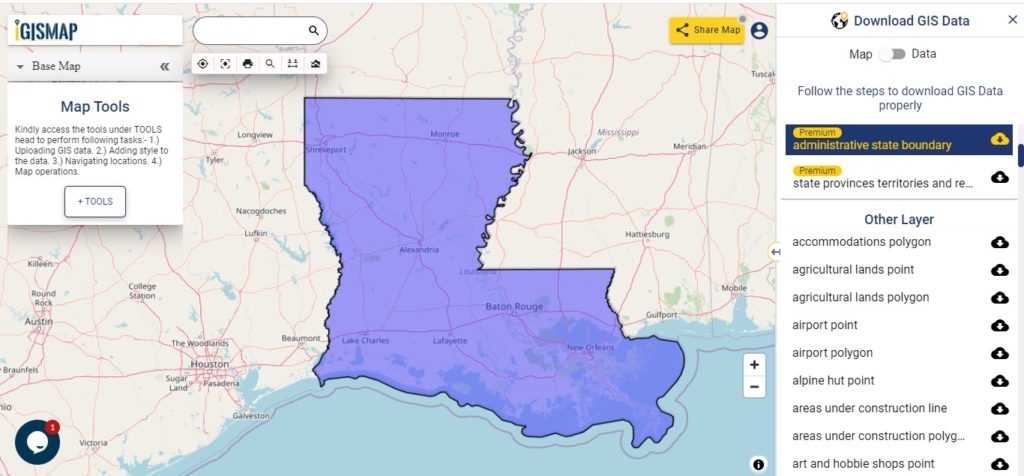
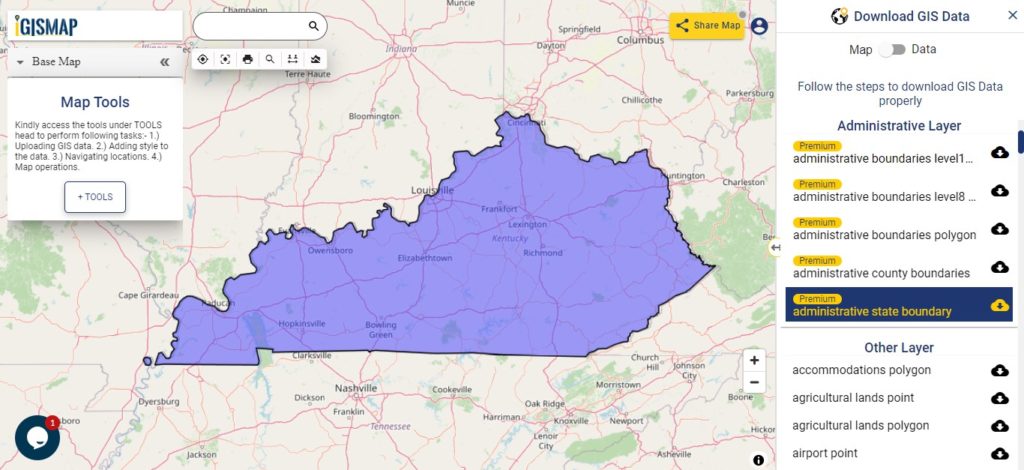
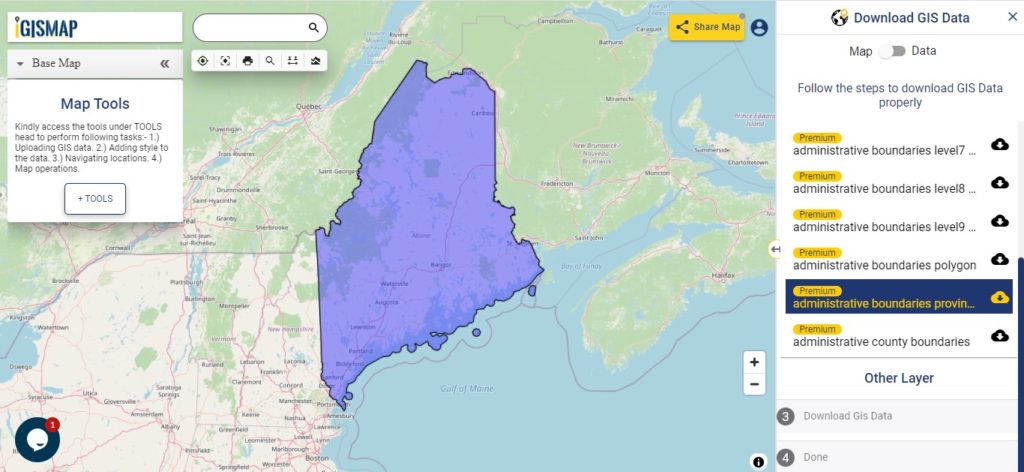
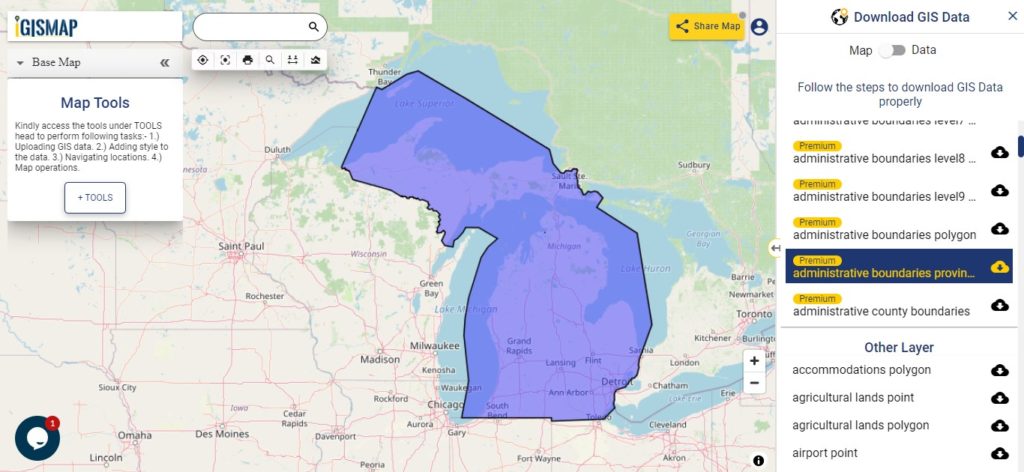
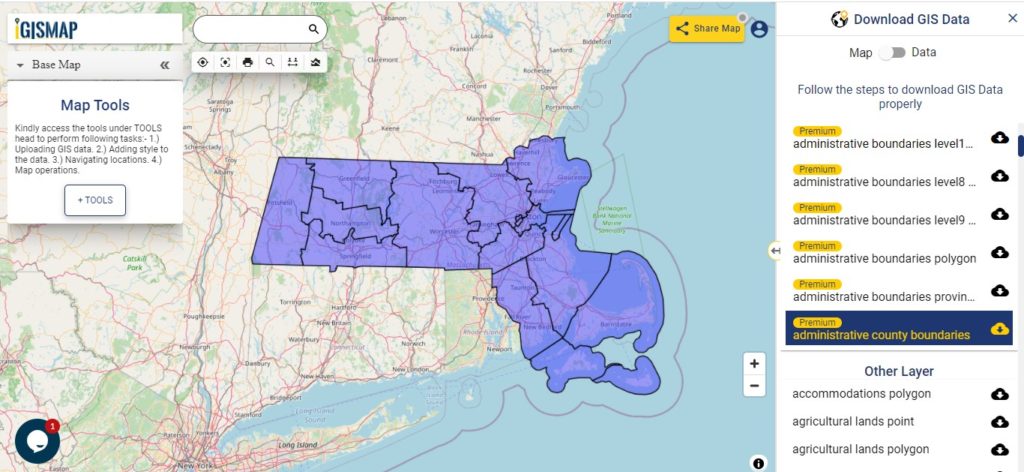
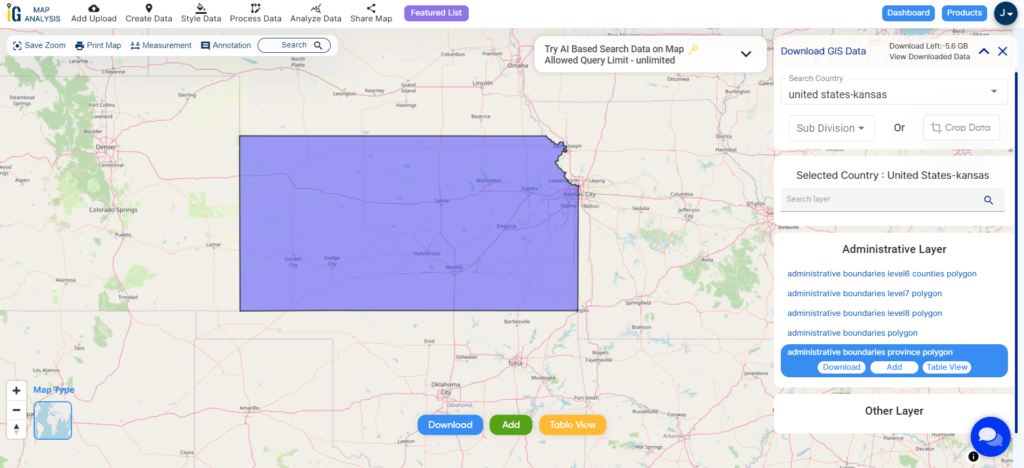
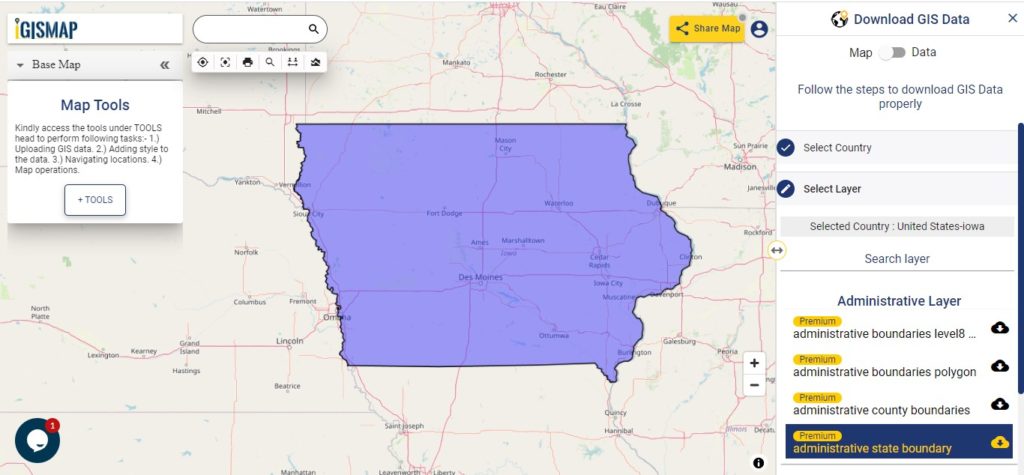
Download Minnesota State Outline Boundary Shapefile
In the above screen boundary map of the state is visible. Other GIS layers are also available to download for example – administrative boundary level 7, 8,9 arts & hobby shops, etc. For viewing the data table toggle the button from Map to Data shown on the top of the map data on the screen. For download click on the button shown near the layer name. A modal will appear to select the GIS format from. You can put your business or store location on the map and embed it on your website.
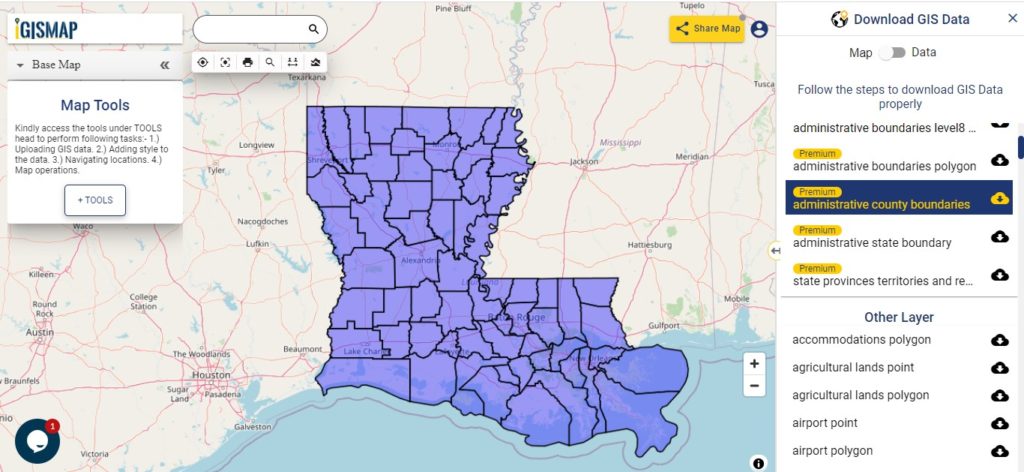
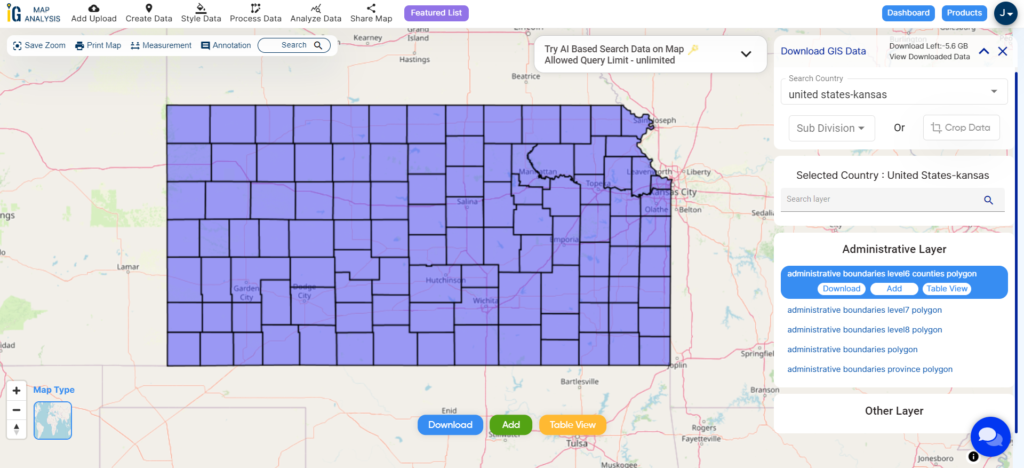
County Division GIS Map of Minnesota
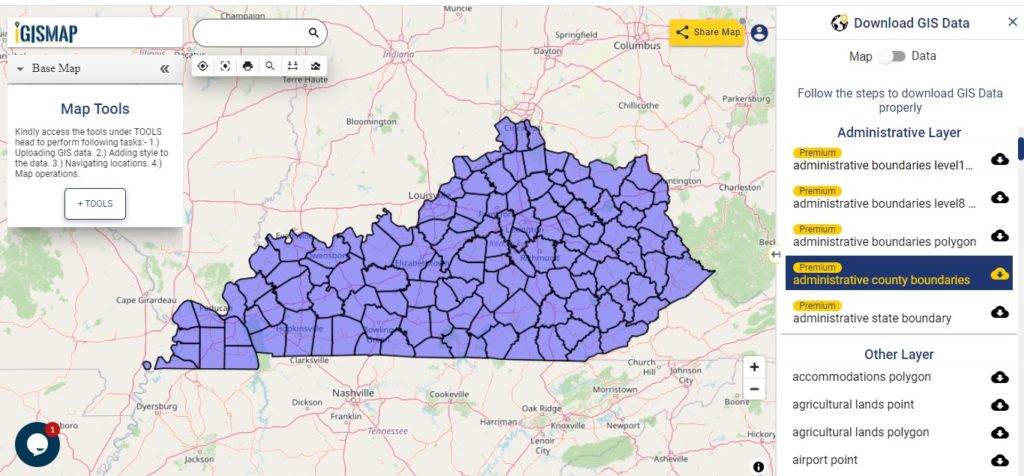
There are 87 counties in the United States of Minnesota.

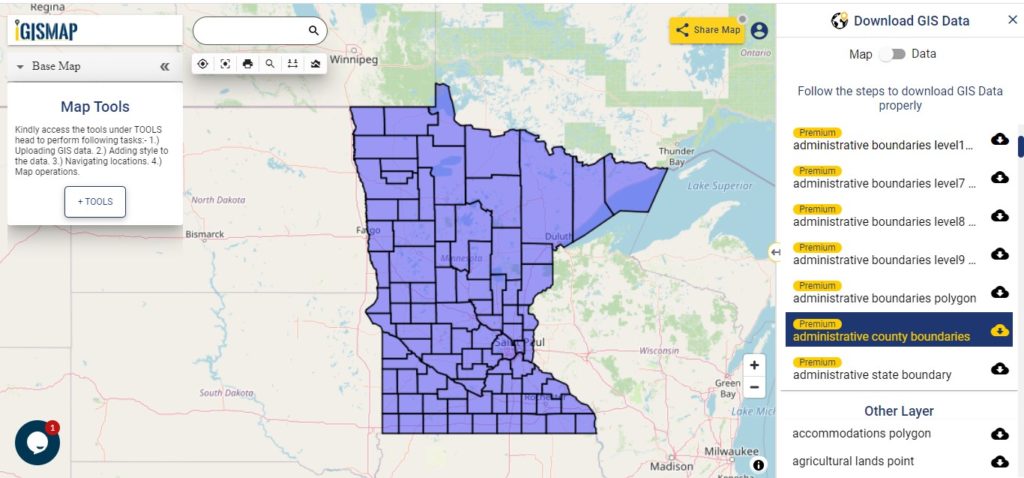
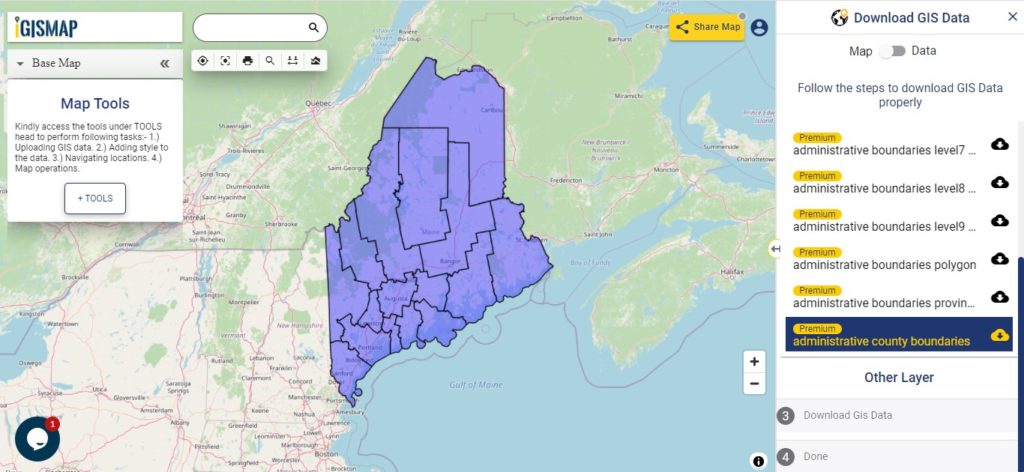
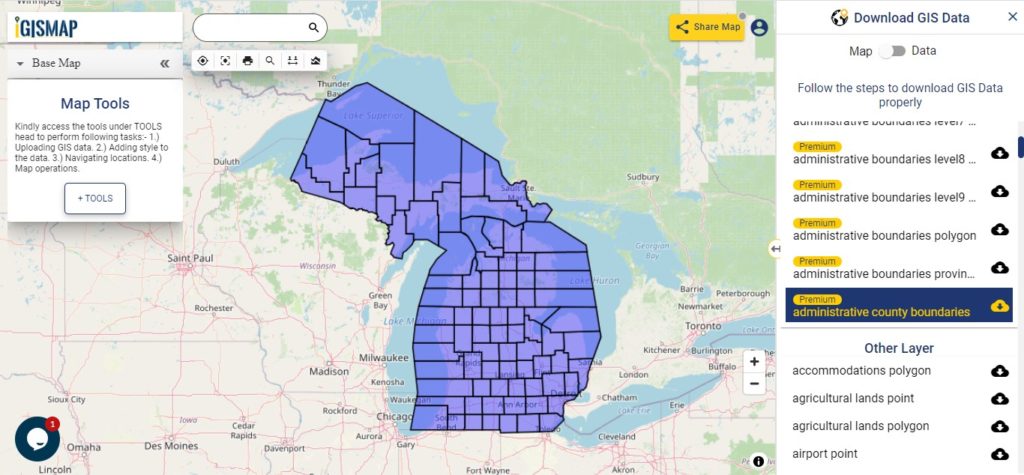
Download Minnesota County Boundary Shapefile
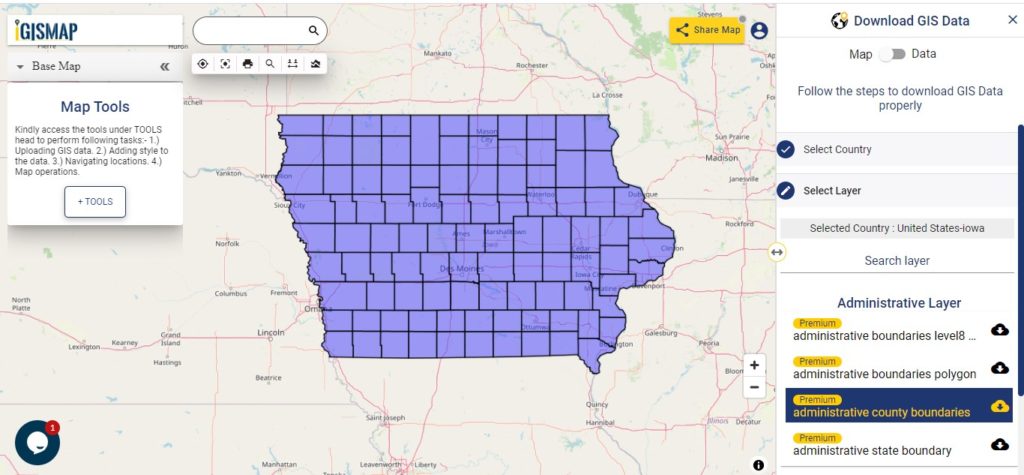
In the above screen, the county division map is shown. If you want to do editing like, color change, heading, legend, or add attribute then try your hands on MAPOG Tool for free.
Above all GIS data covers following Counties of the state –
- Aitkin
- Anoka
- Becker
- Beltrami
- Benton
- Big Stone
- Blue Earth
- Brown
- Carlton
- Carver
- Cass
- Chippewa
- Chisago
- Clay
- Clearwater
- Cook
- Cottonwood
- Crow Wing
- Dakota
- Dodge
- Douglas
- Faribault
- Fillmore
- Freeborn
- Goodhue
- Grant
- Hennepin
- Houston
- Hubbard
- Isanti
- Itasca
- Jackson
- Kanabec
- Kandiyohi
- Kittson
- Koochiching
- Lac Qui Parle
- Lake
- Lake Of The Wood
- Le Sueur
- Lincoln
- Lyon
- Mahnomen
- Marshall
- Martin
- McLeod
- Meeker
- Mille Lacs
- Morrison
- Mower
- Murray
- Nicollet
- Nobles
- Norman
- Olmsted
- Otter Tail
- Pennington
- Pine
- Pipestone
- Polk
- Pope
- Ramsey
- Red Lake
- Redwood
- Renville
- Rice
- Rock
- Roseau
- St. Louis
- Scott
- Sherburne
- Sibley
- Stearns
- Steele
- Stevens
- Swift
- Todd
- Traverse
- Wabasha
- Wadena
- Waseca
- Washington
- Watonwan
- Wilkin
- Winona
- Wright
- Yellow Medicine
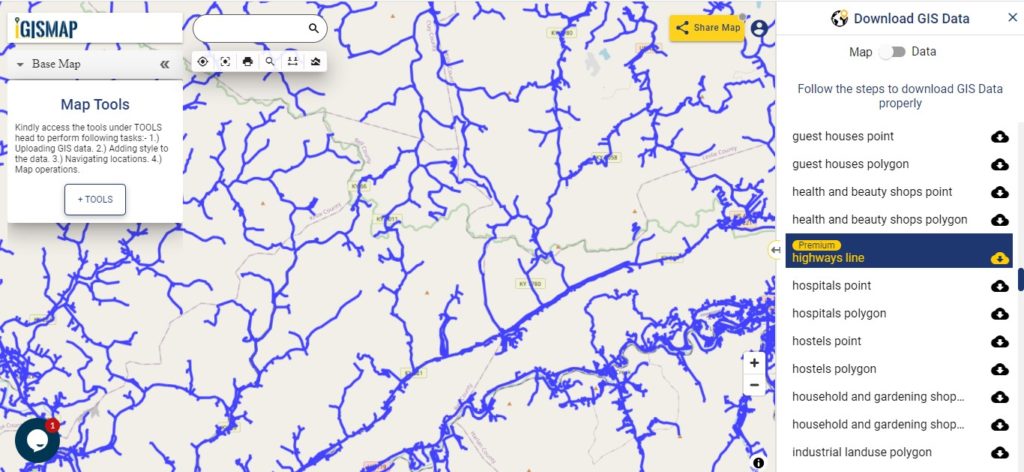
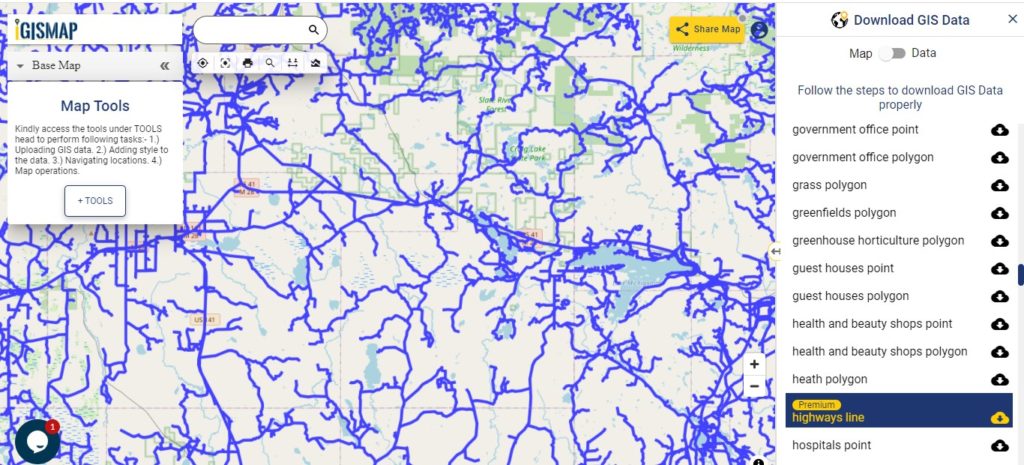
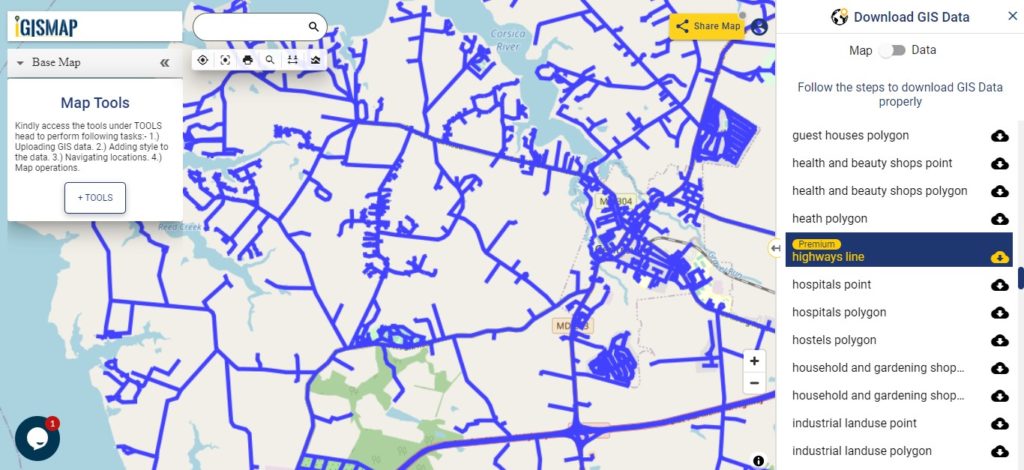
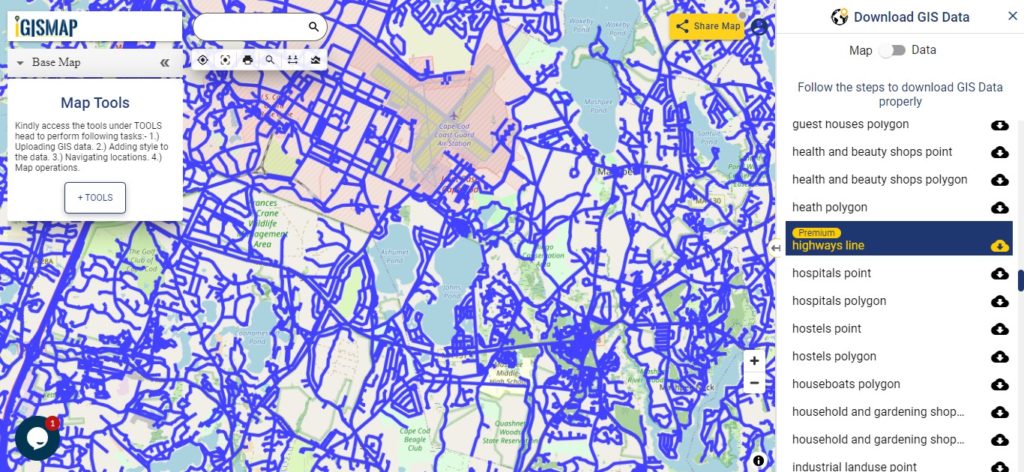
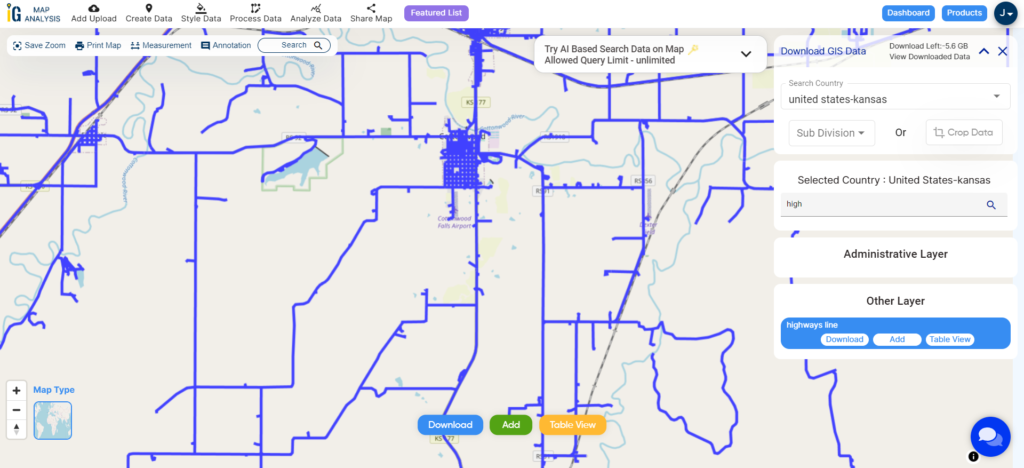
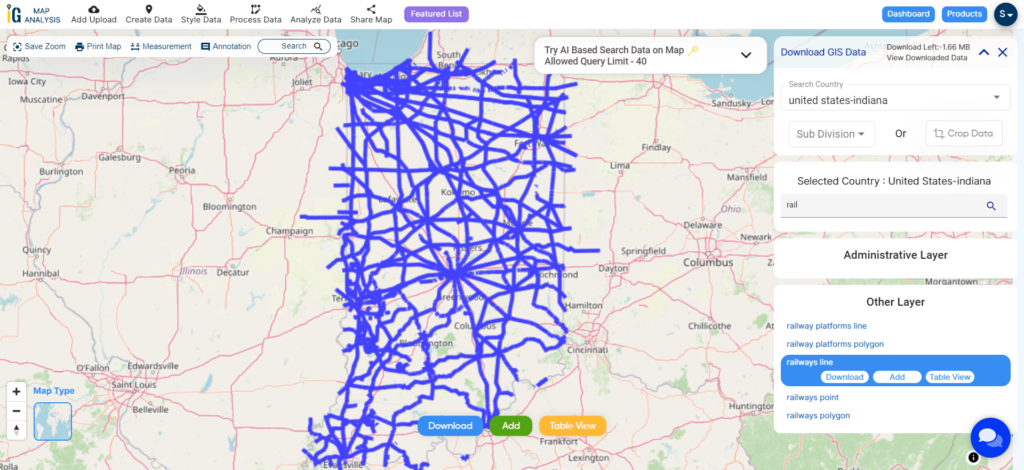
Minnesota State Highway Line Gis Data

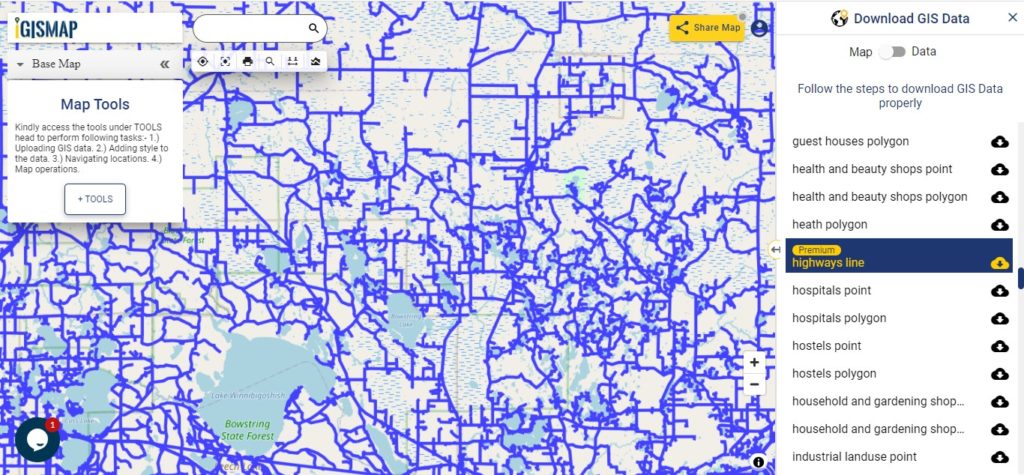
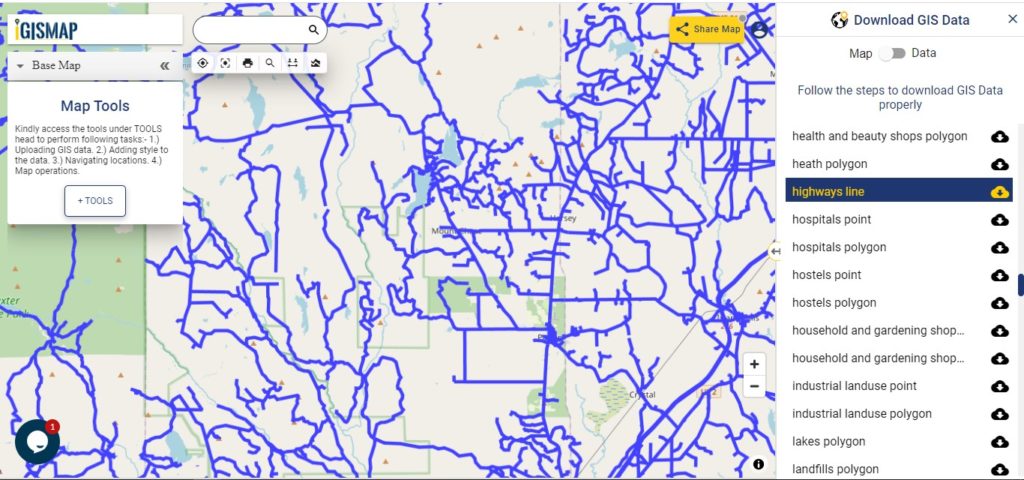
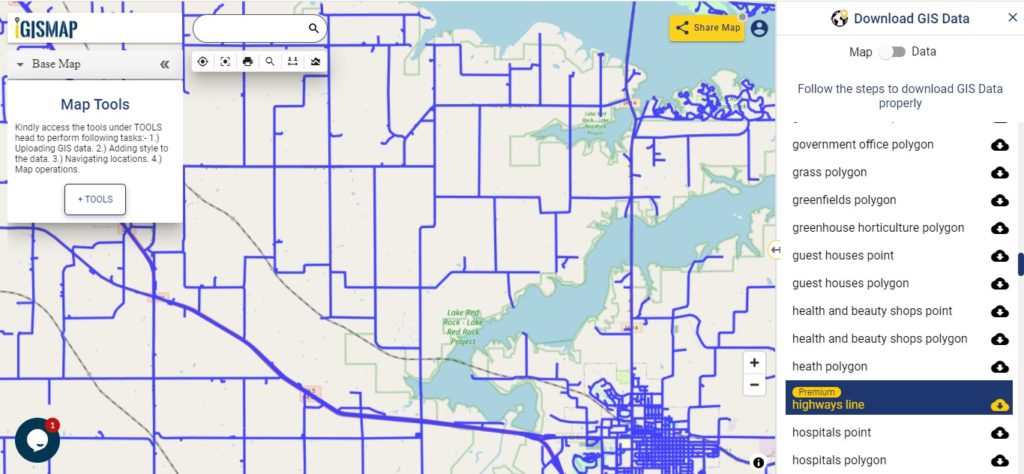
Download Minnesota Highway Line Shapefile
Zoom in view of highway line map is shown shown above. Similarly, you can easily download point based GIS data of airport point, ATM point, parking area, hospital location, etc.
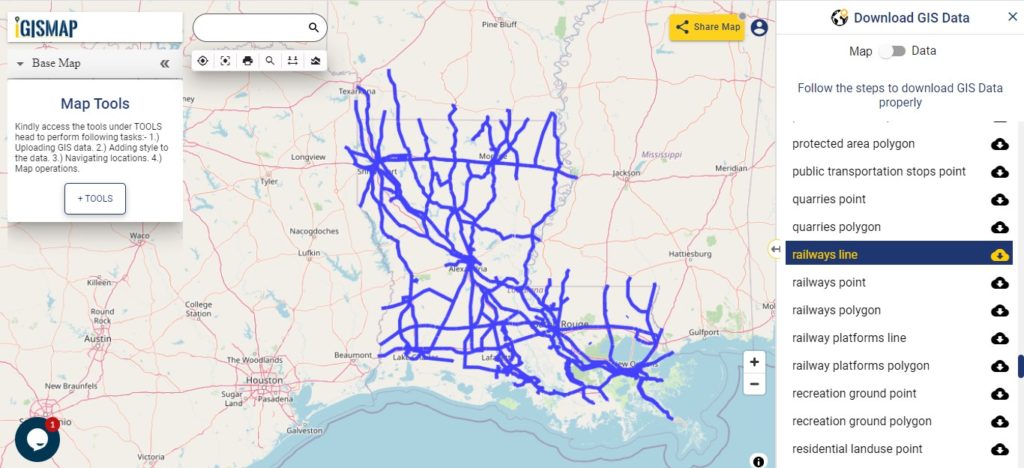
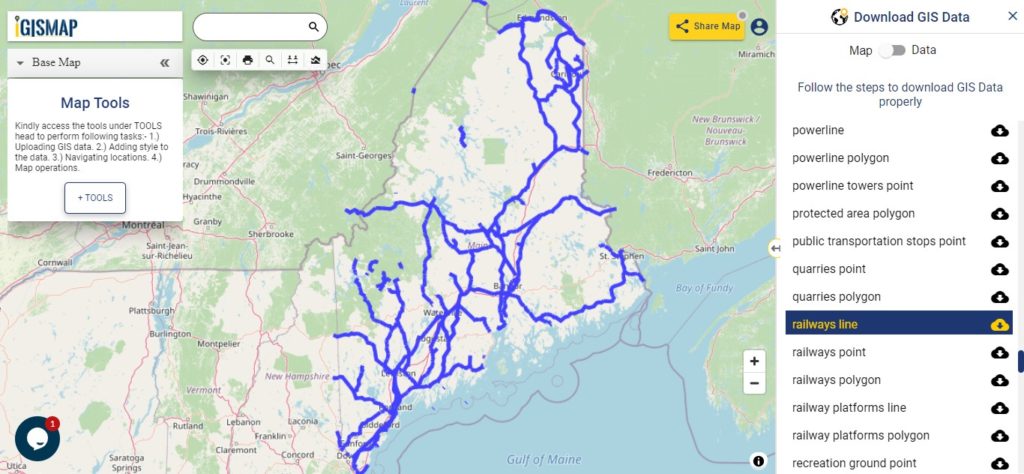
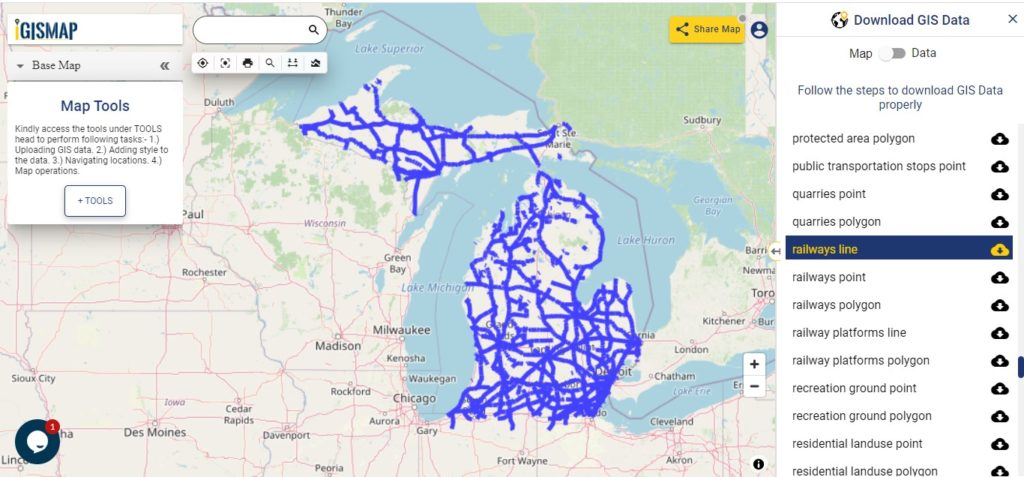
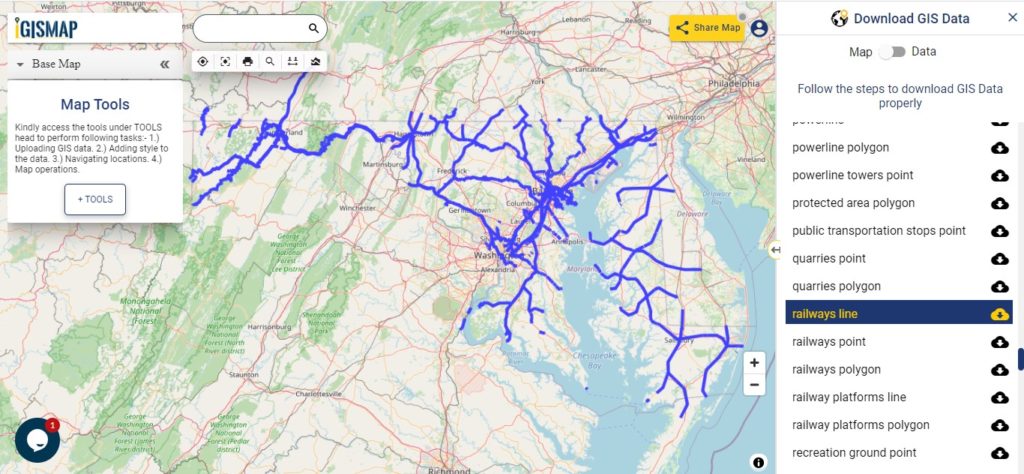
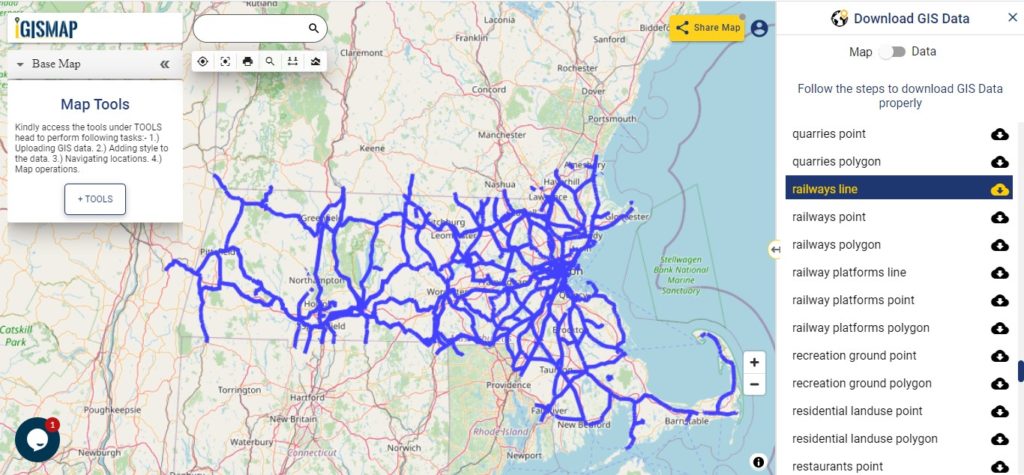
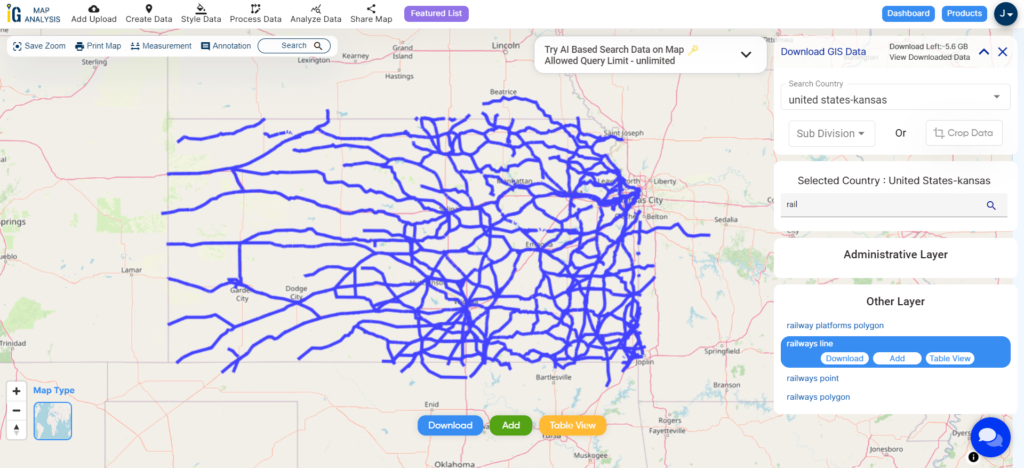
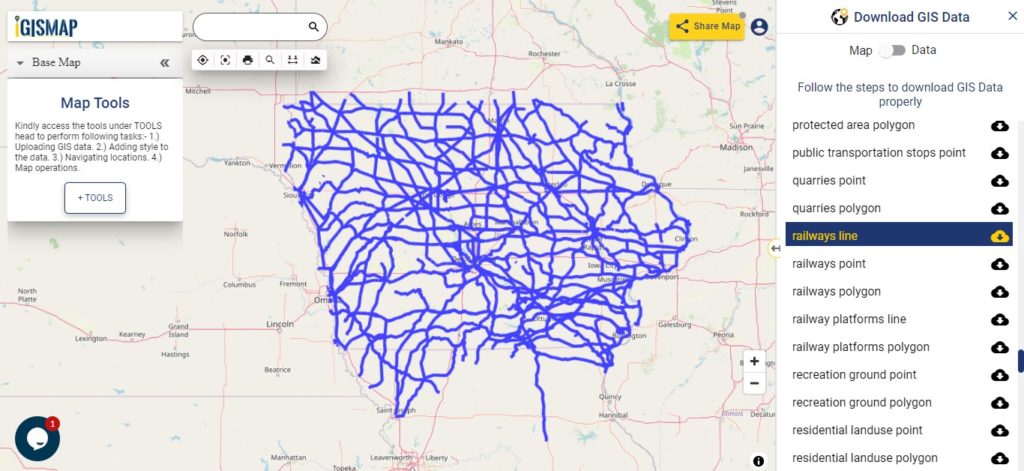
Railway Line Map of Minnesota State
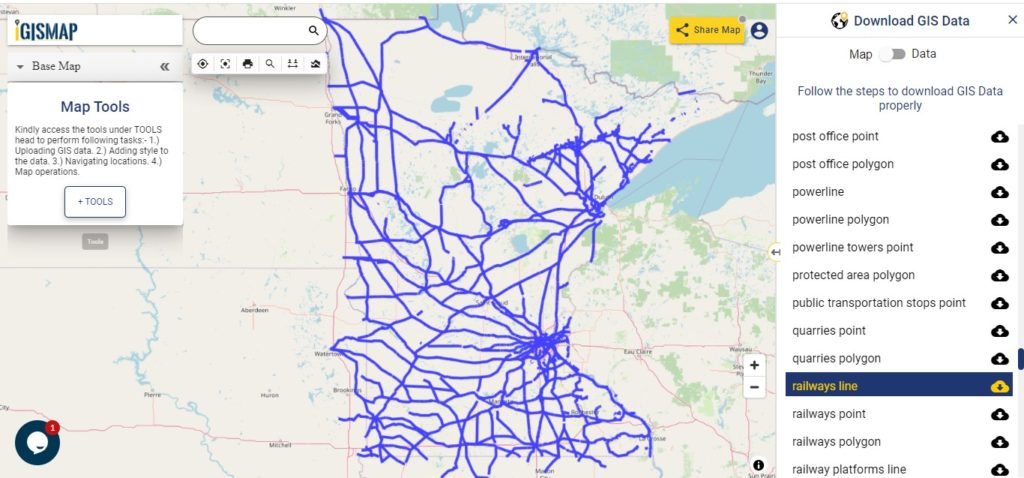
Download Minnesota Railway Line Shapefile
Above all GIS data of Minnesota State of U.S. can be downloaded easily.
Download GIS Data of other states of USA:
- Alabama
- Alaska
- Arizona
- Arkansas
- California
- Colorado
- Connecticut
- Florida
- Georgia
- Hawaii
- Idaho
- Illinois
- Indiana
- Iowa
- Kansas
- Massachusetts
- Maryland
- Michigan
- Minnesota
- Mississipi
- Missouri
- Montana
- Nevada
- Nebraska
- Ohio
- Oklahoma
- Pennsylvania
- Utah
- Vermont
- Washington
- Wisconsin
- Wyoming
- Tennessee
- Texas
- Kentucky
- Louisiana
- Maine
- North Carolina
- Oregon
- Virginia
- West Virginia
Disclaimer : If you find any shapefile data of country provided is in correct do contact us or comment below, so that we will correct the same in our system.