


Google Map tracks your history location and allows you to manage, Delete and view your old location. Where you were, last week at 9 PM? Well its not easy to remember your every move in every day life, after few days. Google may maintains and tracks all your history location if you have opted to enable your Location service from any device which is linked with your Google Account. Your every location get tracked by Google from browser or from any of the mobile devices, which actually allows to send the current location data to Google, which let you to find out your history location from Google Map.
Turn on or off location history tracking from Mobile or Browser:
Why to turn ON location tracking? There are many apps and web services which uses your location to either share or fetch the relevant data to you, which in turn increase your efficiency in some way. For Ex. “Google Now” Application. ?And Why to turn OFF location tracking? Obviously, privacy concern is the reason, as no body knows ‘how safe the data is’.
Google tracks your location from either mobile devices which are linked to your Google Account or from the browser in which you are logged in with Google Account, where you have enabled setting to track your physical location in Setting of browser.
Steps to Either turn ON or OFF your location history tracking in different devices and browser:
1.) In Browser:
- In Chrome and Opera – Select setting and under Location tab, select the appropriate option to enable or disable tracking.
- In Mozilla Firefox – Select Tools, and click on options. Now navigate to privacy tab and under tracking select the check box accordingly.
- In Safari – Select setting preferences and then privacy, where you need to select the desired option.
2.) In Mobile Devices:
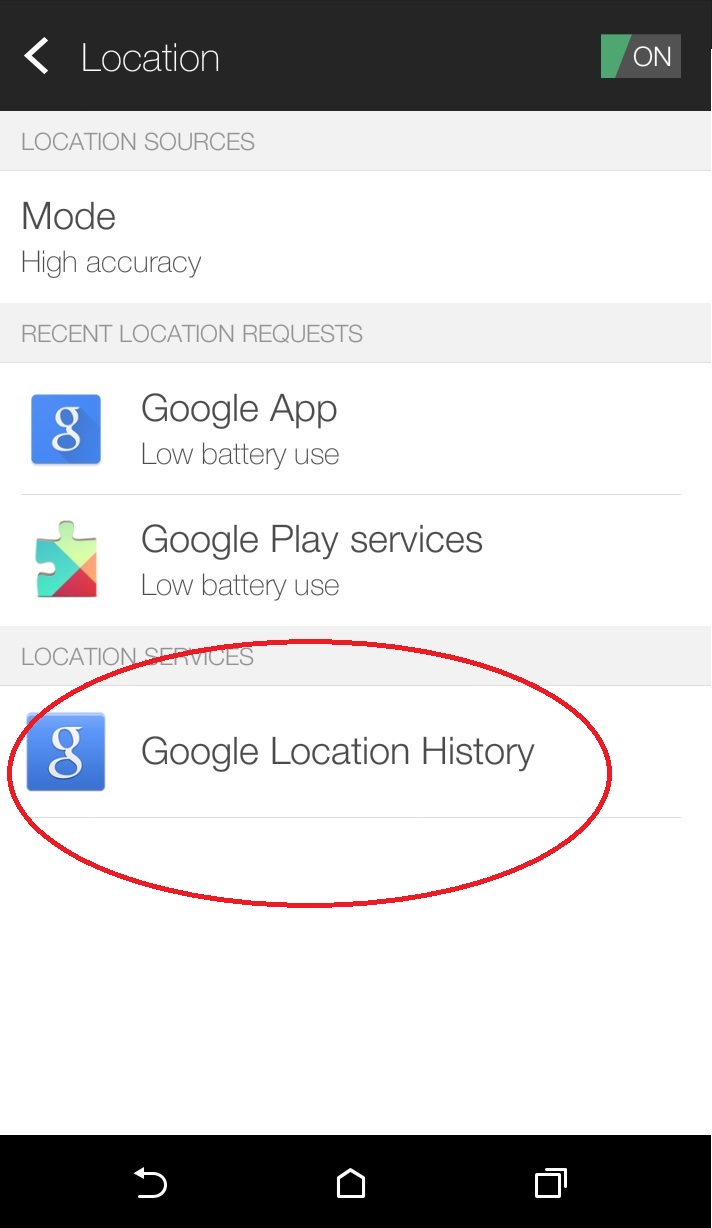
- Android – Go to Google Setting -> Location -> Location history. And Turn On or Off from the given check box.
- IOS – Open Settings > Privacy > Location Services. Toggle the button to switch on or off your location tracking for different application.
Google also provide a salient feature to predict future and know current traffic, which uses many devices location data, and on which an algorithm may run to output congestion of roads.
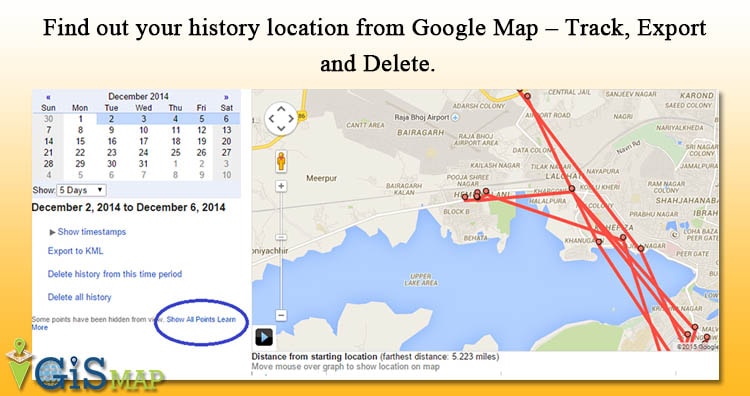
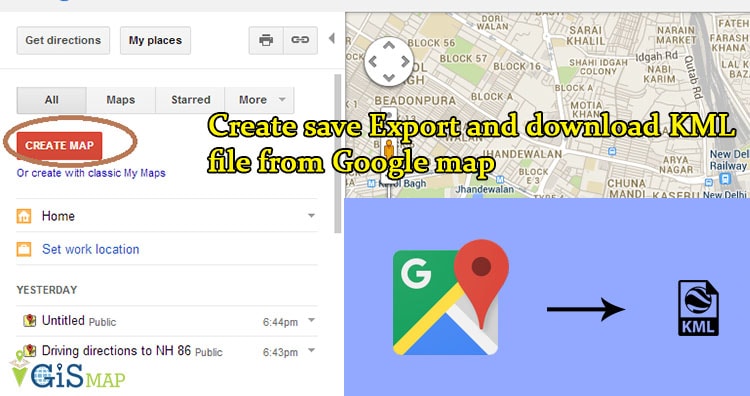
Track and view your history location from Google Map – Track and Export:
1.) Open up your browser and copy paste the following URL : https://maps.google.com/locationhistory.
2.) Sign-in in the current tab, with the Google Account of which your Google Device is associated with.
3.) Now choose date and period of days i.e in between 1 to 30 Day. And Select “Show Time stamps” if needed to track a particular moment of the day.
- Note: If you want to see every minute latitude longitude points, then you may need to select “Show All points” hyperlink, which you may find at bottom left corner as indicated in the figure.
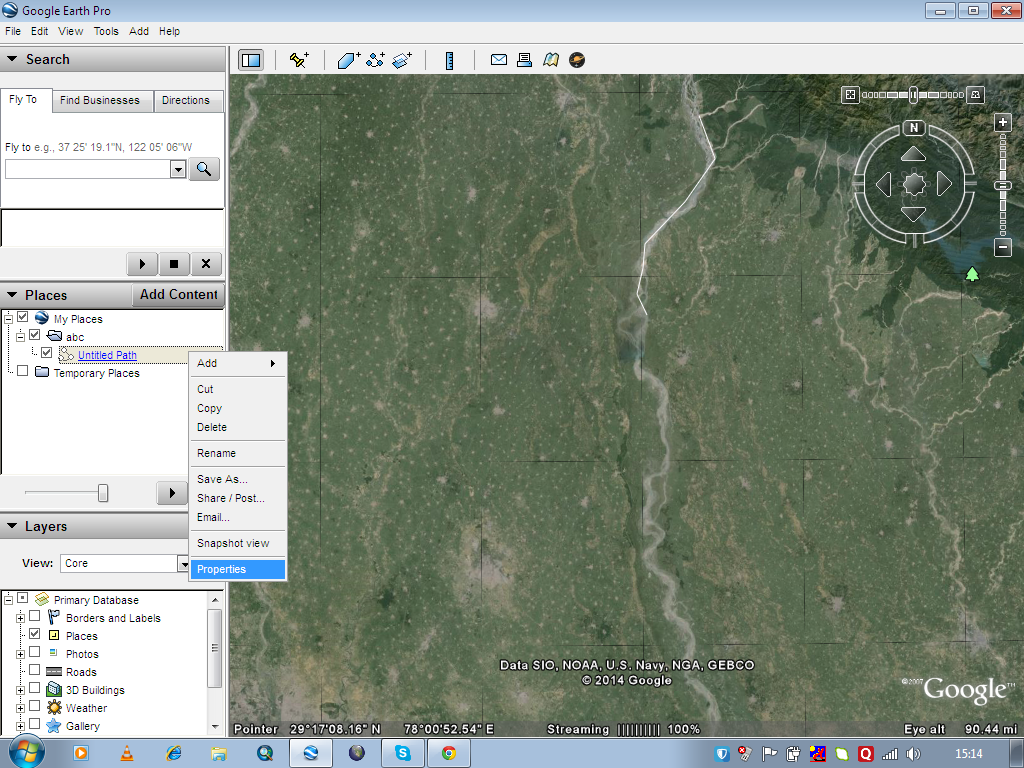
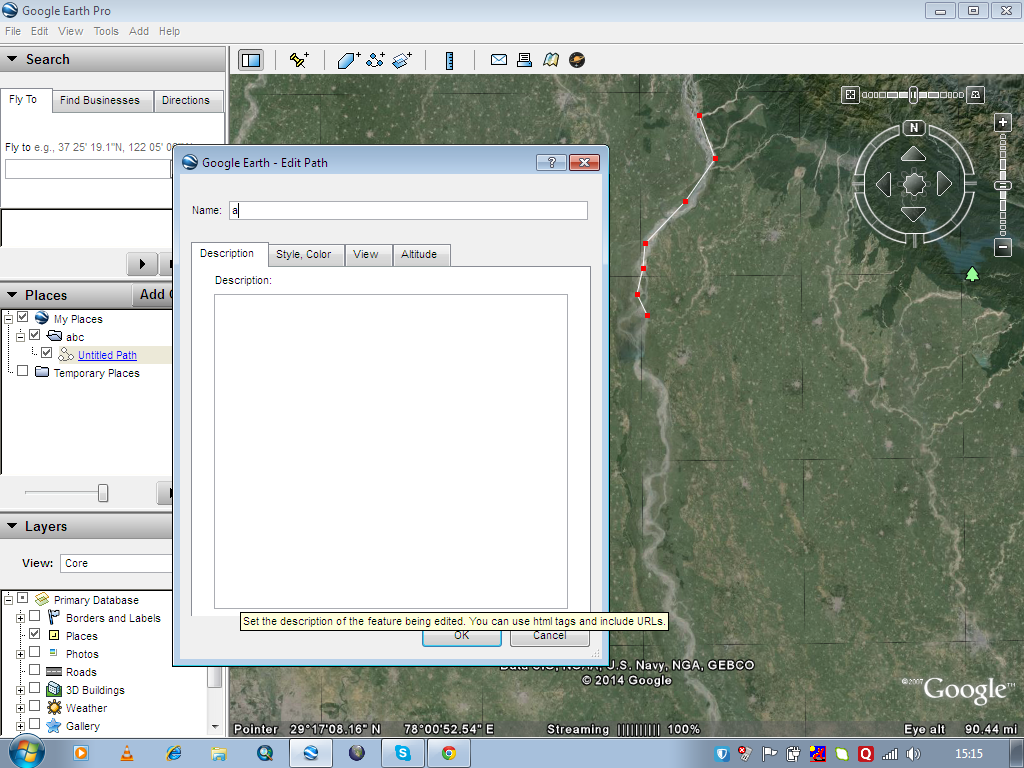
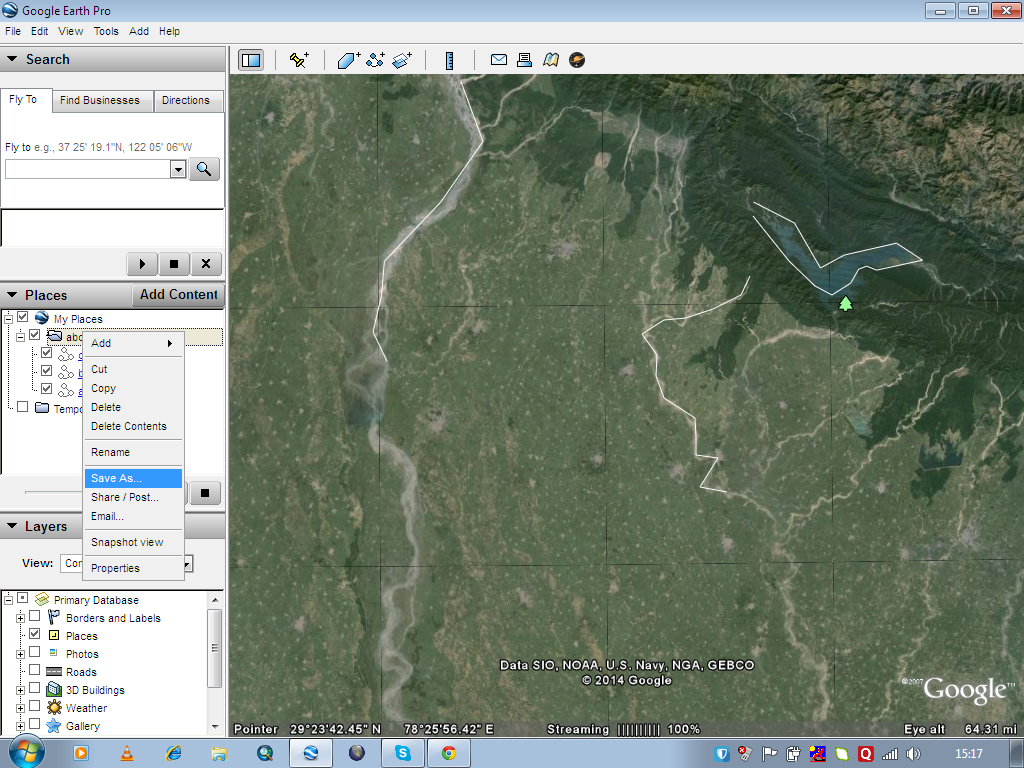
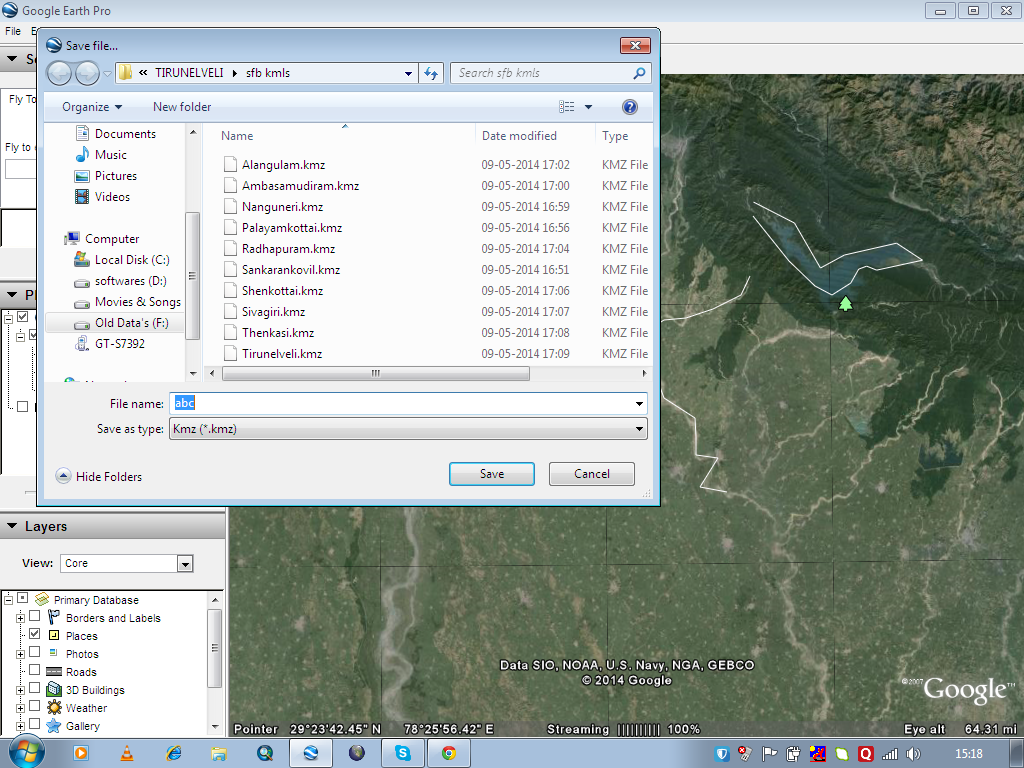
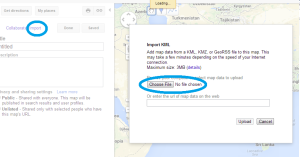
Also you can export your location data in KML format (Keyhole markup language), option can be found just below “Show Timestamp” option, which you may use either to:
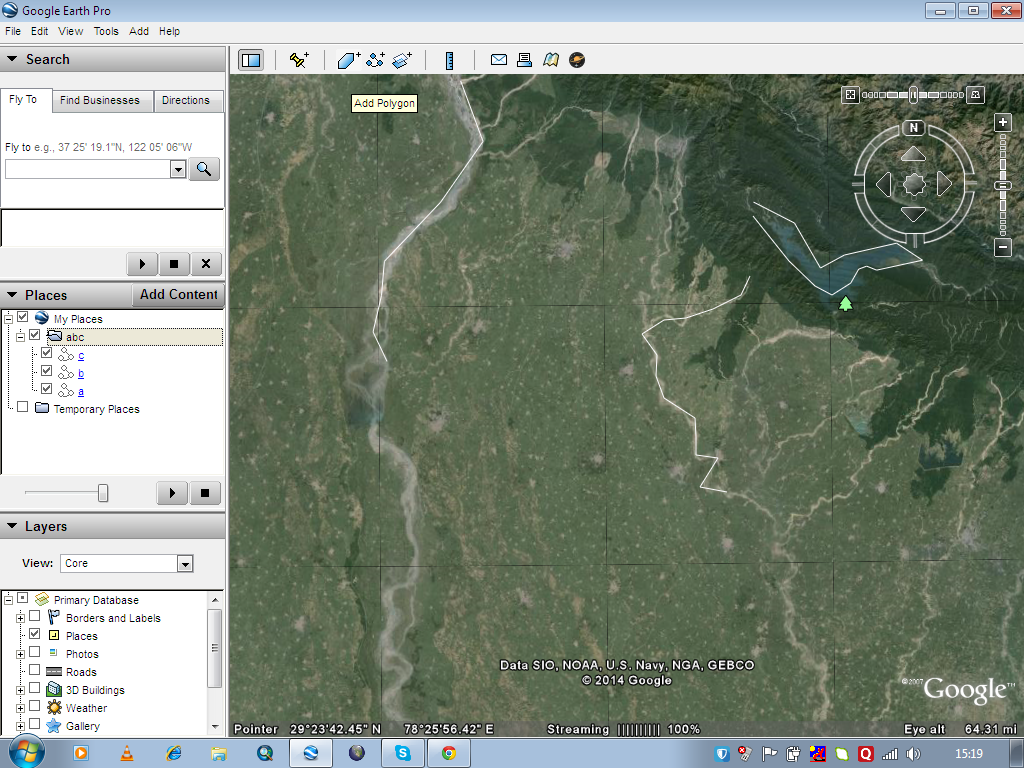
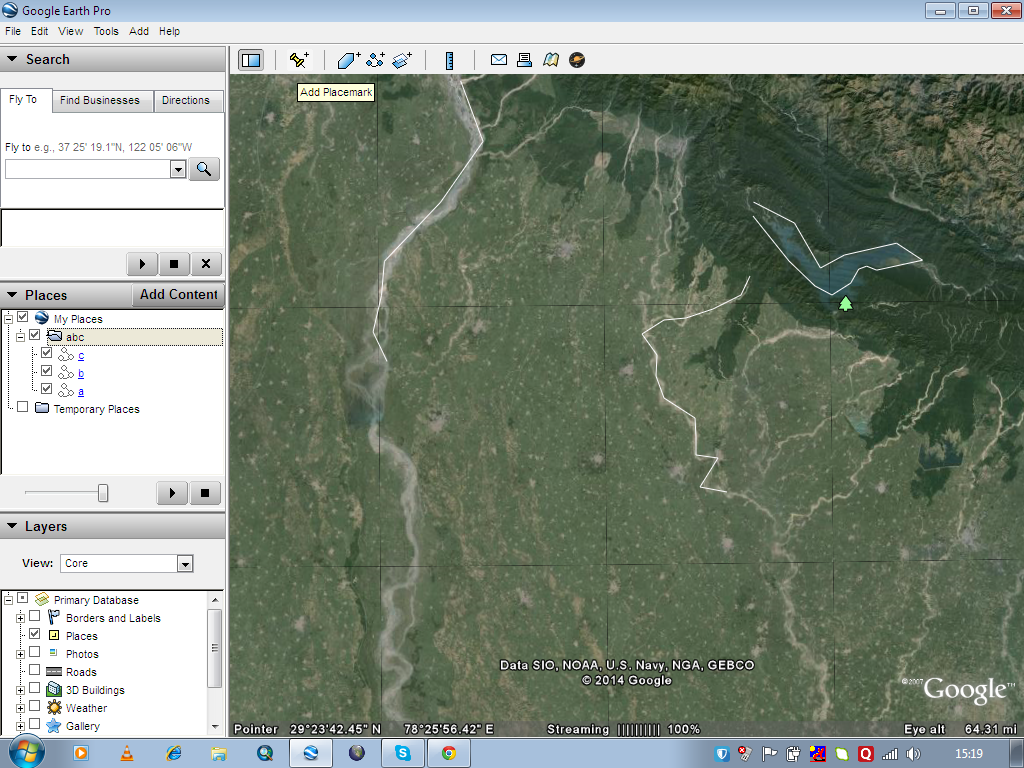
- Upload KML file in Google Map or Upload KML file in Google Earth in future.
- Convert the KML file to shapefile or other GIS vector file to make some GIS analysis.
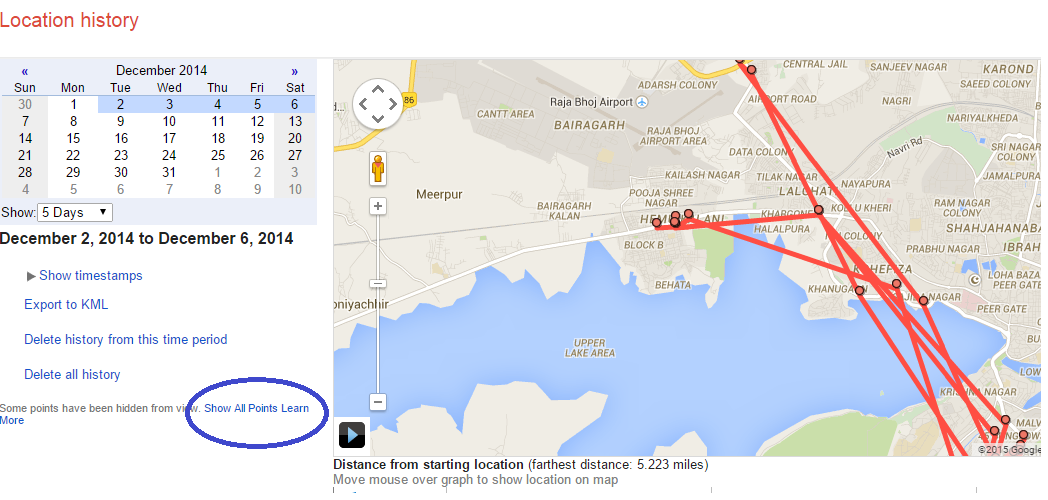
Delete history location from Google Map:
Why you want to delete your location history from the website? Privacy issue is a serious concern, and you may not want any app or services to record your every move. But don’t worry, Google provided a way for this. You can Delete some part of day location or the either entire location from the Location history website. Here are the steps to delete the location history:
1.) Go to location history website, and log in from your Google Account.
2.) From the left panel of the website, you may find “Delete history from this time period” to delete your selected “time stamp” and “Delete all history” to delete entire history data from the website.
You may also delete the entire location history data from your mobile device. Just navigate to Google Setting and select location. Tap on Location history and click on “Delete Location History”.
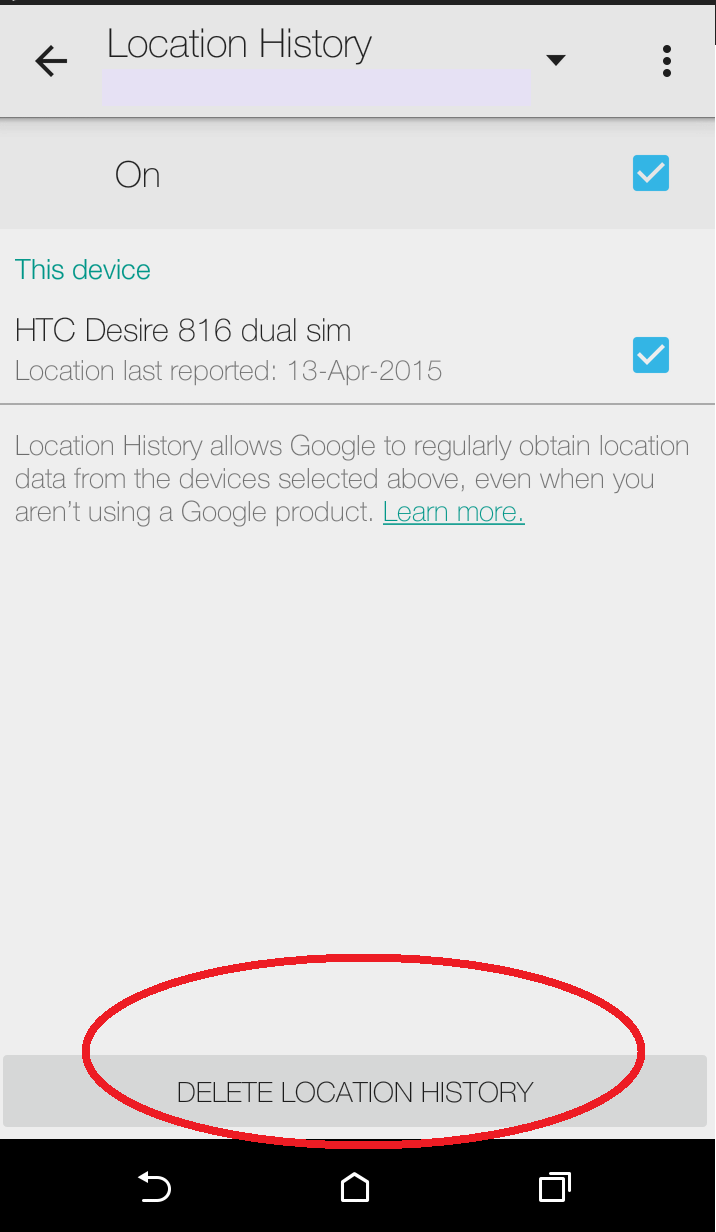
- Note: Once you have erased your history data, it can’t be restore. Also you may face issues with some application which uses your location data like “Google Now”.
You may also look at following features of Google Map:
- Find your location history on google Map
- Know live traffic or predict future traffic with Google Map
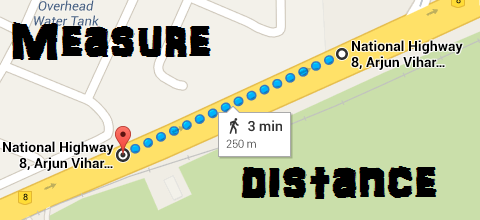
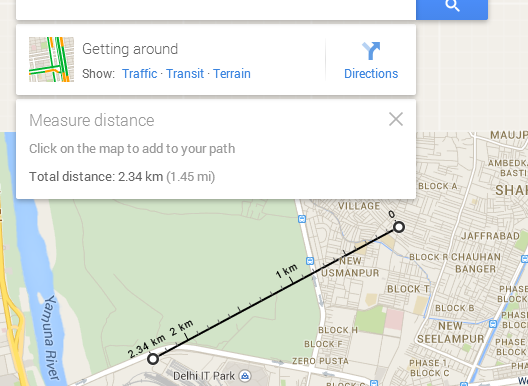
- Measure Straight line distance
- Search nearby restaurants, hotels, parks, museum etc.
- Download And Save Google Map Offline
- Measure Area in Google Map
Conclusion – History location from Google Map:
You can use Google history Location as an application to get to understand and analyze your traveling and location history. Google being fair to public, provided all the setting, to choose whether you want to get tracked or not. While they also mention, that they will keep the data with them as private.
Well I had kept my location service enable to let me track myself to analyze my every day location data. What you have opted for? What else you may want from this Feature? And Which kind of Analysis you are performing with the data you get from location history? Do Comment below, i would love to hear your ideas.
NOTE: If you are from Korea, Location History website may not be available.


