This guide offers a clear and detailed method for converting GPKG files into MIF format using the Converter Tool within MAPOG. Whether you’re new to MAPOG or have some experience, this tutorial will help you smoothly transition GPKG files to MIF.
What is GPKG Data Format:
The GPKG (GeoPackage) data format is an open, standards-based, portable format used for storing geospatial data. It supports vector features, raster maps, and tiled data within a single SQLite database file, making it highly efficient and versatile for use in GIS applications across various platforms.
Converting GPKG Data into MIF Format:
The Converter Tool in MAPOG Map Analysis provides an effective way to convert data between various formats. This tool simplifies the conversion process, enabling users to input data in one format and export it in another that meets their specific needs, such as here we’re converting GPKG files to MIF format. This feature enhances the versatility and usability of GIS data across different projects and industries.
Steps to Convert GPKG to MIF:
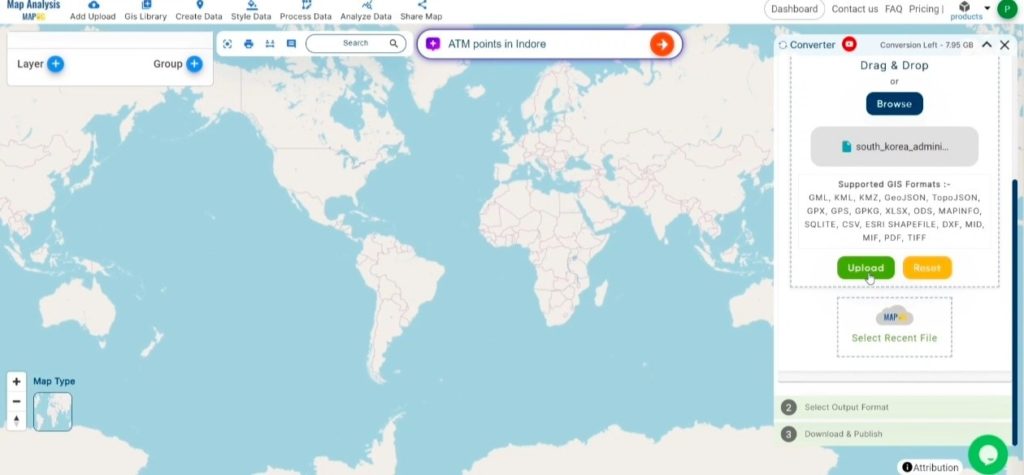
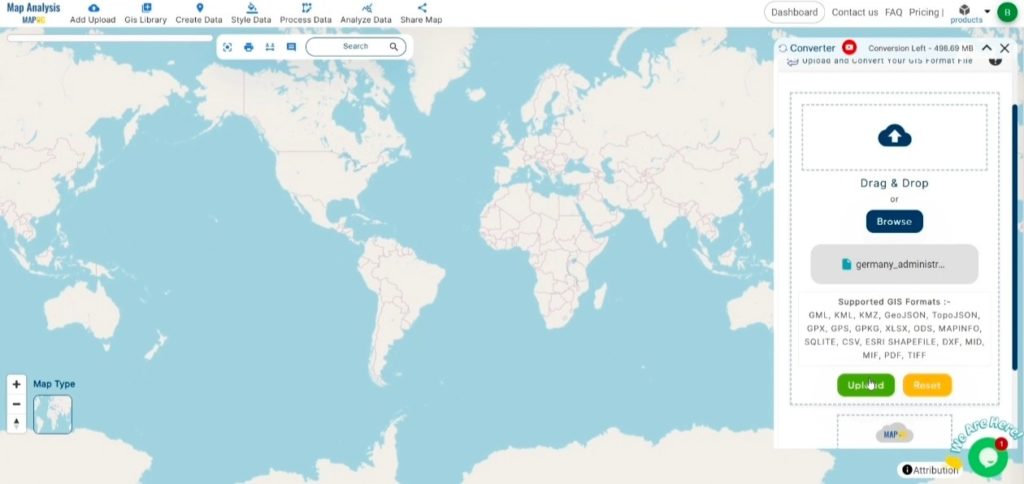
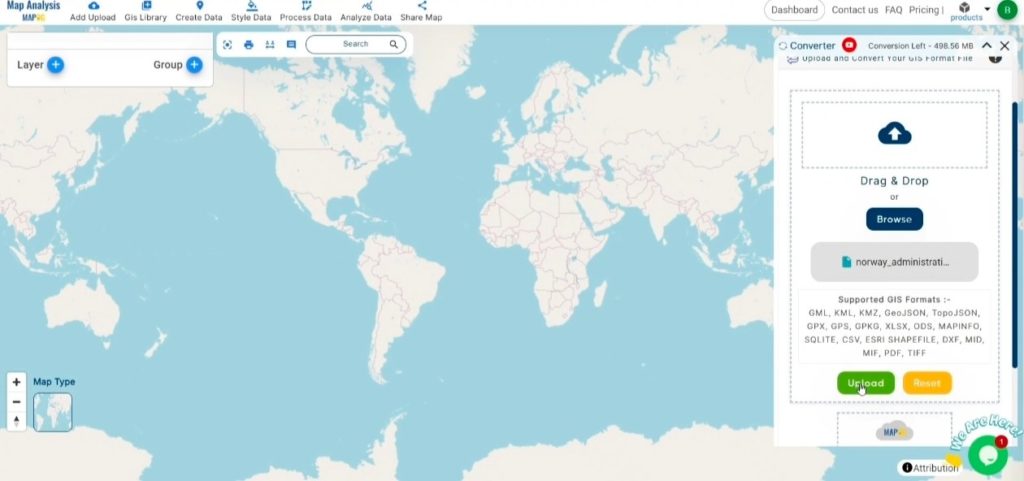
Step 1 : Upload the Data:
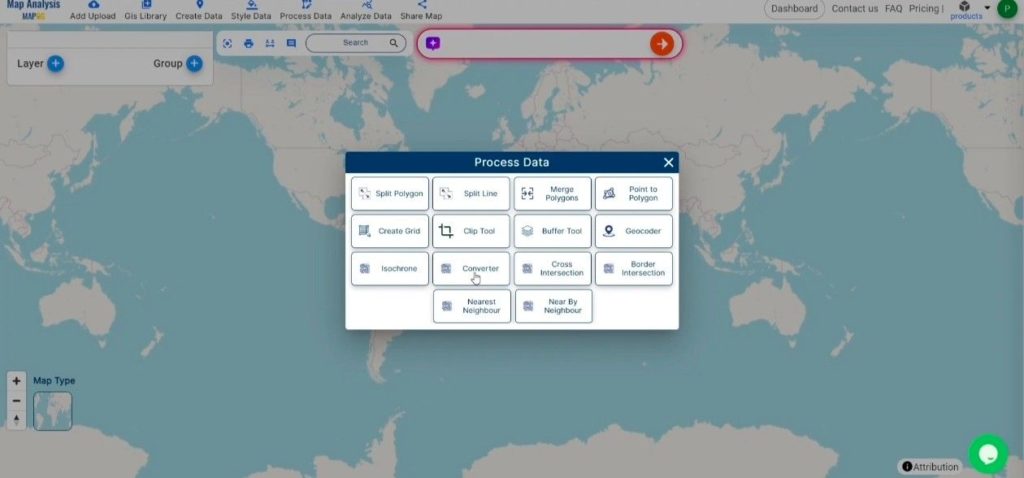
1.Navigate to the top menu, select “Process Data,” and then click on “Converter Tool” to begin the process.

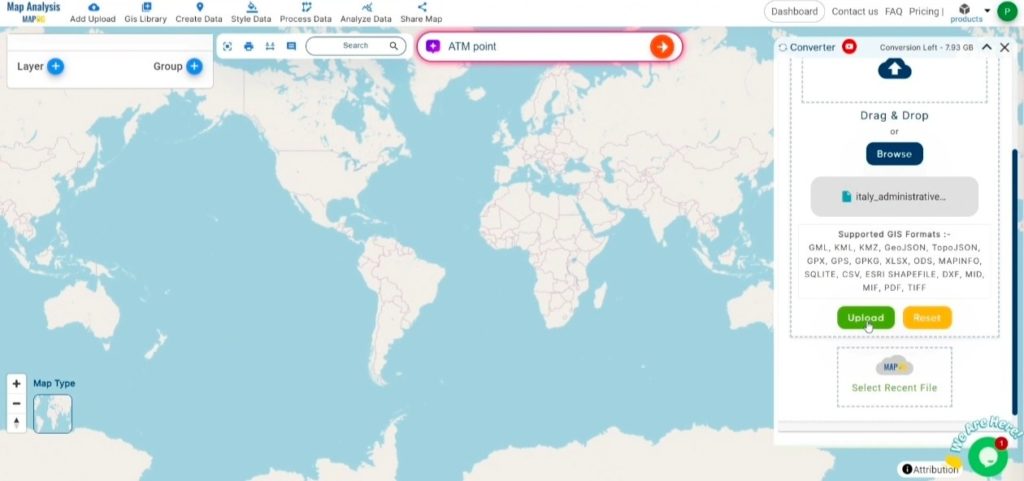
2. To start the conversion, upload your GPKG file by selecting the data you want to convert.

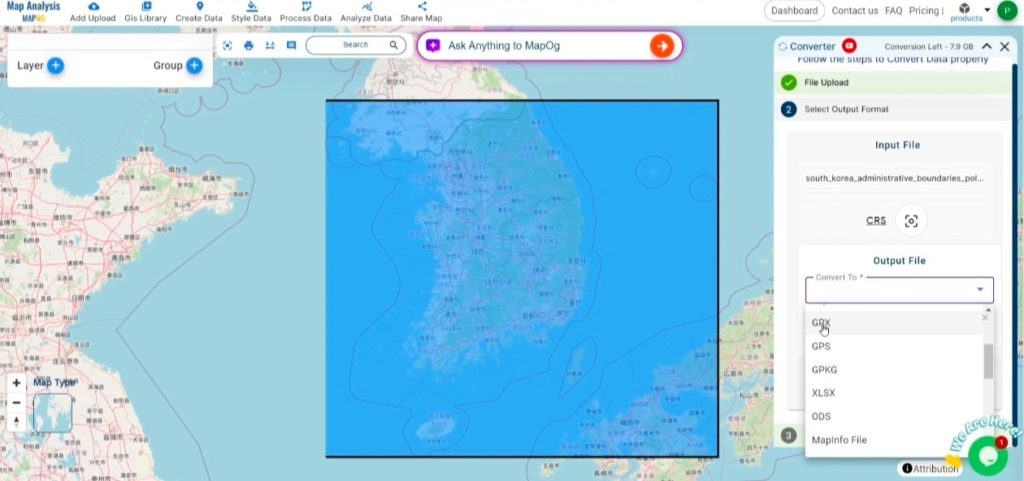
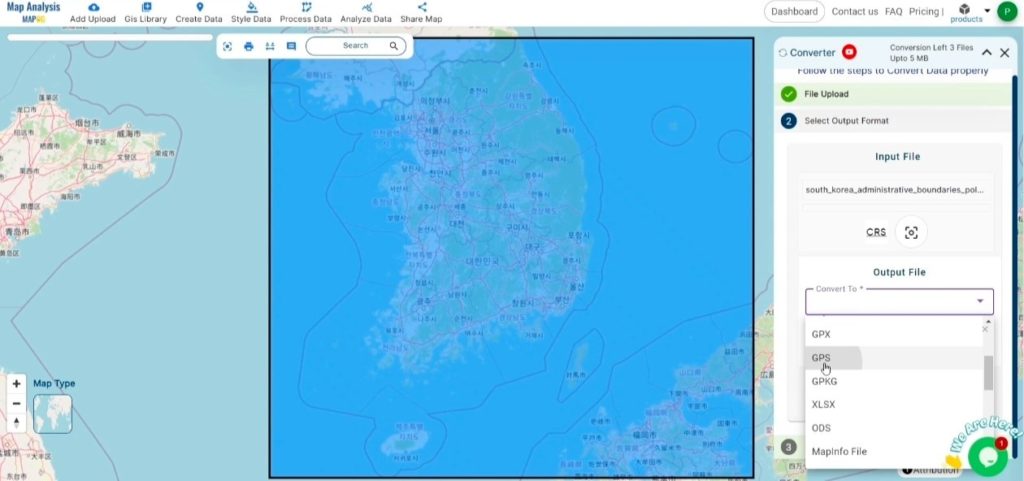
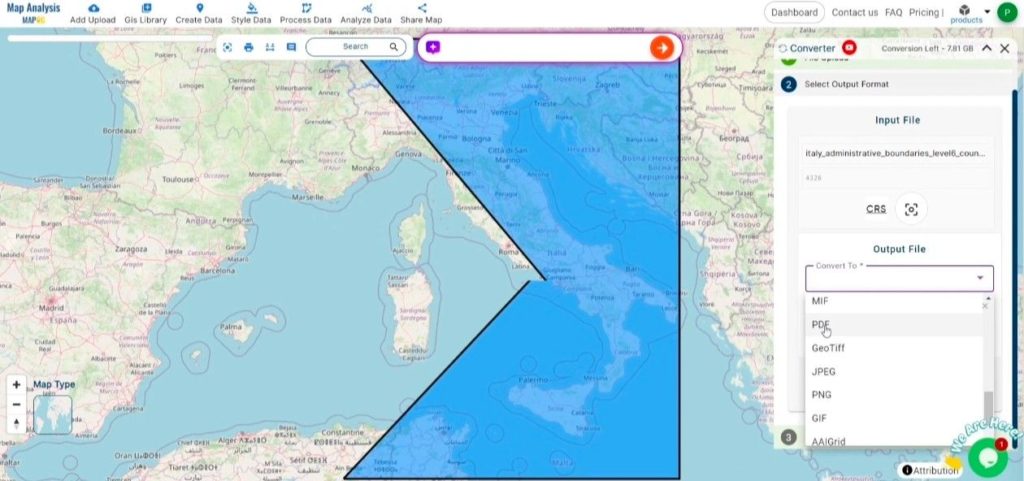
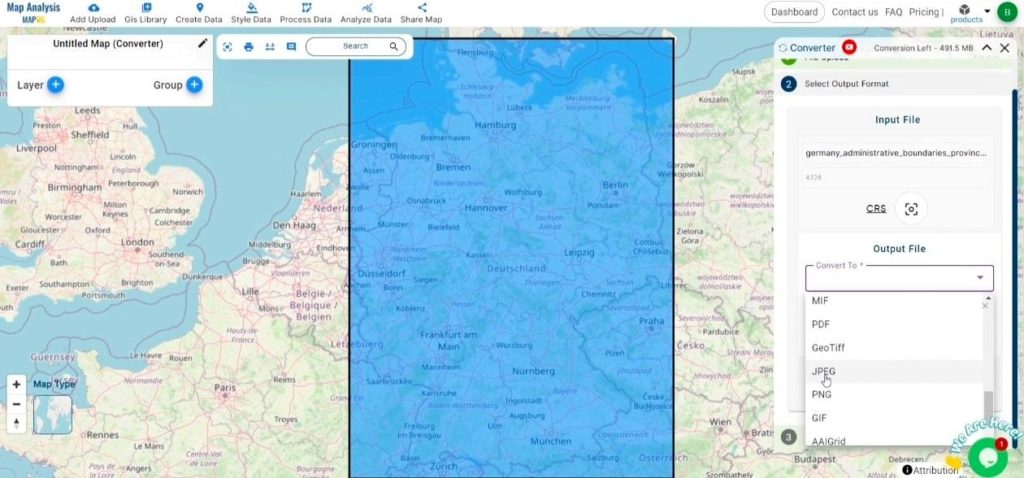
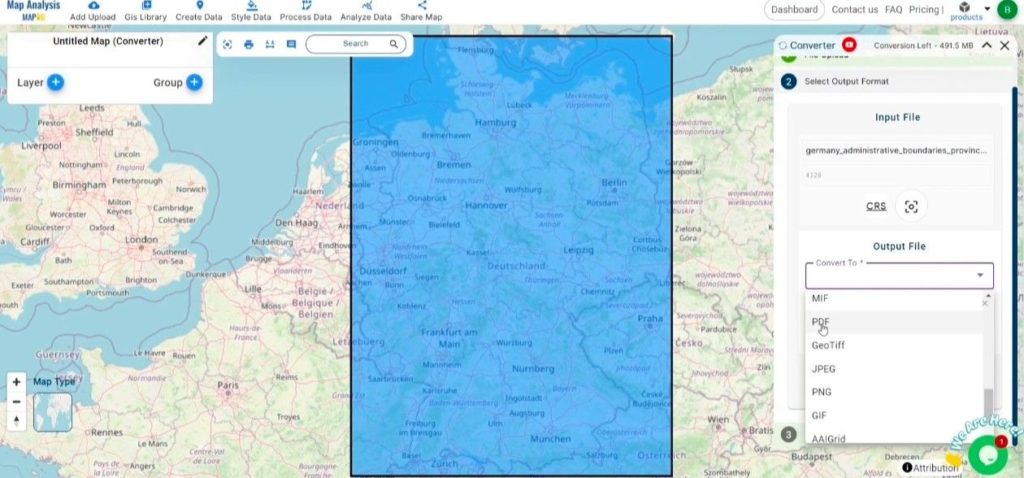
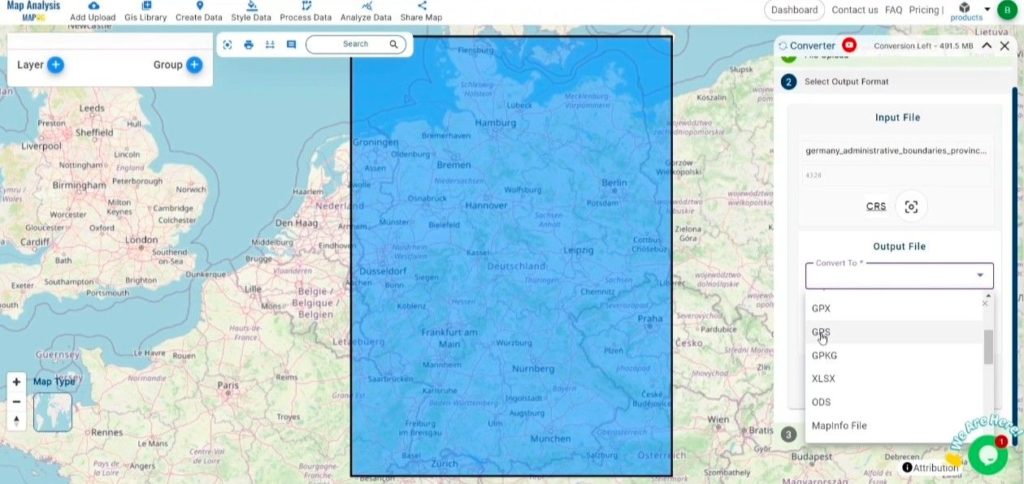
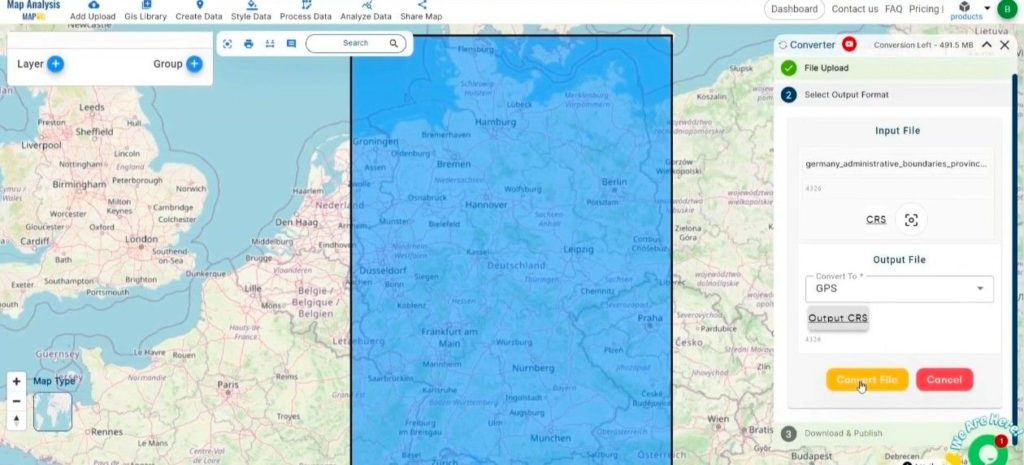
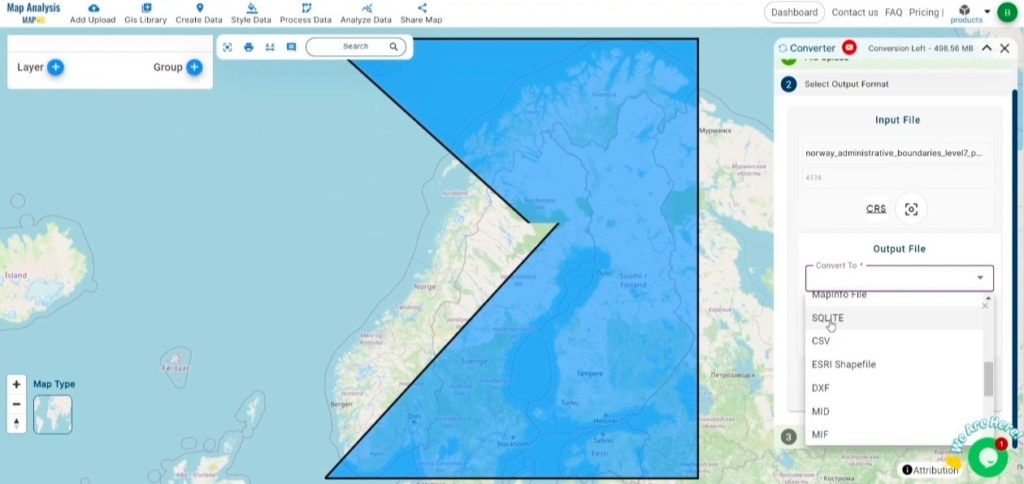
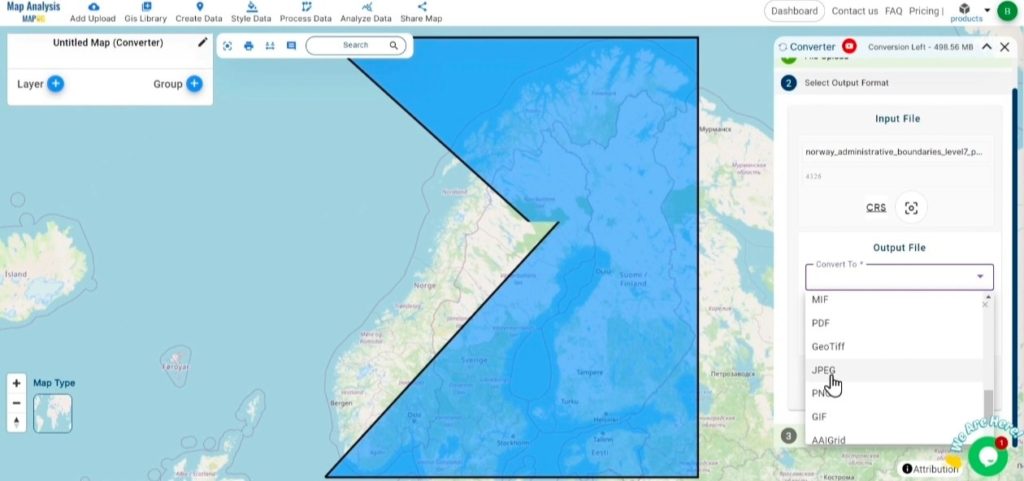
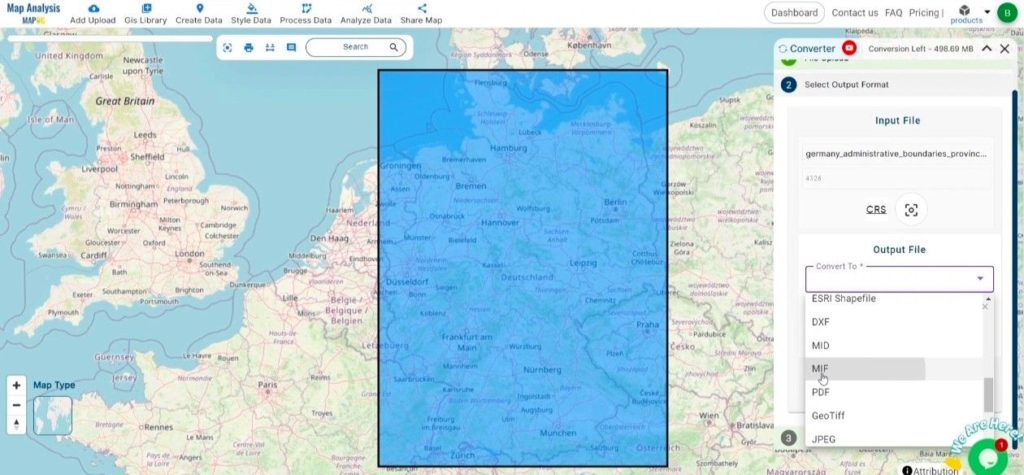
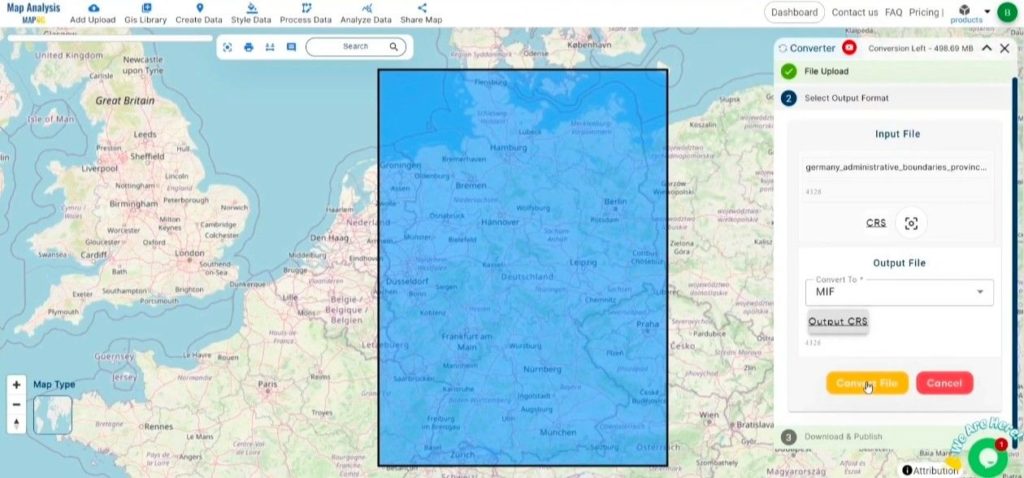
Step 2: Choose the Output Format:
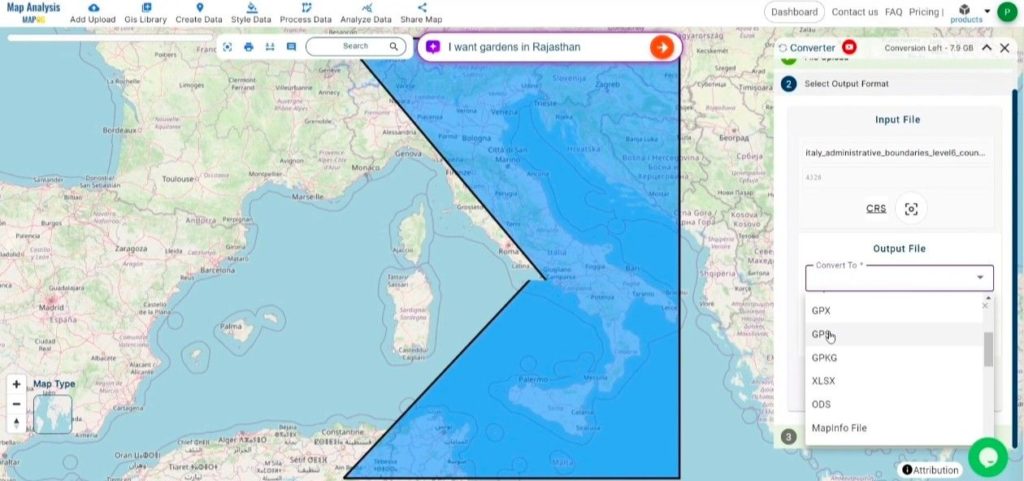
1. Select MIF as the format for exporting your data. While the Converter Tool provides various output format options, this guide specifically focuses on converting your file to MIF.
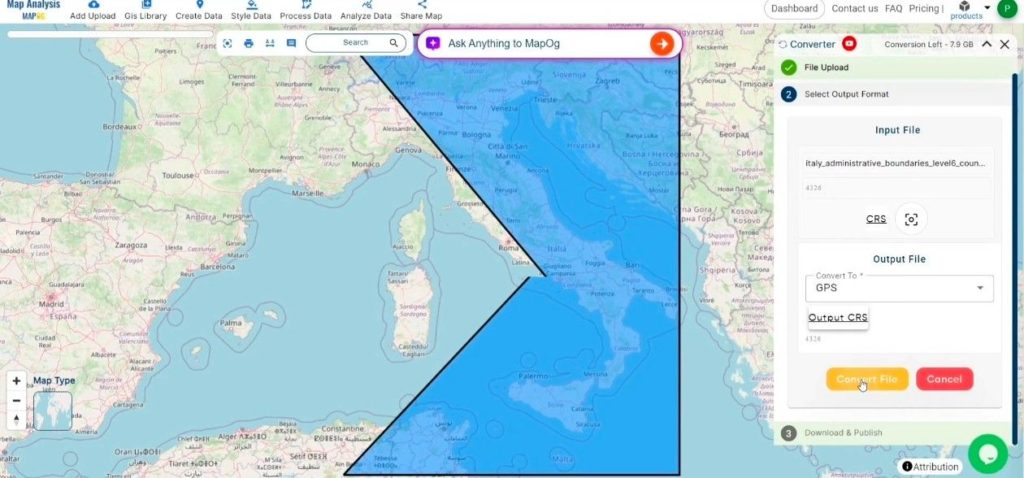
2. You can also Choose the Output Coordinate Reference System (CRS) according to your spatial analysis requirement.

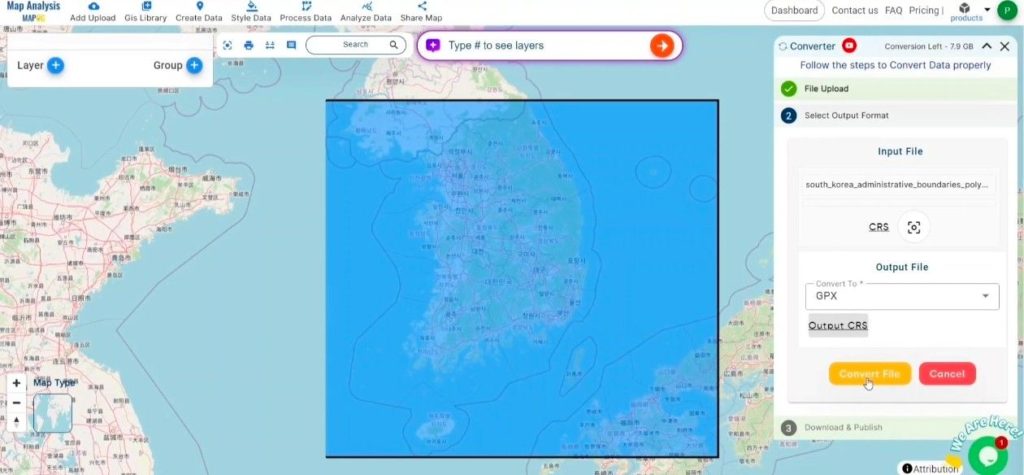
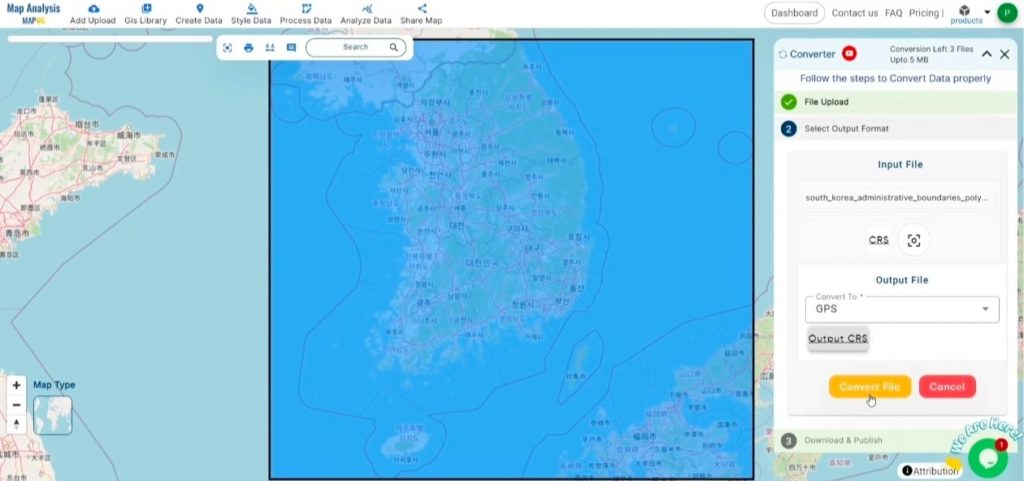
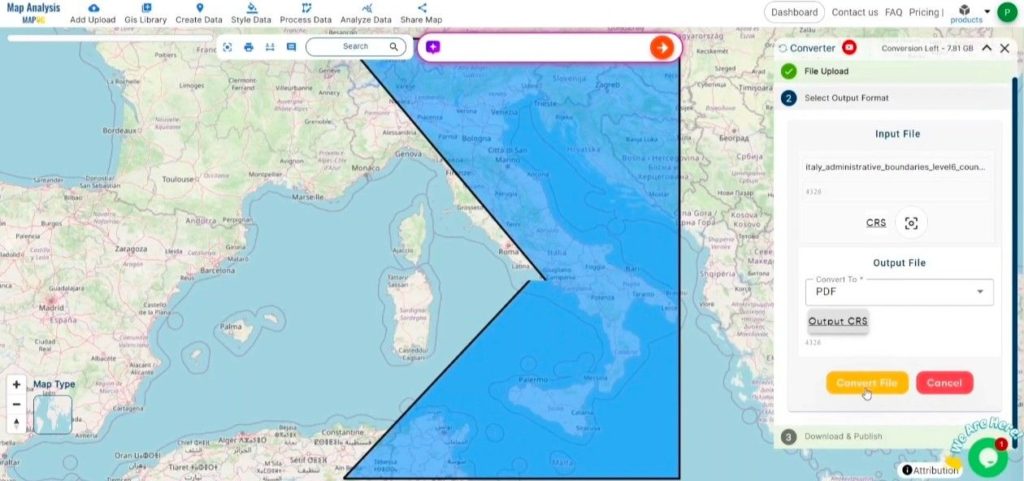
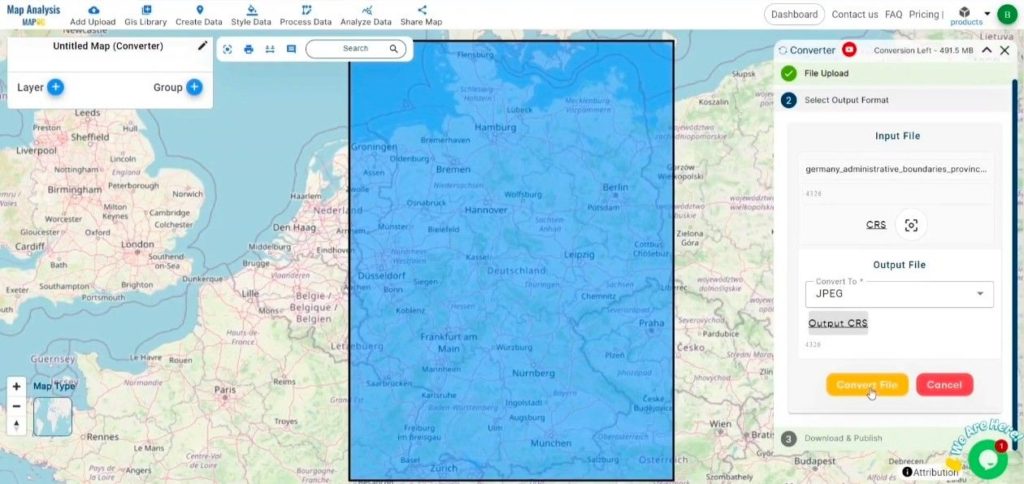
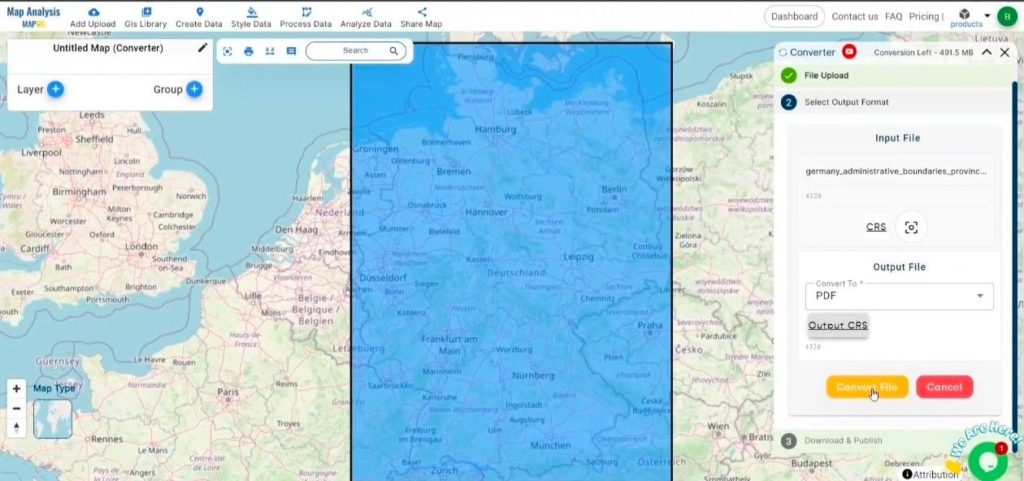
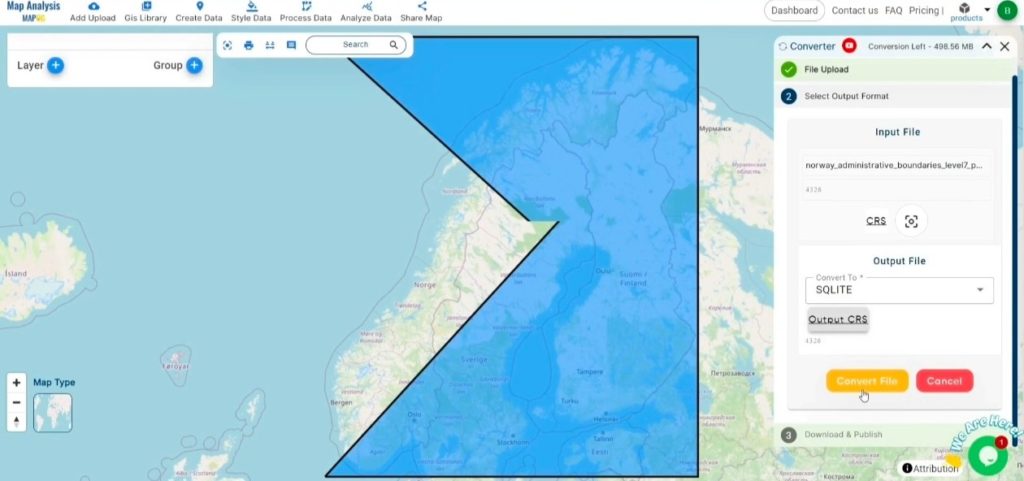
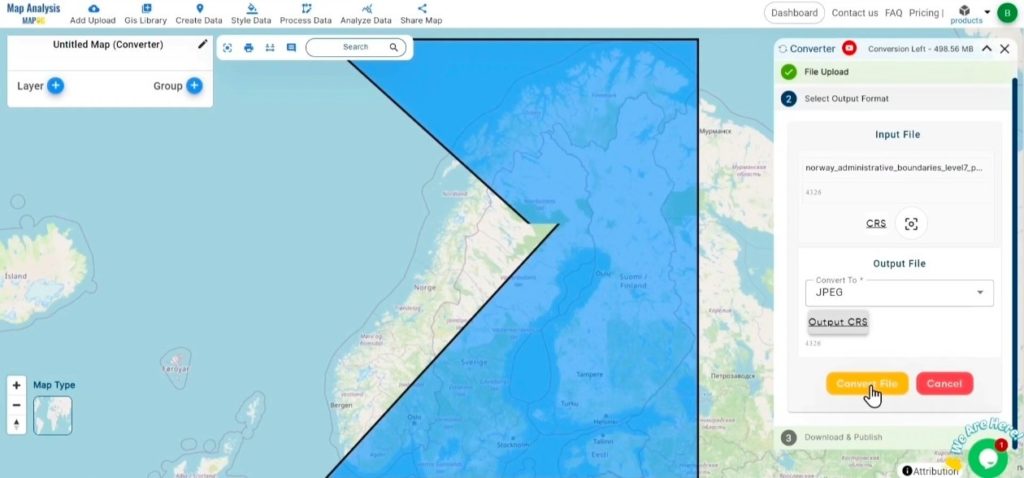
Step 3: Execute the Conversion:
Go to the ‘Convert Files’ section and allow the tool to handle the conversion. Upload your GPKG file, and the Converter Tool will smoothly transform it into MIF format, providing a quick and easy conversion process.
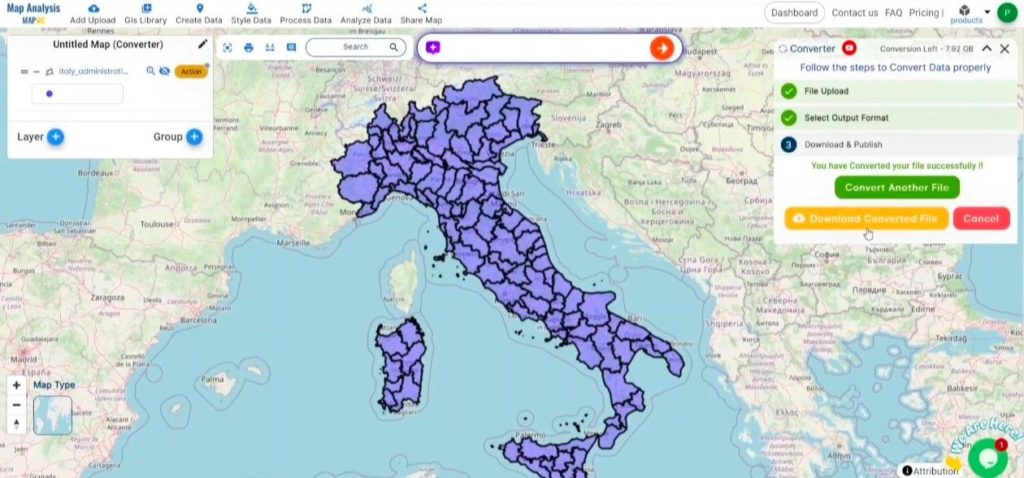
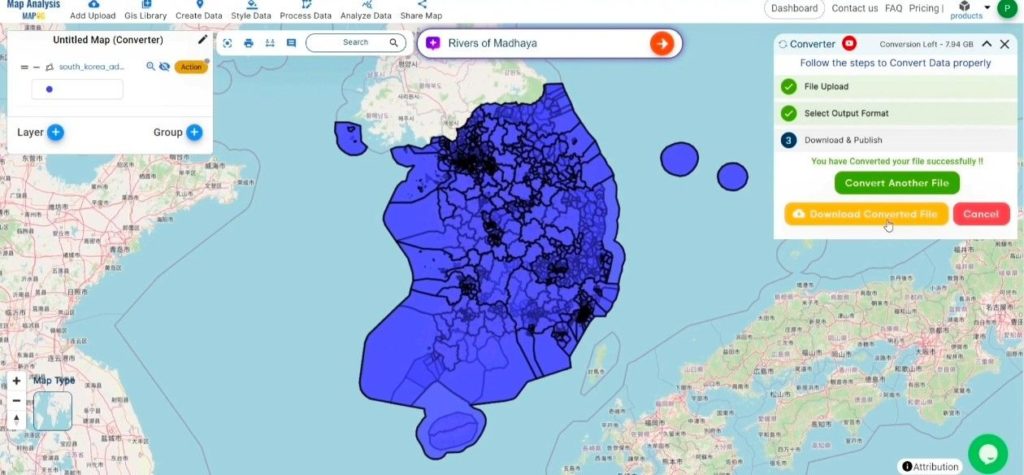
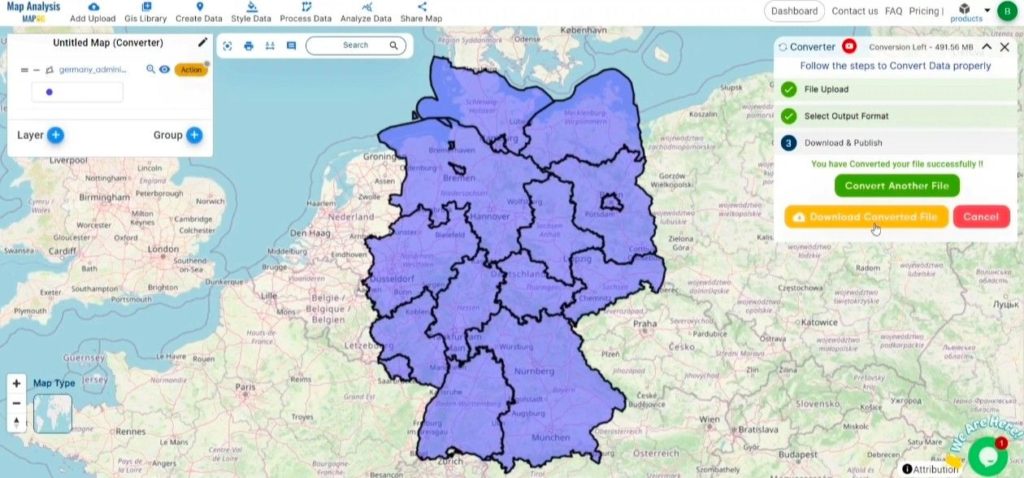
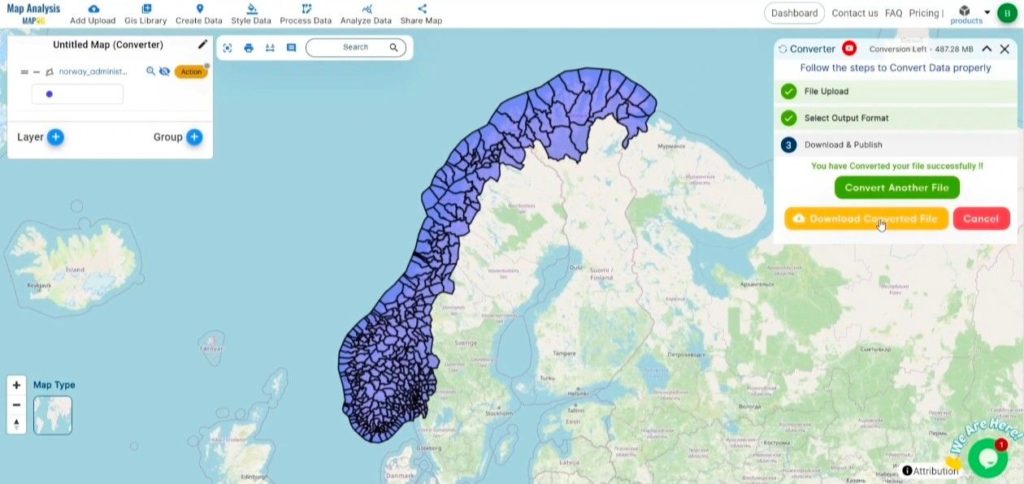
Step 4: Review and Download:
Check your converted MIF file to ensure it meets your expectations. After confirming that the conversion is correct and the data is accurately preserved, proceed to download the file. This step ensures the conversion was successful and that the file aligns with your requirements.

Conclusion:
MAPOG Map Analysis provides a variety of tools to improve your workflow, such as the Clip Tool for cutting down datasets, the Basic Style Tool for formatting numerical information, and the Create Point Tool for adding point features to your map. Furthermore, the Create Grid Tool enables you to create grids by uploading different types of data, among other functionalities.
Story by MAPOG:
MAPOG is a powerful tool that enables users to create interactive, map-based narratives by integrating geospatial data with multimedia elements such as text, images, and videos. This feature is ideal for conveying complex geographic information in a visually engaging way and is applicable across various fields like tourism, urban planning, education, and environmental conservation. With its user-friendly interface and customization options, Story by MAPOG makes it easy to share dynamic insights and present data in a clear, impactful format, perfect for professionals, educators, and students alike.
Other Feature Tools contain:
These blogs may also be useful for you:
- Convert Online Gis data : KML to PDF file
- Converting KML to GeoTIFF , Online Gis Data Converter
- Converting KMZ to SHP : Online GIS Data Conversion
- Converting TopoJSON to SHP Online : GIS Data Converter
- Converting GeoJSON to TopoJSON with MAPOG
- Converting GeoJSON to CSV with MAPOG
- Converting KMZ to KML with MAPOG
- Converting GML to KML with MAPOG
- Convert KMZ to TopoJSON Online