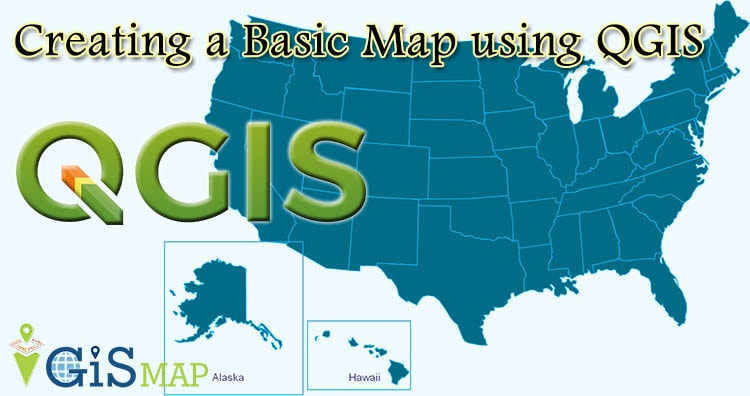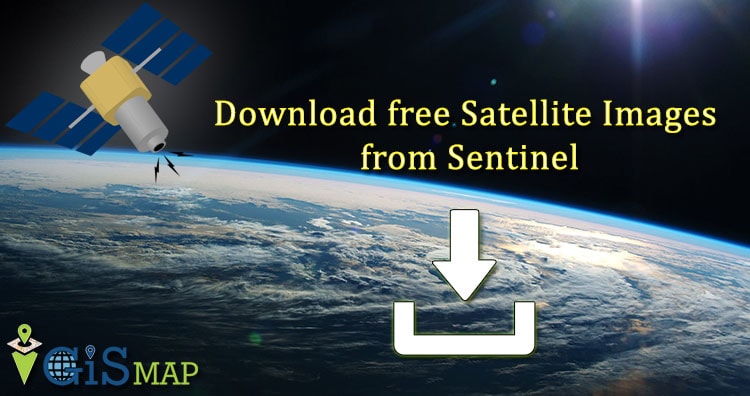
Need satellite images for research and study then you landed at right location. Today we learn how to download free satellite images from sentinel 1, 2 and sentinel 3 for QGIS. If you are new to QGIS 3.2.1 then check our previous article QGIS for beginner.
Download free satellite images from sentinel
Sentinel Satellite
Sentinel is developed under copernicus programme which is maintained and co-funded by European Union and ESA. (European Space Agency). Sentinel 1A was successfully launched 3rd april 2014. It will do Earth observation and keep the satellite data. Sentinel Hub is the cloud based open access GIS hub for management and analysis of satellite data. Lets start
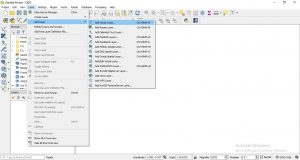
- Go to SCI Hub tap on open hub. Following screen will appear.

- If you are new then sign up otherwise click on login
- After login, Select the area whose satellite data you require. You can select by choosing box provided on the screen.

- After selection go to search bar and tap for advanced search. Screen provided below.

- Advance search box is given below. Change the sort by to sensing date. Give the date in the sensing period. And then choose the mission, click on search.

- Following search result will appear.

- Now the download the appropriate result. You can view the data by clicking on view the product.
 You can view the images before downloading.
 Now you are ready to download image. It will be in jpeg format for qgis it would e suitable as Geotiff.
 This all about download free satellite image from sentinel. We try our best by pictorial representation. Hope it will work for you. Any suggestion or feedback are welcome.
Try your hands also on: what is GIS, Connection between PostGIS and QGIS,


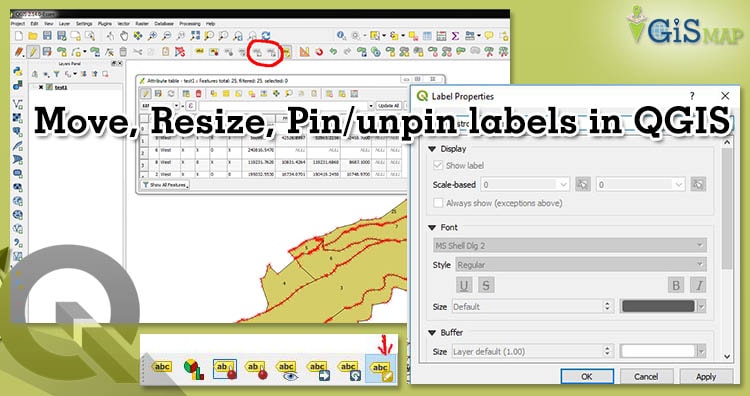

 Move labels and Diagrams


 Second method of selection is for very precise value.


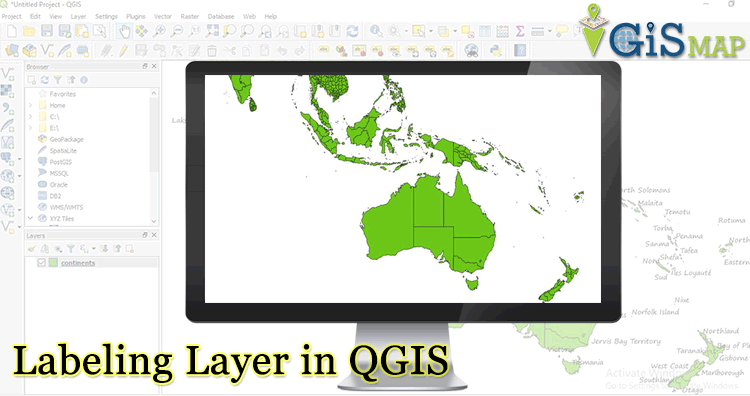

 So, this makes your map more informative. But still above map is not looking so good because off overlapping labels. These label are not placed in centre of object also. Multiple labels are also can be done in QGIS.