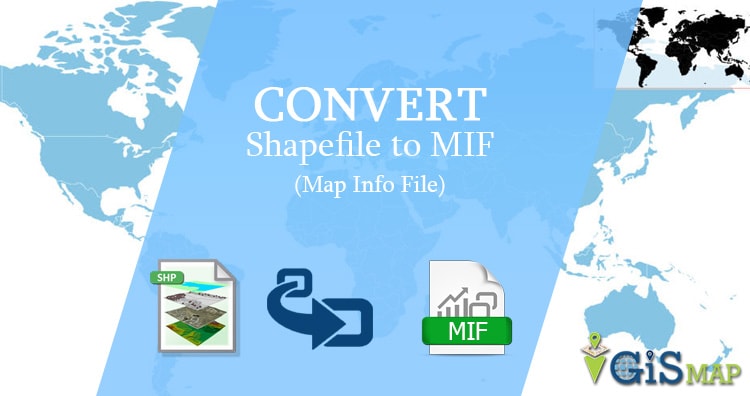
Many people uses MapServer as their Server, so they might need to store shape file as MIF (Map Info File) file on server. The OGR Simple Features Library allows MapServer users to display several types of vector data files in their native formats. For example, MapInfo Mid/Mif and TAB data can be seen on MapServer when using OGR support with it. So lets see how to convert Shapefile shp to mif or map info file.
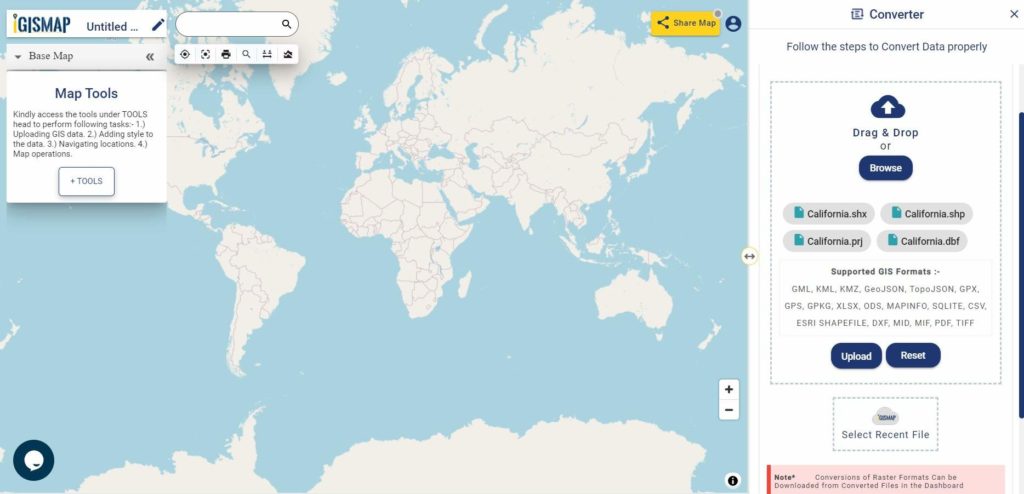
Here is the online tool To convert Shapefile to MapInfo MIF
Lets look what is MIF ( MapInfo Interchange Format) Before converting shp to Mif
MIF (Map Info File) File format used by MapInfo mapping and geographic analysis software. This stores a map visualization in a format that can be recognized by third party applications. Also used as an exchange format between GIS applications. This sometimes accompanied by a .MID (MapInfo data) file that contains additional spatial data. MID files are GIS data files created by MapInfo, a spatial data analysis and visualization software, saves spatial data for a corresponding .MIF (MapInfo Interchange Format) file. Also used for storing larger data sets not expressed in the MIF file. What is Shapefile – collection of geometry with other supported files as shx, dbf, prj ect.
MIF file show some general property when open with QGIS software, as like :
i.) Storage type of this layer
–> MapInfo File
ii.) Description of this provider
–> OGR data provider (compiled against GDAL/OGR library version 2.2.2, running against GDAL/OGR library version 2.2.2)
iii.) Source for this layer
–> /var/www/html/PHP_pgrouting/public/shpfolder222/newwhello.mif
iv.) Geometry type of the features in this layer
–> Line
v.) The number of features in this layer
–> 19148
vi.) Capabilities of this layer
–> Fast Access to Features at ID, Presimplify Geometries, Presimplify Geometries with Validity Check
vii.) In layer spatial reference system units
–> xMin,yMin 68.4982,7.92528 : xMax,yMax 97.3348,35.5013
viii.) Layer Spatial Reference System
–> +proj=longlat +datum=WGS84 +no_defs
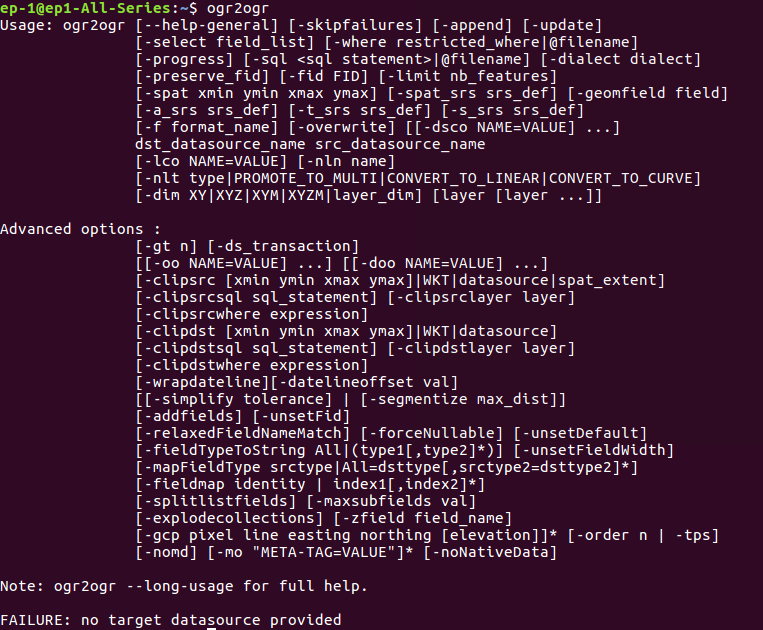
Convert Shapefile SHP TO MIF format using ogr2ogr utility-
ogr2ogr supports some file format MIF is one of them. You can write a simple command to convert your shapefile. Before this you must check for ogr2ogr utility. That can be done by typing ogr2pgr in your terminal.
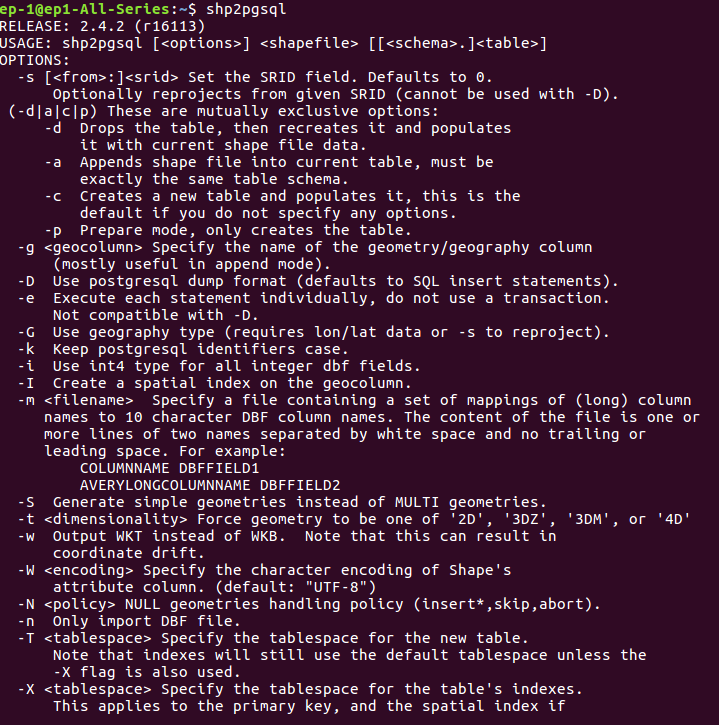
If this utitlity is not available, you should run the given commands-
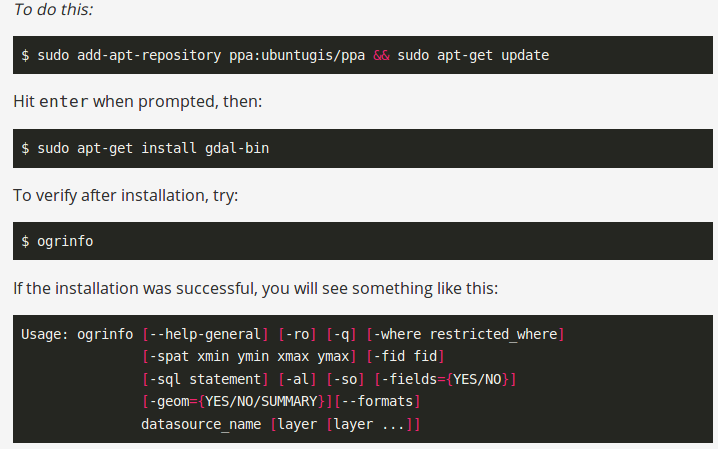
After this please check ogr2ogr utility http://www.gdal.org/ogr2ogr.html is available now.
Now you can move for conversion. For conversion please use the given command
–> ogr2ogr -f “MapInfo File” output_file.mif Input_SHP.shp
Note-
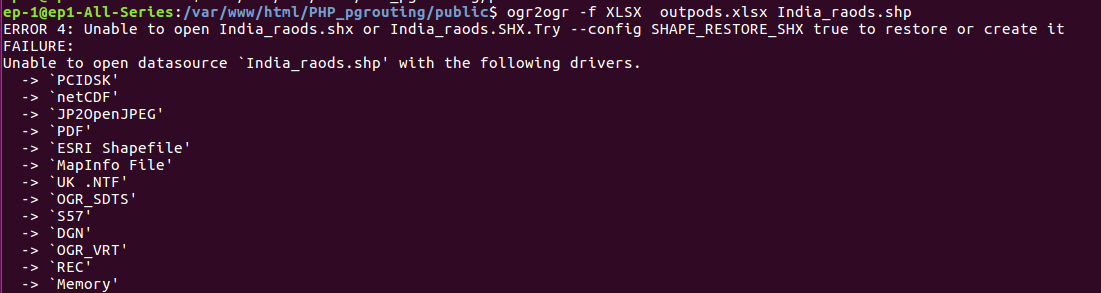
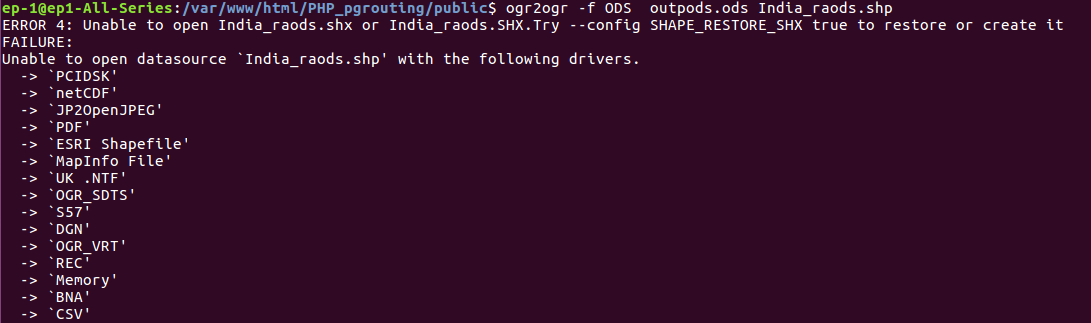
You must have shp along with .shx and .dbf file for proper conversion.
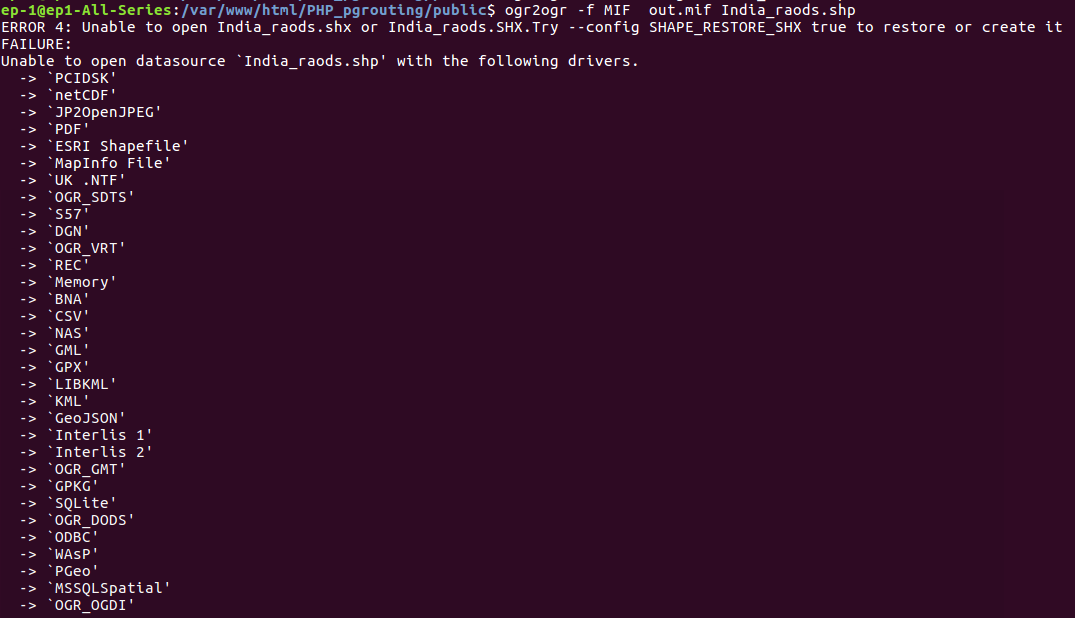
If you only have shp file you will got an error something like.
And if you don’t have .dbf file, then you following error will appear

Code to Convert Shp to MIF
If you are aware of reading binary file by knowing the file format, you can easily read and parse shapefile and convert the same to any other format. You can check out one such tutorial which I had created to read header of shapefile using c++ or bounding box of shapefile using c++.
This same work can be done in PHP using shelll_exec() method, which execute the command and gives output as string. The following function describes the $query variable, which takes command as string and given to shell_exec(0 method.
public function shptomif($shpfilepath,$output) {
$query=”ogr2ogr -f ‘MapInfo file’ $output.mif $shpfilepath.shp”;
shell_exec($query);
}
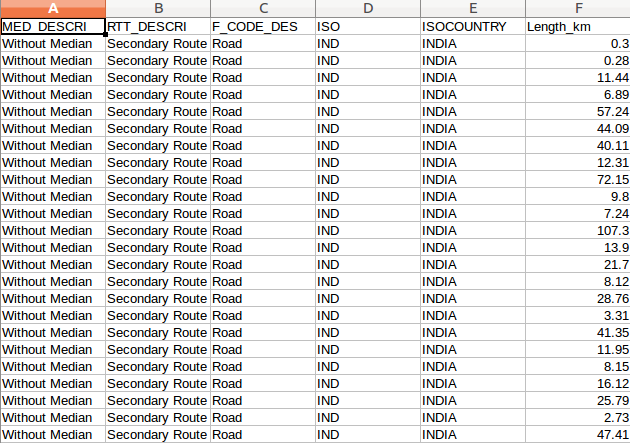
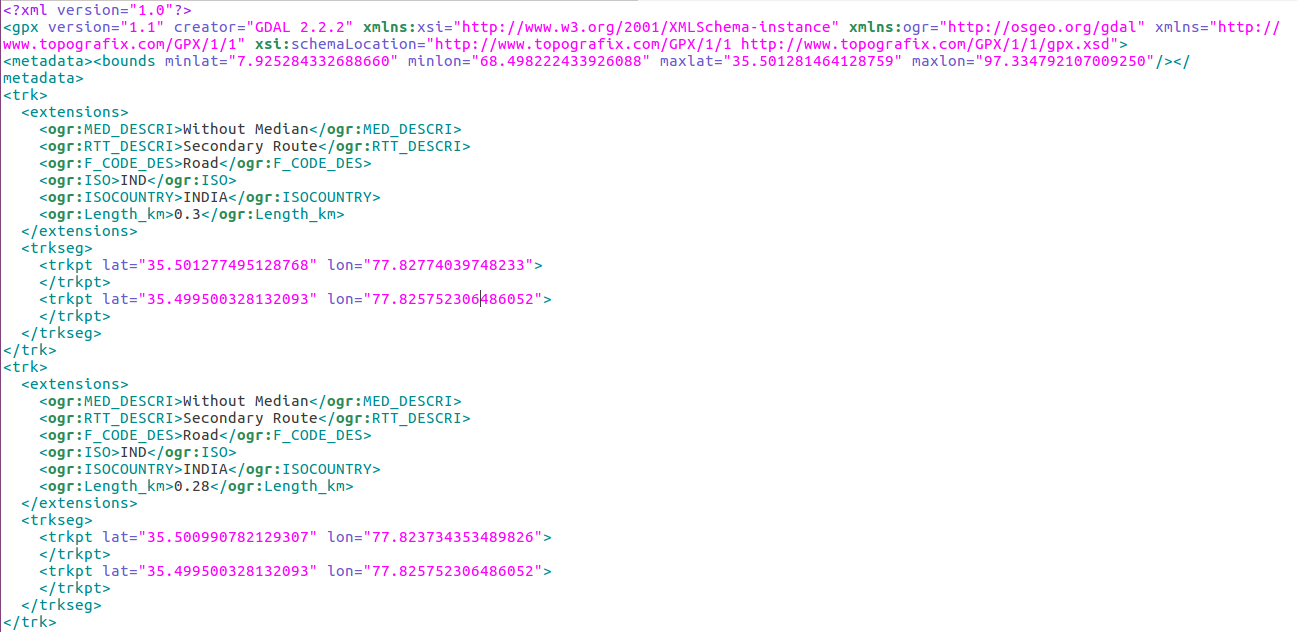
Output of mif file from shp file-
The Output will contain .mif and .mid files. You can open MIF file in QGIS software.
If you are using Windows operating software than you can open .mif (Map Info File) with microsoft word. The following result will appear
Version 300
Charset “Neutral”
Delimiter “,”
CoordSys Earth Projection 1, 104
Columns 7
MED_DESCRI Char(254)
RTT_DESCRI Char(254)
F_CODE_DES Char(10)
ISO Char(7)
ISOCOUNTRY Char(54)
Length_km Decimal(11,2)
Latitude Decimal(11,2)
Data line(…..)
Change Coordinate System of MIF from shp format
Converting shapefile into MapInfo File with desired coordinate system can be done by using ogr2ogr utility. It has some options related to SRS (Spatial reference system), given below-
-t_srs srs_def:
Reproject/transform to this SRS on output
-s_srs srs_def:
Override source SRS
So the query can be written as-
–> ogr2ogr -f ‘MapInfo File’ -s_srs EPSG:4326 (old EPSG) -t_srs EPSG:32643 (new EPSG) output_mifFile.mif Input_file.shp
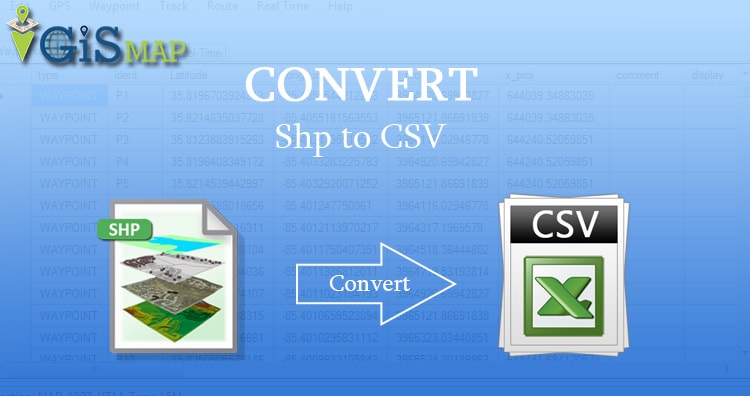
Hope this tutorial helped you to convert your shapefile to MIF (Map Info File) format. There are also various conversion available as- Shape to CSV, GeoJson to topoJson, Shapefile to Topojson , shapefile to kml, shp to ods, shp to gml etc.
Please let us know, if any find any difficulty in performing this conversion via commenting in provided box.