ArcGIS provides an infrastructure for making maps and geographic information available throughout an organization, across a community, and openly on the Web. Applying location-based analysis to business practices are some of the unique set of capabilities offered by ArcGIS. Here in this post we will check FAQs of ArcGIS and Common Question asked during Interview Question.
ArcGIS Interview Question – Frequently Asked Question ArcGIS
Que. What is ArcGIS?
Ans. ArcGIS is a geographic information system (GIS) for working with maps and geographic information. It is used for creating and using maps, compiling geographic data, analyzing mapped information, sharing and discovering geographic information, using maps and geographic information in a range of applications, and managing geographic information in a database. ArcGIS software—Create and Share Maps, Analytics, and Data.
Que. What is open source software?
Ans. An open source application by definition is software that you can freely access and modify the source code for.
name few open source GIS software
QGIS,gVSIG, Whitebox GAT, SAGA GIS, GRASS GIS, MapWindow, ILWIS, GeoDa, uDig and OpenJump
Que. What is geocoding?
Ans. Geocoding is the process of transforming a description of a location—such as a pair of coordinates, an address, or a name of a place—to a location on the earth’s surface.
Que. What is geodatabase?
Ans. an ArcGIS geodatabase is a collection of geographic datasets of various types held in a common file system folder, a Microsoft Access database, or a multiuser relational DBMS (such as Oracle, Microsoft SQL Server, PostgreSQL, Informix, or IBM DB2).
Que. What is database server?
Ans. A database server is a computer program that provides database services to other computer programs or to computers, as defined by the client–server model.
Que. What is georefrencing ?
Ans. Georeferencing means to associate something with locations in physical space. The term is commonly used in the geographic information systems field to describe the process of associating a physical map or raster image of a map with spatial locations.
Que. What is the purpose of georefrencing?
Ans. The purpose of georeferencing is to turn nonspatial imagery, such as historical air photos or maps, into spatial raster data for use in a variety of circumstances. Spatialized air photos, for example, can be used for GIS land cover analysis or to use as a baselayer on a mobile device While in the field.
Que. What is the use of arcmap?
Ans. ArcMap is the main component of Esri’s ArcGIS suite of geospatial processing programs, and is used primarily to view, edit, create, and analyze geospatial data.ArcMap allows the user to explore data within a data set, symbolize features accordingly, and create maps.
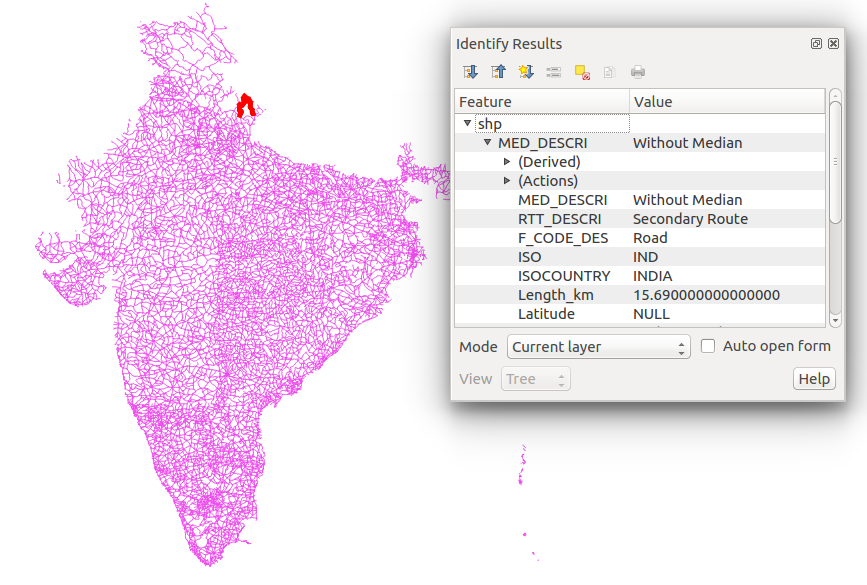
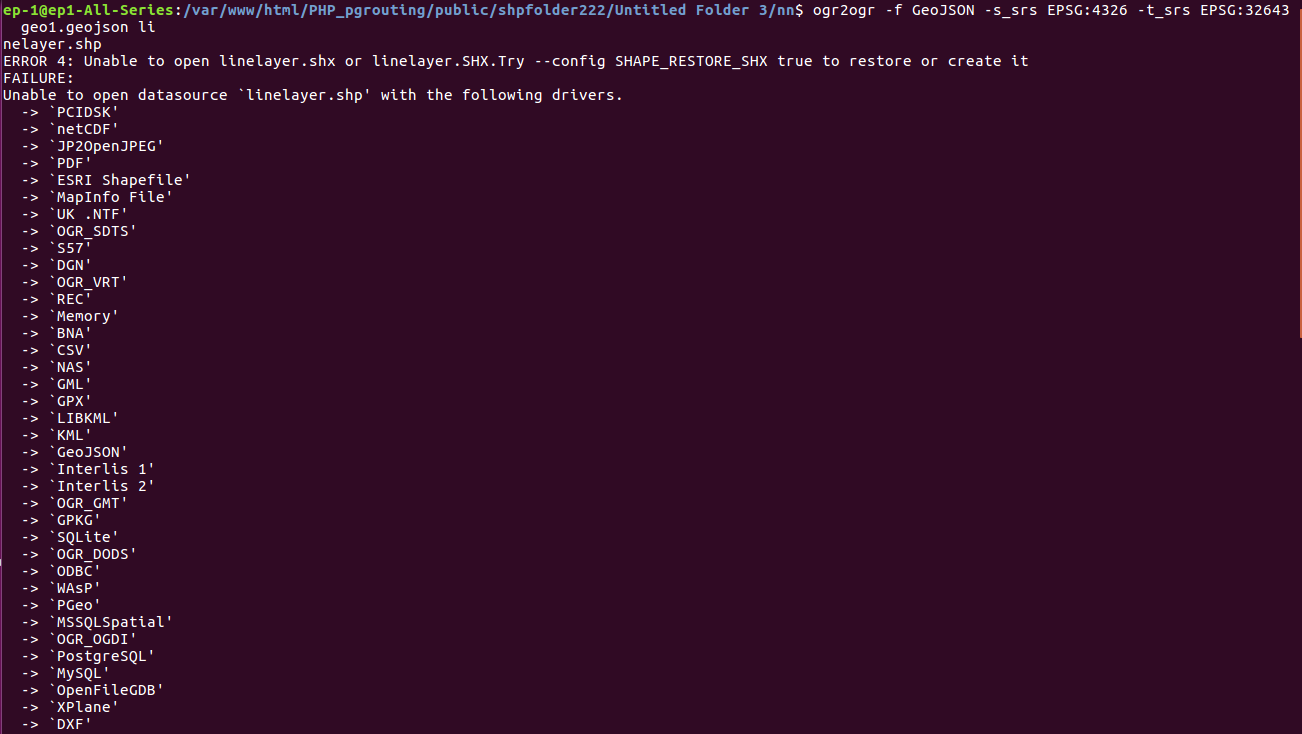
Que. What is shape file?
Ans. The shapefile format is a popular geospatial vector data format for geographic information system (GIS) software. It is developed and regulated by Esri as a (mostly) open specification for data interoperability among Esri and other GIS software products.
Que. What are the extensions of shape file?
Ans. The extensions of shapeFiles are as follows:
.shp is a mandatory Esri file that gives features their geometry. Every shapefile has its own .shp file that represent spatial vector data. For example, it could be points, lines and polygons in a map.
.shx are mandatory Esri and AutoCAD shape index position. This type of file is used to search forward and backwards.
.dbf is a standard database file used to store attribute data and object IDs. A .dbf file is mandatory for shape files. You can open .DBF files in Microsoft Access or Excel.
.prj is an optional file that contains the metadata associated with the shapefiles coordinate and projection system. If this file does not exist, you will get the error “unknown coordinate system”. If you want to fix this error, you have to use the “define projection” tool Which generates .prj files.
.xml file types contains the metadata associated with the shapefile. If you delete this file, you essentially delete your metadata. You can open and edit this optional file type (.xml) in any text editor.
.sbn is an optional spatial index file that optimizes spatial queries. This file type is saved together with a .sbx file. These two files make up a shape index to speed up spatial queries.
.sbx are similar to .sbn files in Which they speed up loading times. It works with .sbn files to optimize spatial queries. We tested .sbn and .sbx extensions and found that there were faster load times When these files existed. It was 6 seconds faster (27.3 sec versus 33.3 sec) compared with/without .sbn and .sbx files.
.cpg are optional plain text files that describes the encoding applied to create the shapefile. If your shapefile doesn’t have a cpg file, then it has the system default encoding.
Que. What extensions does raster file uses?
Ans. there are three files as img, aux and rrd. Img is the image file, aux is auxiliary (AUX or AUX.XML) file accompanies the raster in the same location and stores any auxiliary information that cannot be stored in the raster file itself. And rrd is reduced resolution dataset file created When zooming is required.
Que. What is GIS premitives?
Ans. point, line and polygon.
Que. What is pixel?
Ans. The smallest unit of information in an image or raster map, usually square or rectangular. Pixel is often used synonymously with cell.
Que. What is overlay analysis?
Ans. Overlay is a GIS operation that superimposes multiple data sets (representing different themes) together for the purpose of identifying relationships between them. An overlay creates a composite map by combining the geometry and attributes of the input data sets. Tools are available in most GIS software for overlaying both Vector or raster data.
Que. can we see each pixel value in arcmap software?
Ans. The Pixel Inspector tool is used to view the pixel values of your raster dataset When displayed in ArcMap.
Que. Name commonly used tools in arcmap for analysis purpose.
Ans. Overlay analysis, Proximity analysis, Table analysis and management, Surface creation and analysis and Selecting and Extracting data.
Que. What extract tool does?
Ans. The Extract tools let you select features and attributes in a feature class or table based on a query (SQL expression) or spatial extraction. The output features and attributes are stored in a feature class or table.
Que. Why we use overlay tool?
Ans. The Overlay toolset contains tools to overlay multiple feature classes to combine, erase, modify, or update spatial features, resulting in a new feature class.
Que. What is feature class?
Ans. In ArcGIS, a collection of geographic features with the same geometry type (such as point, line, or polygon), the same attributes, and the same spatial reference. Featureclasses can be stored in geodatabases, shapefiles, coverages, or other data formats.
Que. Why we use proximity tool?
Ans. The Proximity toolset contains tools that are used to determine the proximity of features within one or more feature classes or between two feature classes.
Que. Why we use statistics tool?
Ans. The Statistics toolset contains tools that perform standard statistical analysis (such as mean, minimum, maximum, and standard deviation) on attribute data as well as tools that calculate area, length, and count statistics for overlapping and neighboring features.
Que. Why we use conversion tool?
Ans. The Conversion toolbox contains tools that convert data between various formats.
Que. What is iteration?
Ans. repetition of a mathematical or computational procedure applied to the result of a previous application, typically as a means of obtaining successively closer approximations to the solution of a problem.
Que. What to do When a task need to repeat multiple time?
Ans. we can use modelBuilder tool.
Que. What is modelBiulder?
Ans. In ModelBuilder, you can iterate the entire model or just an individual process using Iterators.
Que. Explain spatial statistics toolbox.
Ans. The Spatial Statistics toolbox contains statistical tools for analyzing spatial distributions, patterns, processes, and relationships.
Que. can we edit shapefile in arcmap.
Ans. yes by enabling editing option.
Que. Explain editing tool.
Ans. The Editing tools allow you to apply bulk editing to all (or selected) features in a feature class.
Que. What is attribute?
Ans. Non-spatial information about a geographic feature in a GIS, usually stored in a table and linked to the feature by a unique identifier.
Que. What is attribute query?
Ans. An attribute query is the process of searching and retrieving records of features in a database based on desired attribute values.
Que. Define two type for query in arcmap?
Ans. select by attribute and select by location.
Que. What is spatial query?
Ans. A spatial query is a special type of database query supported by geo databases and spatial databases.
Que. What are the type of attribute in GIS
Ans. Attribute data can be store as one of five different field types in a table or database: character, integer, floating, date, and BLOB.
Que. What is pyramid?
Ans. Pyramids are used to improve performance. They are a downsampled version of the original raster dataset and can contain many downsampled layers. Each successive layer of the pyramid is downsampled at a scale of 2:1.
Que. What is raster compression?
Ans. The primary benefit of compressing your data is to reduce the size of the file to help save disk space. An added benefit is greatly improved performance over a network, because you are transferring a reduced amount of the data being read from disk and transferred to the server or direct read application.
Que. What is coverage?
Ans. A coverage is a georelational data model that stores vector data—it contains both the spatial (location) and attribute (descriptive) data for geographic features. Coverages use a set of feature classes to represent geographic features.
Que. What is TIN?
Ans. Triangular irregular networks (TIN) have been used by the GIS community for many years and are a digital means to represent surface morphology. TINs are a form of vector-based digital geographic data and are constructed by triangulating a set of vertices (points).
Que. What is topology?
Ans. Topology is the arrangement for how point, line, and polygon features share geometry.
Que. What is terrain?
Ans. A terrain dataset is a multiresolution, TIN-based surface built from measurements stored as features in a geodatabase. They’re typically made from lidar, sonar, and photogrammetric sources. Terrains reside in the geodatabase, inside feature datasets with the features used to construct them.
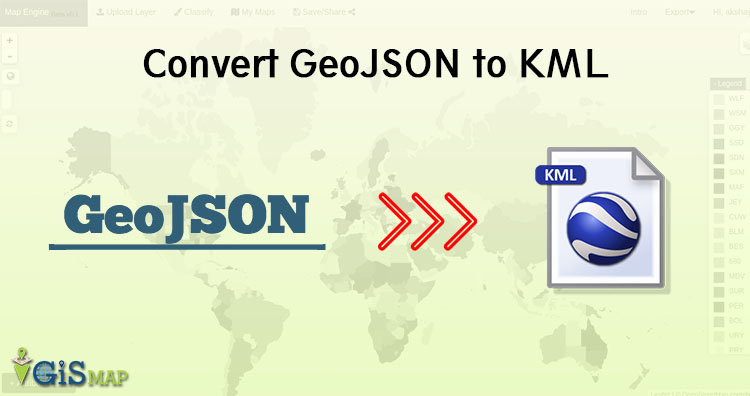
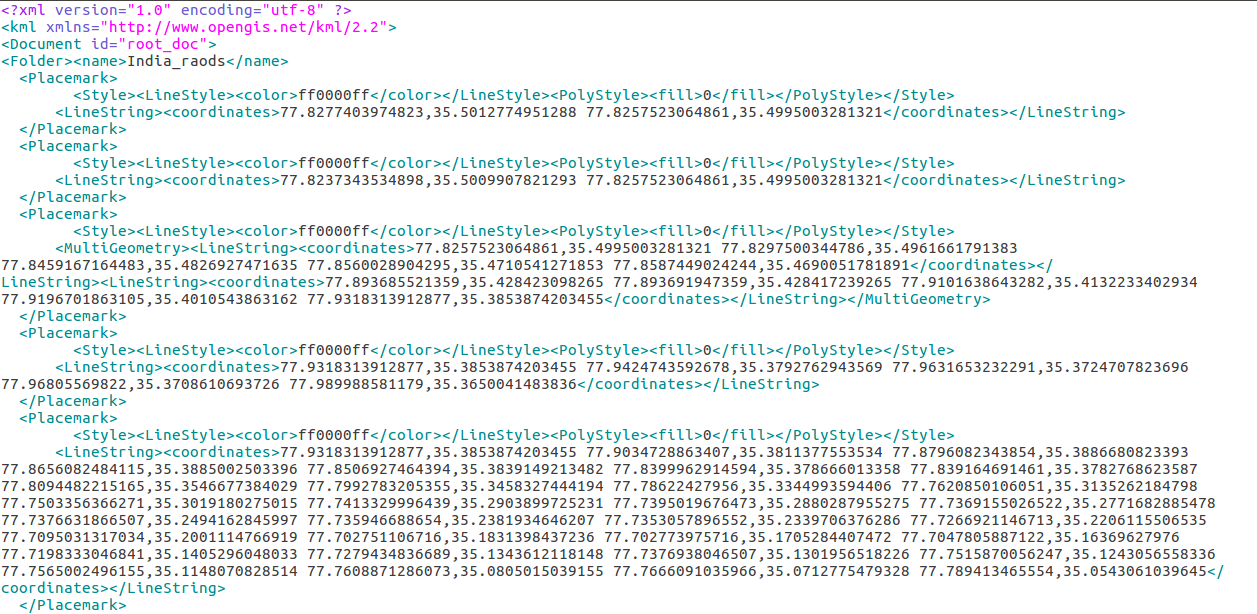
Que. What is KML?
Ans. Keyhole Markup Language (KML) is an XML-based format for storing geographic data and associated content and is an official Open Geospatial Consortium (OGC) standard. KML is a common format for sharing geographic data with non-GIS users as it can be easily delivered on the Internet and viewed in a number of free applications, including Google Earth and ArcGIS Explorer. KML files have either a .kml or .kmz (for compressed or zipped KML files) file extension.
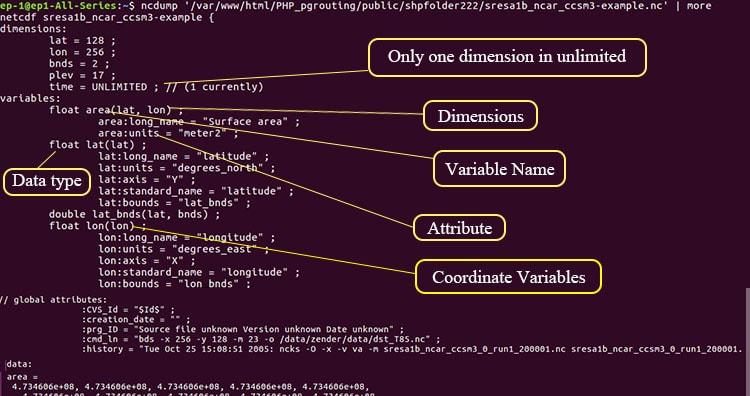
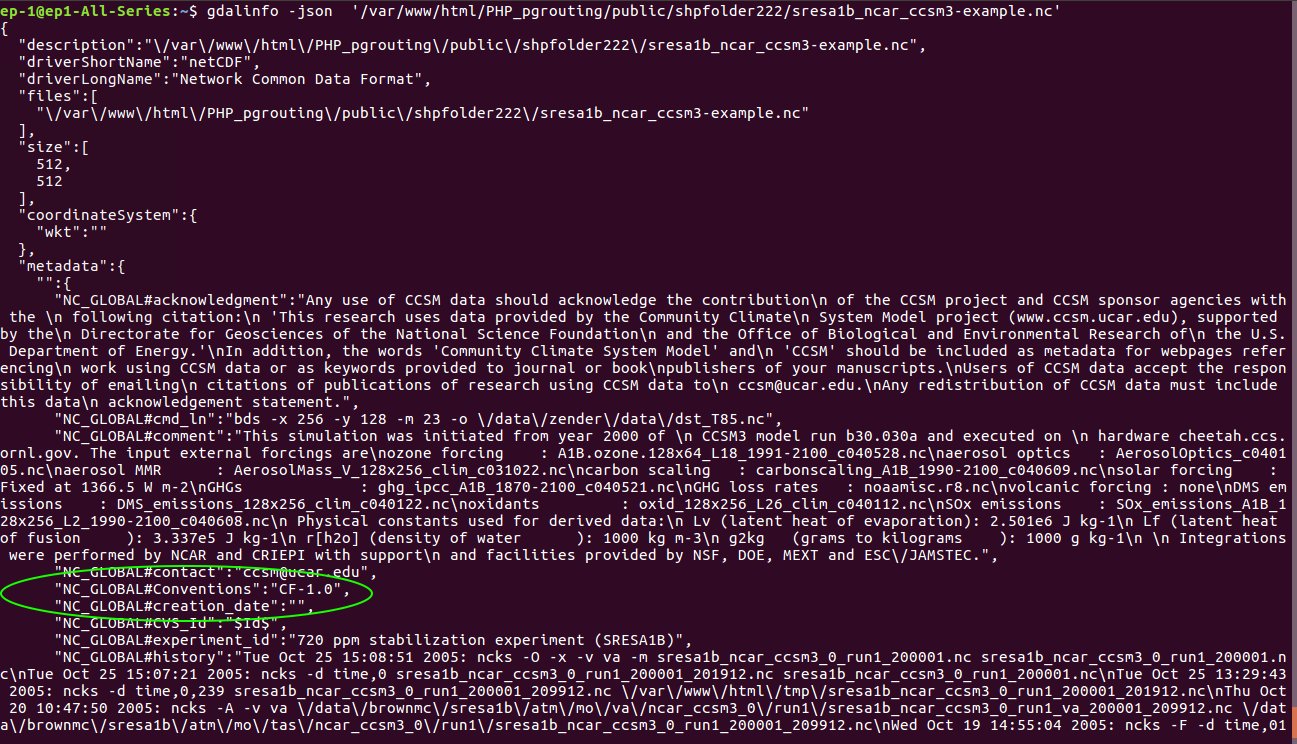
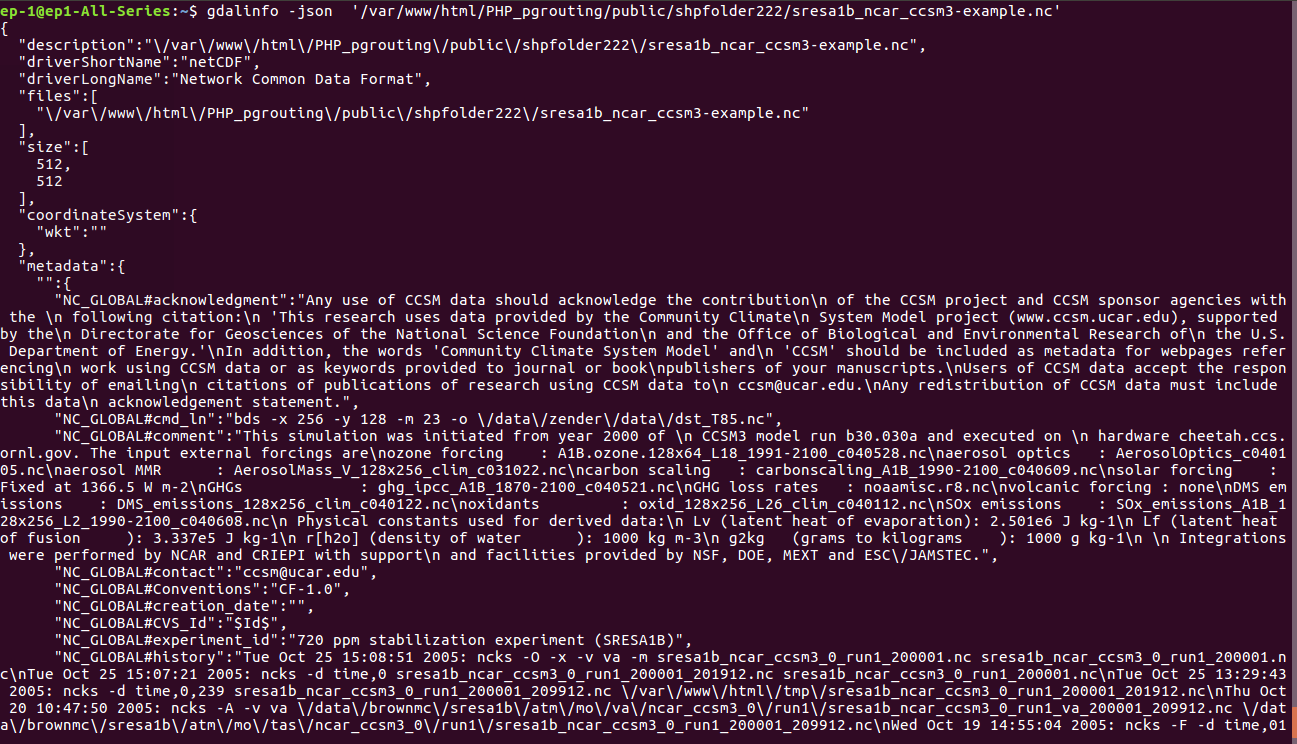
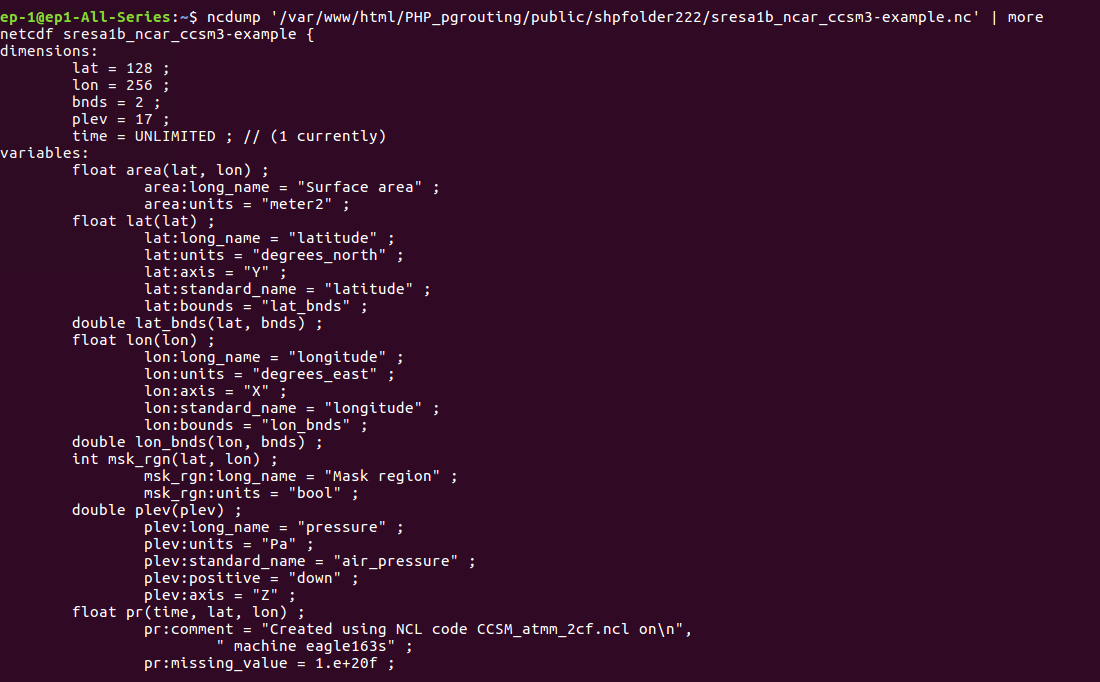
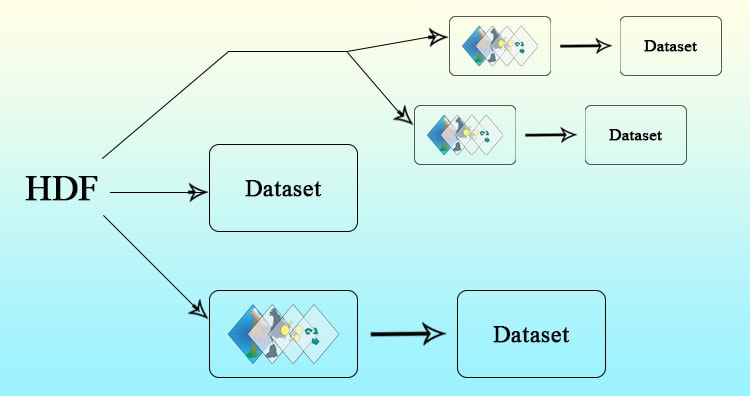
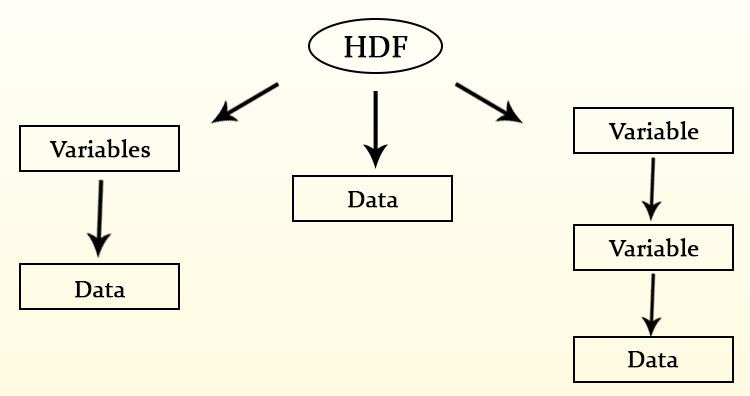
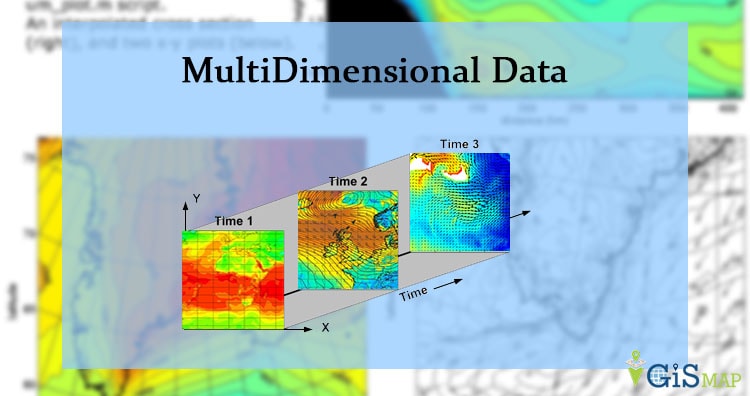
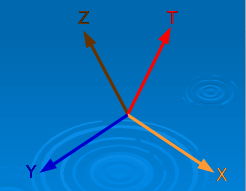
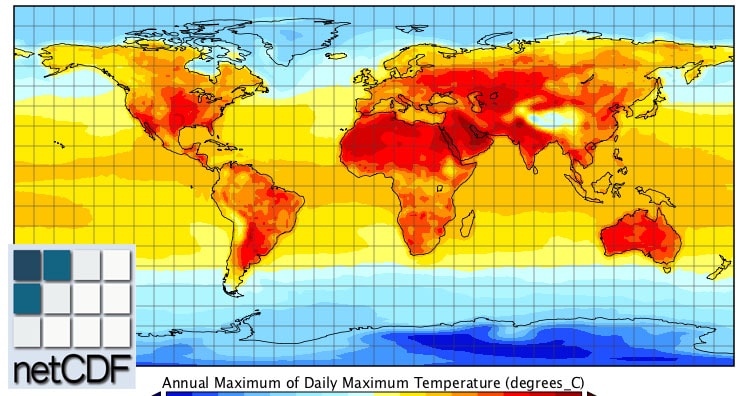
Que. What is netCDF?
Ans. NetCDF (network Common Data Form) is a file format for storing multidimensional scientific data (variables) such as temperature, humidity, pressure, wind speed, and direction. Each of these variables can be displayed through a dimension (such as time) in ArcGIS by making a layer or table view from the netCDF file.
Que. What is dimension?
Ans. Dimensions are a special kind of geodatabase annotation for showing specific lengths or distances on a map. A dimension may indicate the length of a side of a building or land parcel or the distance between two features such as a fire hydrant and the corner of a building.
Que. What is arcmap?
Ans. ArcMap represents geographic information as a collection of layers and other elements in a map. Common map elements include the data frame containing map layers for a given extent plus a scale bar, north arrow, title, descriptive text, a symbol legend, and so on.
Que. What is report in arcgis?
Ans. Reports present the facts and figures behind your analysis and are invaluable companions to the maps you are creating.
Que. What is geoprocessing?
Ans. Geoprocessing provides a large suite of tools for performing GIS tasks that range from simple buffers and polygon overlays to complex regression analysis and image classification.
Que. What is arcpy?
Ans. ArcPy is a site package that builds on (and is a successor to) the successful arcgisscripting module. Its goal is to create the cornerstone for a useful and productive way to perform geographic data analysis, data conversion, data management, and map automation with Python.
Que. can we create tool in arcMap?
Ans. yes, using arcpy we can create tool.
Que. What is color balancing?
Ans. Color balancing attempts to remove trends across images to make them look more seamless. Statistics must exist for the rasters within a mosaic dataset When using color balancing.
Que. What is data view?
Ans. In ArcMap data view, the map is the data frame. The active data frame is presented as a geographic window in Which map layers are displayed and used.
Que. What is layout view?
Ans. The Layout view is used to design and author a map for printing, exporting, or publishing. You can manage map elements within the page space (typically, in inches or centimeters), add new map elements, and preview What your map will look like before exporting or printing it. Common map elements include data frames with map layers, scale bars, north arrows, symbol legends, map titles, text, and other graphic elements.
Que. Explain page layout.
Ans. A page layout is the arrangement of map elements and their overall design on a printed page or a digital map display. It is one of the primary display views that you work with in ArcMap—primarily to create maps for printing or for export and sharing using PDF.
arcPy
arcGIS+python
Que. Explain geoid.
Ans. The geoid is defined as the surface of the earth’s gravity field, Which is approximately the same as mean sea level. It is perpendicular to the direction of gravity pull. Since the mass of the earth is not uniform at all points, and the direction of gravity changes, the shape of the geoid is irregular.
Que. Explain spheroid?
Ans. A spheroid is a three-dimensional shape created from a two-dimensional ellipse. The ellipse is an oval, with a major axis (the longer axis) and a minor axis (the shorter axis). If you rotate the ellipse, the shape of the rotated figure is the spheroid.
Que. Explain datum?
Ans. A datum is built on top of the selected spheroid and can incorporate local variations in elevation. With the spheroid, the rotation of the ellipse creates a totally smooth surface across the world. Because this doesn’t reflect reality very well, a local datum can incorporate local variations in elevation.
Que. Explain geometric datum?
Ans. An earth-centred, or geocentric, datum uses the earth’s centre of mass as the origin. The most recently developed and widely used datum is WGS 1984.
Que. Explain local datum?
Ans. A local datum aligns its spheroid to closely fit the earth’s surface in a particular area. A point on the surface of the spheroid is matched to a particular position on the surface of the earth. This point is known as the origin point of the datum. The coordinates of the origin point are fixed, and all other points are calculated from it.
Que. What is projected coordinated system?
Ans. A projected coordinate system is defined on a flat, two-dimensional surface. Unlike a geographic coordinate system, a projected coordinate system has constant lengths, angles, and areas across the two dimensions. A projected coordinate system is always based on a geographic coordinate system that is based on a sphere or spheroid.
Que. What are the projection types are?
Ans. conic, cylinderical and planar
Que. Explain false easting?
Ans. False easting is a linear value applied to the origin of the x-coordinates. False northing is a linear value applied to the origin of the y-coordinates
Que. Define scale factor?
Ans. scale factor is a unitless value applied to the center point or line of a map projection.
Que. Define vertical coordinate system?
Ans. A vertical coordinate system defines the origin for height or depth values. Like a horizontal coordinate system, most of the information in a vertical coordinate system is not needed unless you want to display or combine a dataset with other data that uses a different vertical coordinate system.
Que. What is z value in gis?
Ans. One z-value is shown for the height-based mean sea level system. Any point that falls below the mean sea level line but is referenced to it will have a negative z-value.
Que. What is vertical datum?
Ans. A vertical coordinate system (VCS) can be referenced to two different types of surfaces: spheroidal (ellipsoidal) or gravity-related (geoidal). Most vertical coordinate systems are gravity-related.
Que. What is geographic coordinate system
Ans. A geographic coordinate system uses a three-dimensional spherical surface to define locations on the earth. It includes an angular unit of measure, a prime meridian, and a datum (based on a spheroid). In a geographic coordinate system, a point is referenced by its longitude and latitude values.
Que. What is line referencing?
Ans. Linear referencing is the method of storing geographic locations by using relative positions along a measured linear feature.
Que. What is data segmentation?
Ans. Dynamic segmentation is the process of computing the map locations of events stored and managed in an event table using a linear referencing measurement system and displaying them on a map. The term dynamic segmentation is derived from the concept that line features need not be split (in other words, “segmented”) each time an attribute value changes; you can “dynamically” locate the segment.
Que. What is arcpro?
Ans. ArcGIS Pro is the new application for creating and working with spatial data on your desktop. It provides tools to visualize, analyze, compile, and share your data, in both 2D and 3D environments.
Que. Define animation in GIS?
Ans. An animation is a visualisation of the changes to the properties of one object (such as a layer) or a set of objects (such as multiple layers). Animations make your documents come alive by storing actions so they can be replayed as you choose.
I hope this Question answer might have helped you in understanding ArcGIS and in clearing the Basics interview question of ArcGIS. Let us know if you have any other list of questions answer available in ArcGIS by commenting below in the space provided.