Digitization in QGIS – Exploring tools for Digitizing. Digitization is one of the important tasks for a GIS specialist. Digitization is a process of converting raster data to vector data. For this task QGIS provides many tools for efficient digitization. Digitization (or vectorization) should be clean and a copy of the raster data so that the information of the map does not change. Also consider to see other QGIS tutorials.
Digitization in QGIS – Exploring tools for Digitizing
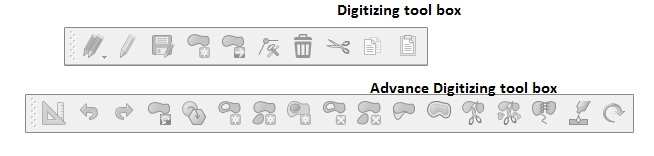
- Check if Digitizing Toolbox is activated
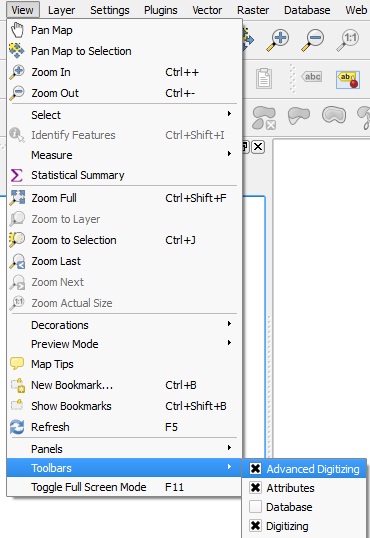
Here we will explore tools provided by QGIS for efficient digitization. First check your digitizing tool box is activated, if not then you can activate it using following process.
Click view tab in the menu bar and click toolbar and then check digitizing and advance digitizing tool box.
- Create Layer:
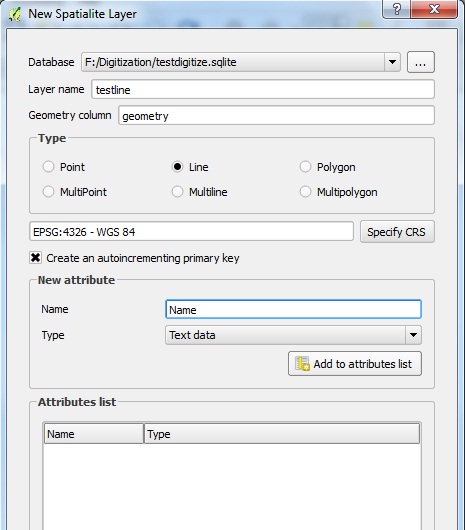
Now add some layers for drawing. Click layer in the menu bar, select create layer and select new spatialite layer.
You can select new shapefile layer if you have to digitize a single feature like some places or roads or buildings. We are selecting new spatialite layer because we will be drawing more than one feature in single file and it is easy to transfer this file.
Click ‘…’ browse button and save your database. Give name to your layer, select type of layer and specify attributes and their type such as text or numerals and click add attributes to the list and click OK. Specify CRS of the layer same as the CRS of Raster data.
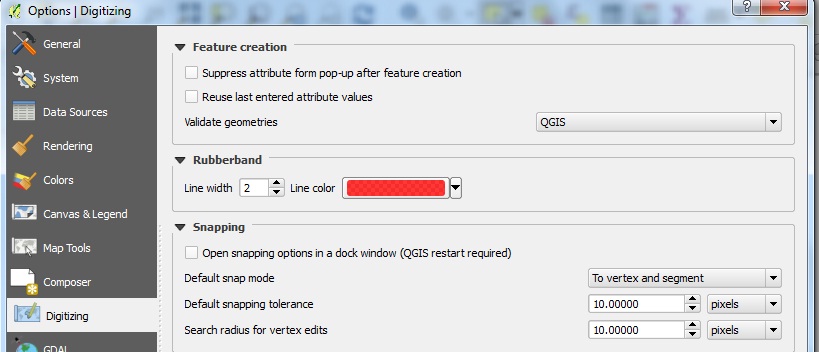
- Snapping Tool :
Snapping is an operation to move, match and coincide exactly between two features.
To set snapping option, Click setting in the menu bar and click options then select digitizing and in the box of snapping select default snapping mode, snapping tolerance and search radius for vector edits.
- Draw Create and Edit Features:
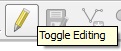
a.) lets draw some feature. If there are more than one layer then select the layer which you want to edit and Click toggle editing in digitization toolbox. As you click a pencil will appear with the name of the layer which you are editing.
![]()
b.) Click on add feature tool in digitization tool box.

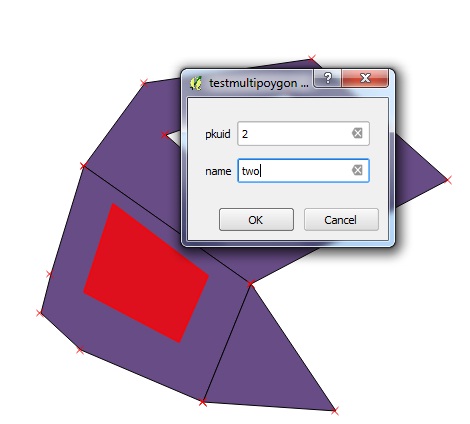
c.) After drawing your feature right click to stop drawing, as you stop a pop up will ask you the value for the attributes, give appropriate value to the attributes and click OK. Click on save layer edits to save your edits.
![]()
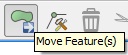
- Move Feature:
You can move your feature completely by selecting the tool image provided below.
- Delete or Join Node feature:
To Delete any node or you want to Join two nodes then you can use node tool as shown in the image below. Click on the node tool in the digitization tool box.

Now select the feature you want to edit.
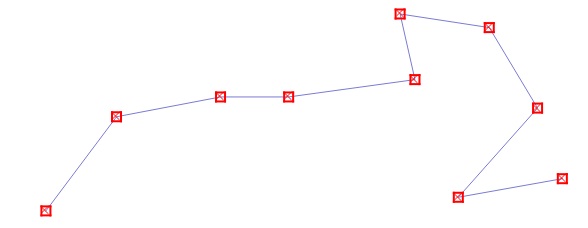
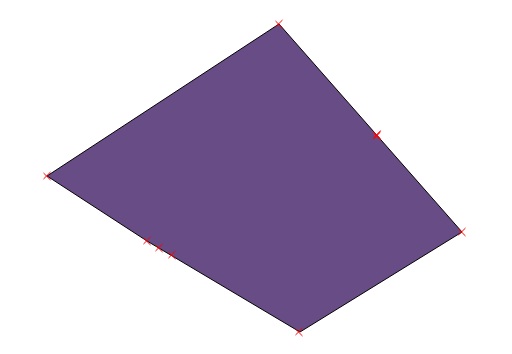
All the vertex(nodes) are highlighted with red color. Select the vertex or node you want to delete. Simply press the delete button.
To join two nodes select a node and drag the node to the other node and it will snap to the other node. Since we have set default snapping option it will snap to the other node properly. If snapping was not set it would never snap to the feature properly. You can also snap to any segment of line also.
Exploring Advanced Digitizing Tool in QGIS:
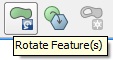
Now let’s explore advance digitizing tools. We will start with rotate feature tool.
- Rotate Feature Tool:
a.) First of all save your edits if any, then select the feature or features and click rotate feature tool. As you click on the tool a plus sign or anchor point is generated around which feature will rotate. If you want to change the anchor point press ctrl and click on the place where you want the anchor point. To rotate drag the feature selected.
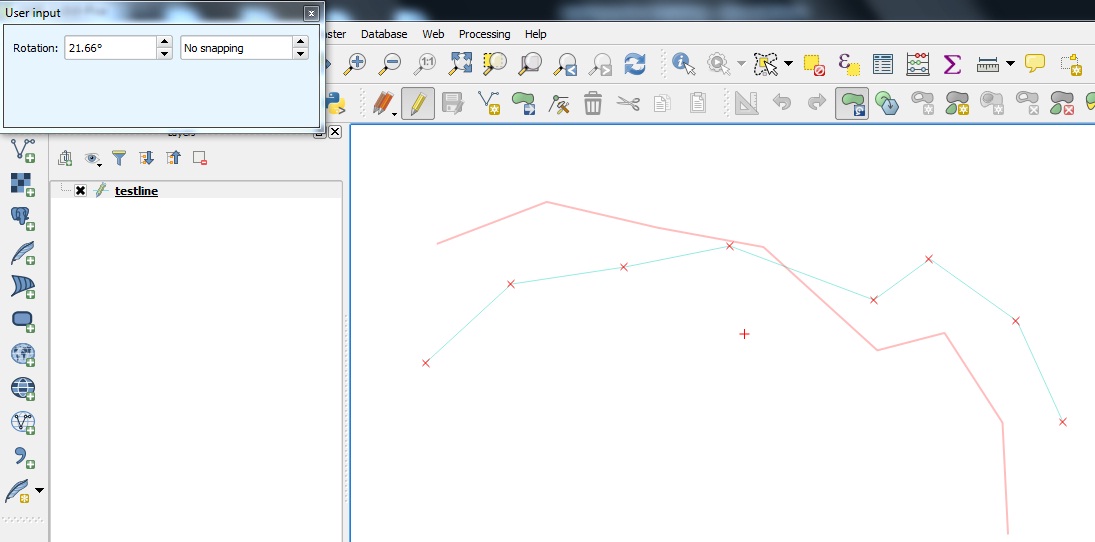
b.) You will see a popup when you start rotating the feature named user input. In first text box you can enter the angle manually with which you want to rotate and in the second text box you can select difference between two shifts.
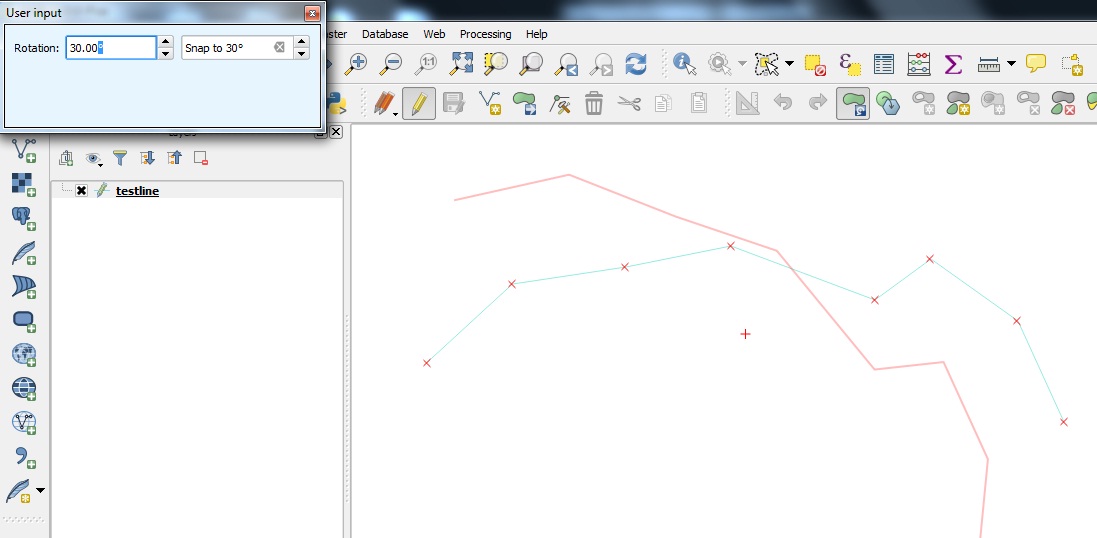
c.) After rotating click save edits.
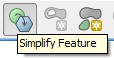
- Simplify feature tool
a.) Next is simplify feature tool. If you want to reduce some nodes from your feature you can use this tool.
b.) Click on the feature you want to simplify. A popup named simplification tool will open.
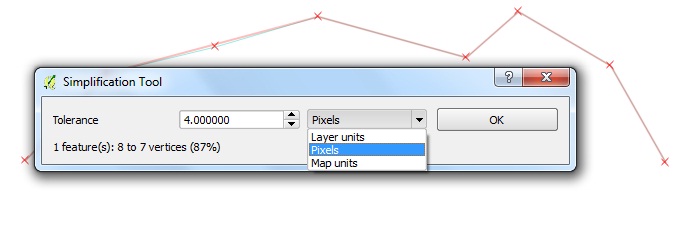
c.) You can select tolerance and unit as per your convenience.
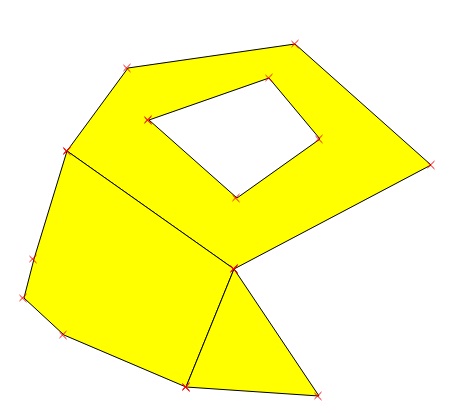
- Add Ring Tool:

a.) Ring can be add only to polygon or multipolygon feature. Inside the polygon draw the shape.
b.) Finish the shape by right click. Save your edits.
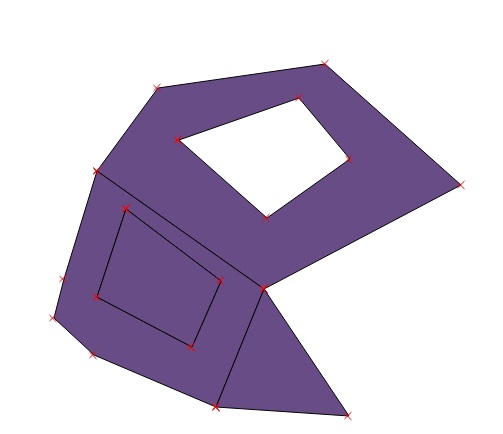
- Add part tool:
To use Add Part tool your feature type should be multipolygon. If you add part to the polygon it would draw the feature but won’t save the edits.
a.) Select the feature first and then click add part tool.
b.) Draw your part and to finish right click. The added part should be a polygon only otherwise it will show error. Save your edits.
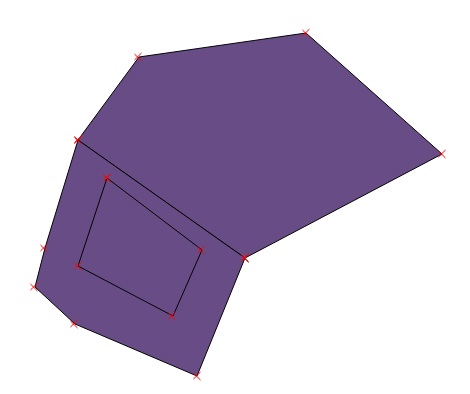
- Fill Ring Tool:

a.) Draw the shape. This shape should be inside a complete part.
b.) The shape you draw will be a different feature.
- Delete Part Tool:

Click on the part you want to delete.
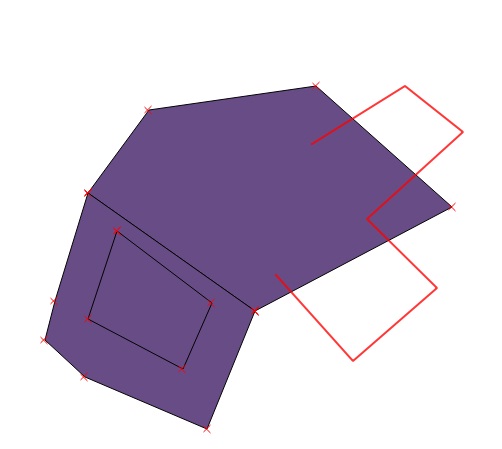
- Reshape Feature Tool:
Draw shape as shown in figure. First click inside the feature and then click outside the feature and then inside the feature. We don’t need to complete the shape.
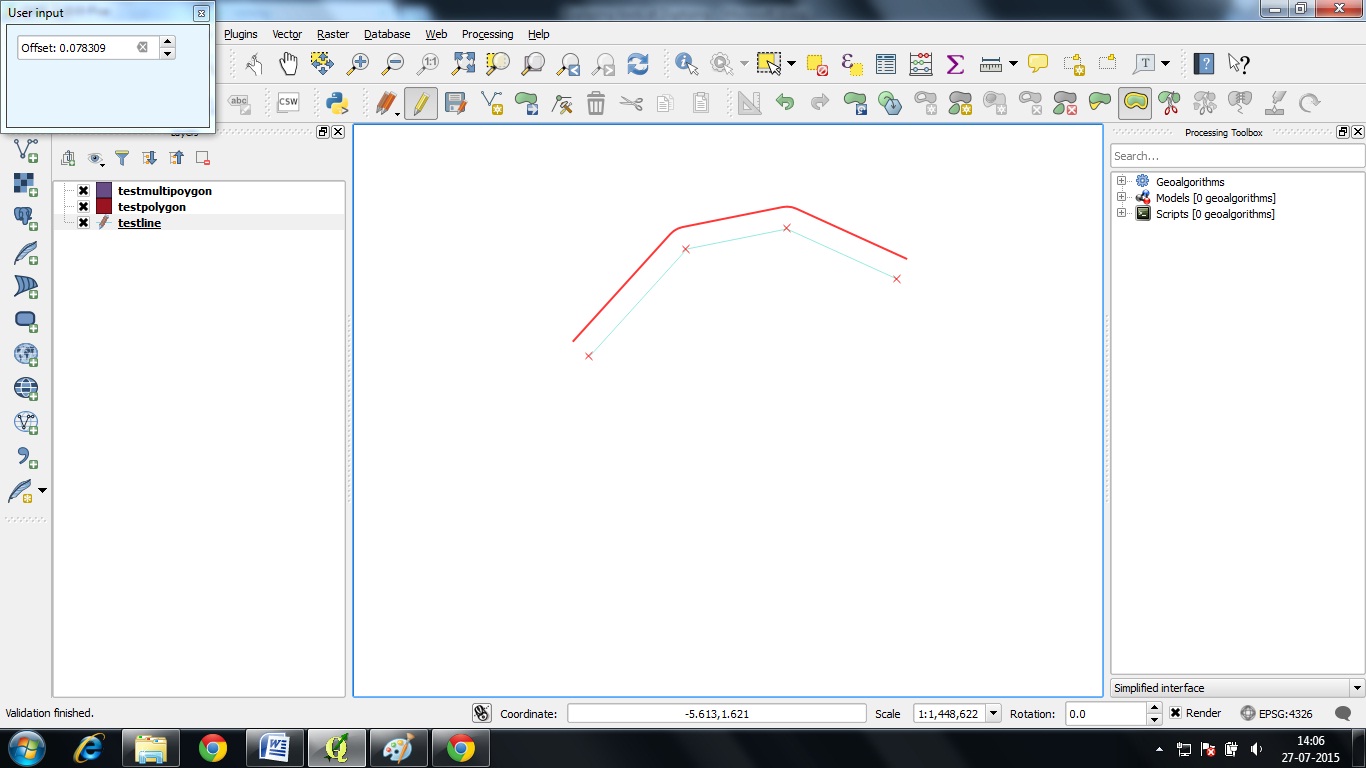
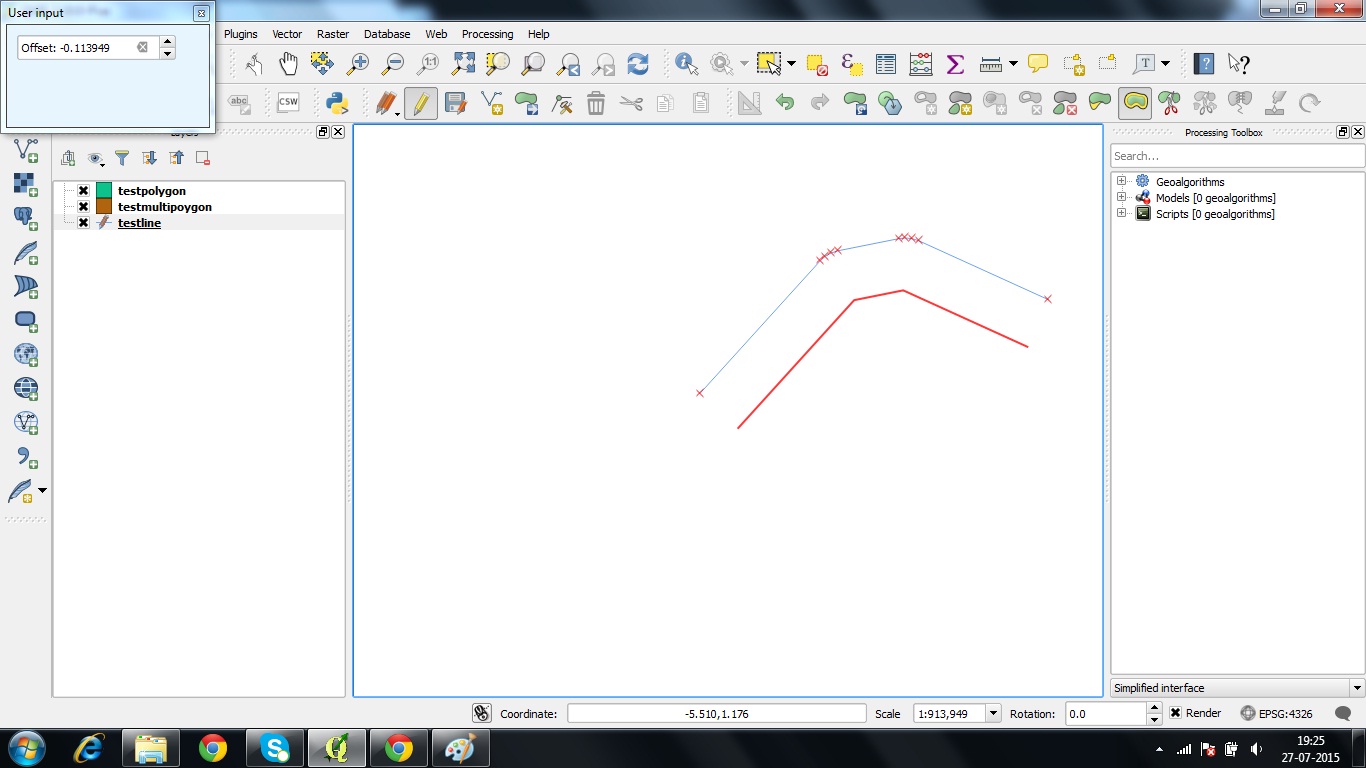
- Offset Curve Tool:
Offset curve is used to create parallel shift of line feature. In edit mode click offset curve and click on the feature then drag the feature to your desired position.
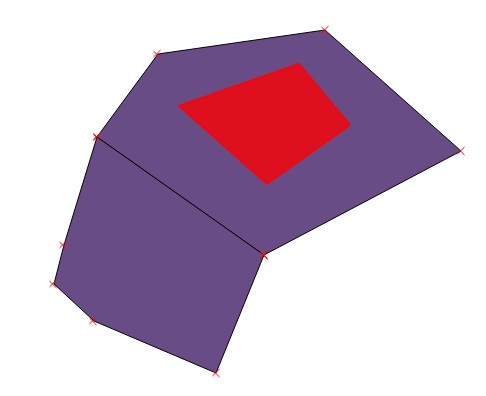
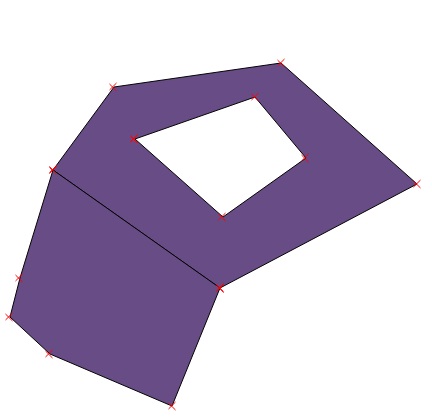
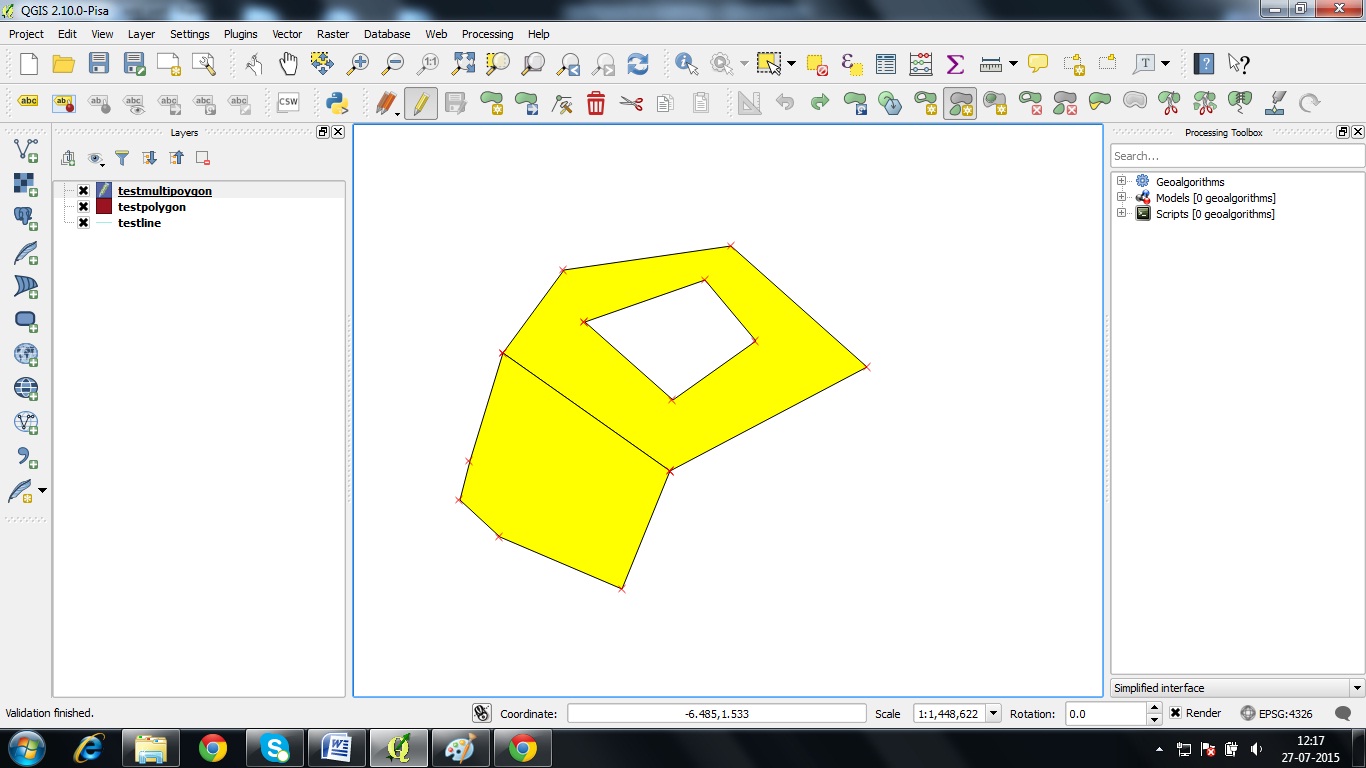
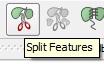
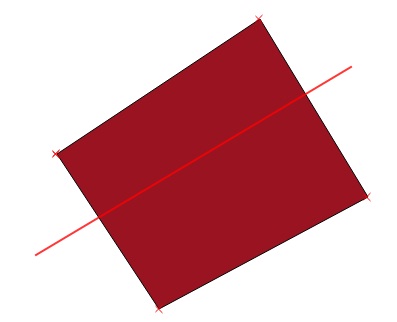
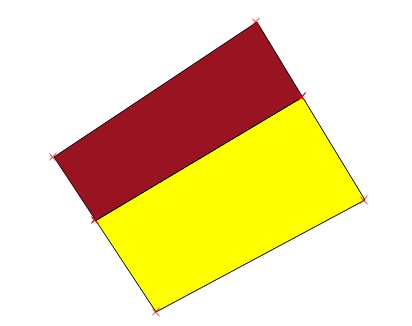
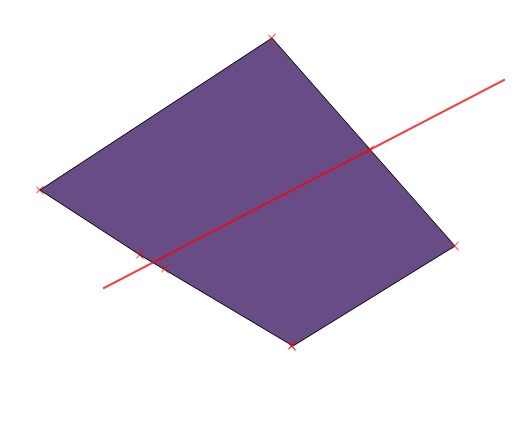
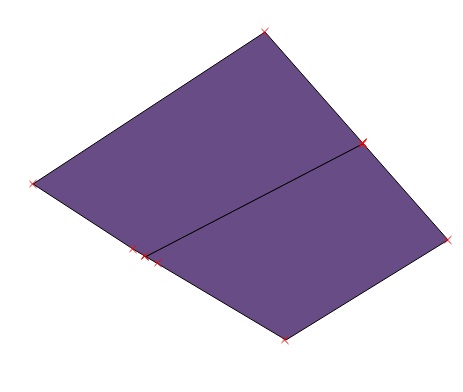
- Split Feature Tool:
Draw a line across the feature.
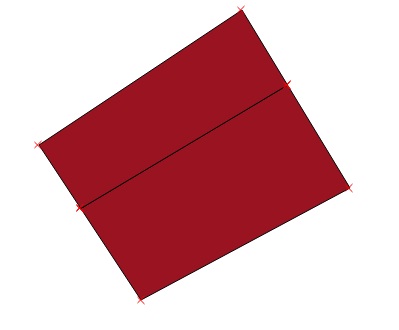
You can see the feature is splitted.
- Split Part Tool:
 Split Part tool is used to increase parts in a feature.
- Merge Selected Feature:
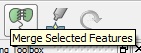
To merge different feature into one feature we can use this tool. To use this tool select the features you want to merge and click on the merge selected feature tool.
- Merge Attribute of Selected Feature:
That’s all. This is really a large set of tools provided in QGIS for Digitizing. Hope this article would be helpful for you, to introduce the digitizing tools. If you want to add more, which i might be missing you may comment below. Also if you have any doubt related to any tool, do Comment below so that we may discuss over it.
So great information am also doing my best with this software in Uganda
where do i find the advanced tools for digitization
Sir,
It’s really a very good information. Only one needs to practice it.
Thanks a lot for the information.
Some of my polygon layers do not let me use these tools. What can i do?